


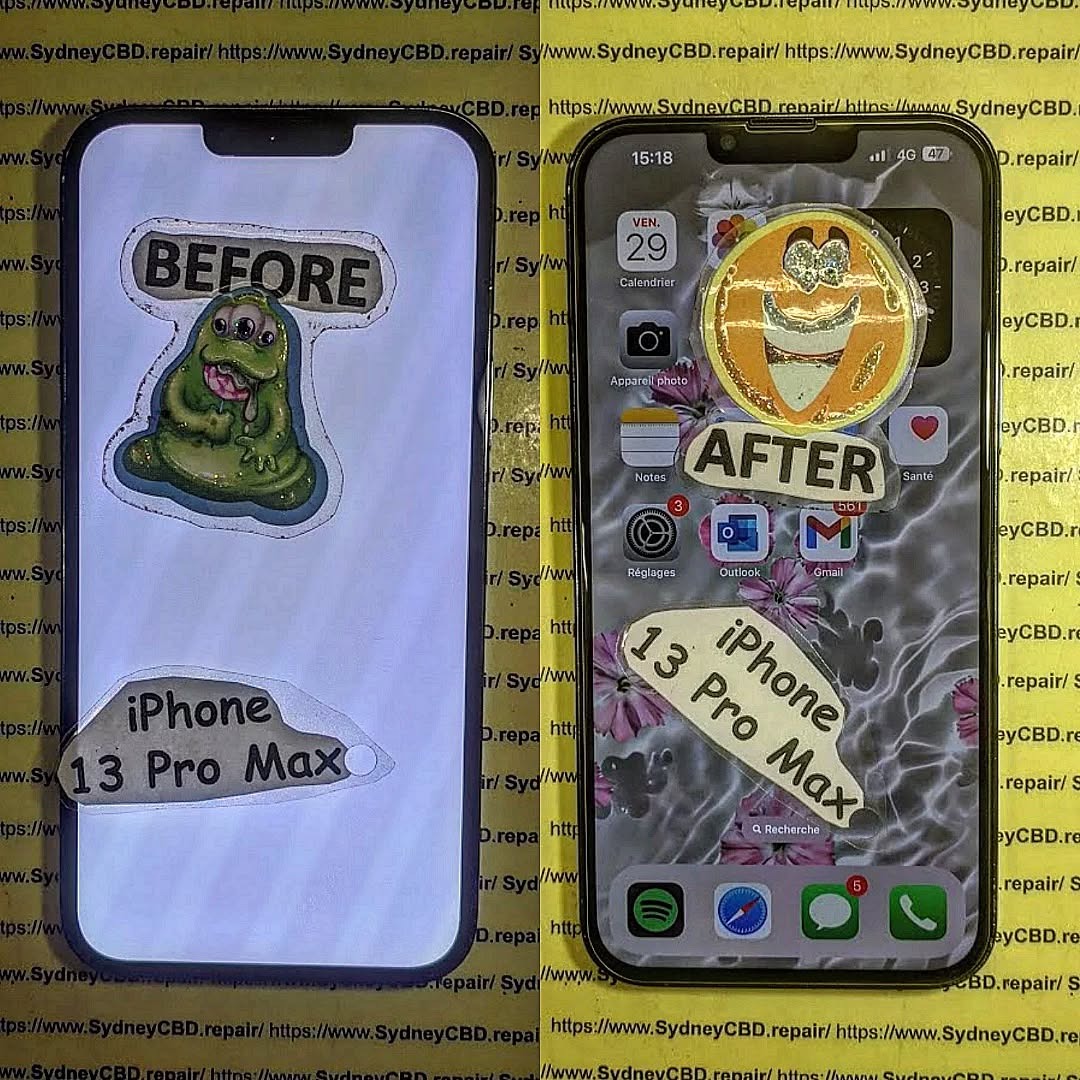
DIY Screen Repair: Step-by-Step for iPhone 13 Pro
![]()
DIY Screen Repair: Step-by-Step for iPhone 13 Pro – The Ultimate 2025 Guide
Introduction to iPhone 13 Pro Screen Repair
The iPhone 13 Pro is one of Apple’s most advanced devices, boasting a Super Retina XDR display that delivers stunning visuals and durability. However, no matter how careful you are, accidents happen—one slip, and your phone could end up with a cracked or shattered screen.
When that happens, you’ll face a decision: should you pay for a professional repair, or should you attempt a DIY iPhone 13 Pro screen replacement? This guide provides a step-by-step walkthrough for those who want to fix their phone themselves, along with tips, tools, and safety precautions.
By the end of this article, you’ll know whether DIY screen repair is right for you and how to complete it successfully.
Why DIY Screen Repair Can Be a Smart Choice
Fixing your iPhone 13 Pro screen on your own may sound intimidating, but it has several advantages.
Cost Savings Compared to Professional Repair
Professional repairs, especially at Apple-authorized service centers, can be expensive. Depending on your region, the cost of replacing an iPhone 13 Pro screen can range between $400–$500 AUD. In contrast, buying a quality replacement screen and tools can cut costs in half.
Gaining Repair Skills for the Future
Doing it yourself also teaches you valuable skills. Once you’ve completed one successful repair, you’ll feel more confident tackling future smartphone issues—whether that’s a battery replacement, camera module swap, or even helping friends and family with their devices.
Tools and Materials You’ll Need
Before you begin, gather all the essential tools. Trying to improvise with the wrong equipment often leads to damage.
Essential Screwdrivers and Openers
- Pentalobe screwdriver (P2) – for removing bottom screws.
- Phillips screwdriver (PH000) – for internal screws.
- Tri-point screwdriver (Y000) – for display connectors.
- Plastic opening picks – to gently separate the screen.
- Suction cup tool – to lift the display.
Replacement Screen Options
- OEM-quality display – Best option for brightness and accuracy.
- Aftermarket display – Cheaper, but may lack true-to-life colors.
Tip: Always check for Face ID compatibility when buying a replacement screen, as not all third-party displays support it properly.
Safety Equipment and Workspace Setup
- Anti-static mat – Prevents electrical discharge.
- Magnetic project mat – Keeps screws organized.
- Bright lighting and a clean desk – Avoids losing tiny parts.
Preparing Your iPhone 13 Pro for Repair
Before diving into the repair process, you must prepare the phone.
Back Up Your Data
Always back up your iPhone using iCloud or iTunes. In rare cases, a mistake during repair can cause data loss.
Powering Off and Removing SIM Card
- Hold down the side button and volume button, then slide to power off.
- Use the SIM ejector tool to remove your SIM card tray.
Step-by-Step iPhone 13 Pro Screen Replacement
Here’s the heart of the process—carefully follow each step.
Removing the Pentalobe Screws
- Use the P2 screwdriver to remove the two screws at the bottom of your phone, near the charging port.
Opening the Display with Care
- Place a suction cup near the bottom edge.
- Gently lift while sliding in an opening pick.
- Slowly work your way around, but do not fully detach yet—the screen is still connected by fragile cables.
Disconnecting Battery and Display Cables
- Remove the metal shield with a Y000 screwdriver.
- Disconnect the battery first, then the display cables.
Installing the New Screen
- Attach the new screen’s connectors to the logic board.
- Ensure Face ID and proximity sensors are seated properly.
Reconnecting Components and Testing
- Reconnect the battery last.
- Power on your phone before sealing it shut to check for:
- Display brightness
- Touch responsiveness
- Face ID functionality
Common Mistakes to Avoid During DIY Screen Repair
Even seasoned repair enthusiasts sometimes make errors.
Over-tightening Screws
This can cause damage to the logic board or strip the threads. Always use light pressure.
Mishandling Fragile Connectors
The connectors are delicate. Forcing them can permanently damage your phone.
Using Low-Quality Replacement Parts
Cheap screens may look fine at first but often result in:
- Dim displays
- Poor color accuracy
- Malfunctioning Face ID
Pros and Cons of DIY iPhone 13 Pro Screen Repair
Advantages of Doing It Yourself
- Saves money
- Educational and empowering
- Convenient—no need to wait for appointments
Risks and Downsides
- Risk of damaging your iPhone further
- Time-consuming (especially first time)
- Warranty may be voided
When to Seek Professional Help
DIY repair isn’t always the best solution. Sometimes, taking your phone to experts is smarter.
Severe Screen Damage
If the frame is bent or glass shards are embedded in the device, professional alignment tools are required.
Face ID or Sensor Malfunctions
Improper DIY repairs can disable Face ID. Trained technicians can recalibrate it.
Water-Damaged Devices
If your iPhone has been exposed to liquid, screen repair alone won’t solve the issue. Corrosion must be addressed.
FAQs About iPhone 13 Pro Screen Repair
1. Can I repair an iPhone 13 Pro screen without special tools?
Not recommended. Using the wrong tools risks breaking connectors or scratching components.
2. How long does a DIY repair take?
For beginners, expect 1–2 hours. With practice, repairs can be completed in 30–40 minutes.
3. Will Face ID still work after replacing the screen?
Yes—if you use a high-quality screen and handle the sensor assembly carefully.
4. Is a DIY screen repair cheaper than going to Apple?
Yes. DIY costs around half of Apple’s official repair fees.
5. Can I waterproof my iPhone again after repair?
No DIY repair can fully restore Apple’s original waterproofing, though you can use adhesive seals for partial protection.
6. What if my new screen doesn’t work?
Check connections. If the issue persists, the replacement screen may be defective.
Conclusion – Is DIY Screen Repair Right for You?

Fixing your iPhone 13 Pro screen yourself can save money and give you valuable repair knowledge. With the right tools, a steady hand, and patience, it’s absolutely achievable. However, if your device has severe damage or you’re not confident, professional repair remains the safest option.
For those in Sydney looking for fast and reliable repairs, David from Sydney CBD Repair Centre is your best choice. Known as the #1 phone repair shop in Sydney, they’ve been voted the Best Mobile Phone Repair Centre six years in a row. With 2000+ positive Google reviews, genuine parts, and same-day service, you can trust them to restore your iPhone 13 Pro to perfection.
Visit us for:
✓ Same Day Express Repairs
✓ Genuine Parts Guarantee
✓ Professional Technicians
✓ Competitive Pricing
✓ 2000+ 5-Star Google Reviews
✓ 6-Time Award Winner for Best Phone Repairs
Sydney CBD Repair Centre – Where Quality Meets Reliability.
📞 Call: +61280114119
👉 Visit them today: Sydney CBD Repair Centre