


DIY Screen Replacement: Safety Tips and Best Practices
![]()
DIY Screen Replacement: Safety Tips and Best Practices to Avoid Costly Mistakes
🔧 Introduction
Thinking of replacing your phone screen at home? It might look easy in YouTube tutorials, but screen repair is a delicate process. Whether you’re fixing a cracked iPhone display or swapping out a Samsung AMOLED panel, DIY screen replacement comes with risks.
This guide will walk you through essential safety tips and best practices to make your DIY repair smoother—and safer.
🤔 Is DIY Screen Replacement Right for You?
Pros and Cons of Doing It Yourself
Pros:
- Save on repair costs
- Learn how your phone works
- Convenient if you already have tools
Cons:
- High risk of damaging your device
- Warranty void if done incorrectly
- OEM parts can be hard to source
DIY screen replacement is best suited for tech-savvy users or those willing to learn step-by-step. Otherwise, a professional repair is often the safer (and cheaper) long-term choice.
🧰 Tools You’ll Need for DIY Screen Repair
Must-Have Tools for Beginners
- Plastic pry tools / spudger
- Suction cup
- Phillips #00 screwdriver
- Heat gun or hair dryer
- Anti-static wrist strap
Optional Tools for Easier Repair
- Magnetic mat for screws
- Precision tweezers
- iOpener or heat pad
- Isopropyl alcohol for adhesive removal
Having the right tools prevents damage to your screen or internals.
🗄️ 1. Backup Your Data First
Always back up your device before beginning. If something goes wrong, you’ll still have your:
- Photos and videos
- App data and settings
- Messages and contacts
Use cloud storage (Google Drive, iCloud) or a PC backup.
🔌 2. Power Off the Device and Remove the SIM
This reduces the risk of:
- Electrical shorts
- Static damage
- SIM or microSD card loss
It also makes handling the motherboard and battery safer.
🧼 3. Work in a Clean, Static-Free Environment
Importance of ESD Safety
Electrostatic discharge (ESD) can fry your phone’s sensitive circuits.
Tips:
- Avoid working on carpet
- Use an anti-static mat or wrist strap
- Ground yourself before touching components
Dust-free, dry, and well-lit environments are best.
📖 4. Follow a Step-by-Step Repair Guide
Reliable Online Resources
- iFixit
- YouTube channels like JerryRigEverything
- Manufacturer service manuals (if available)
Don’t guess. Follow your model’s exact steps to avoid damage.
📱 5. Use the Right Replacement Screen
OEM vs Aftermarket Displays
Genuine (OEM) parts:
- Offer better touch and brightness
- Last longer
- Are fully compatible with biometric sensors
Low-cost aftermarket screens may:
- Flicker
- Show incorrect colors
- Cause battery drain
Buy parts only from reputable suppliers.
🧲 6. Organize and Label Screws and Components
Preventing Assembly Errors
Phones have tiny screws of various sizes—mixing them up can:
- Damage internal threads
- Short out the motherboard
Use a magnetic mat, labeled tray, or sticky notes for organization.
💥 7. Avoid Damaging Internal Components
Common Mistakes to Avoid
- Ripping flex cables
- Puncturing the battery
- Using metal tools near delicate parts
Be slow and careful. Use plastic tools and don’t pry under pressure.
🧩 8. Don’t Force Components into Place
Flex Cable Handling Tips
Flex cables are fragile and must be:
- Aligned gently
- Connected without bending
- Not forced into ports
Misaligned connectors can cause screen failure or touch issues.
🔥 9. Use Minimal Heat When Separating Screens
Managing Heat Application Safely
Too much heat can:
- Warp the frame
- Melt internal adhesives
- Damage OLED layers
Heat the screen evenly, and use just enough to loosen glue.
🧪 10. Test Before Fully Reassembling
Power and Touchscreen Tests
Before sealing the phone:
- Power it on
- Test touch sensitivity
- Check brightness and cameras
- Test Face ID or fingerprint
It’s easier to fix issues before closing the phone fully.
❌ What If Something Goes Wrong?
Warning Signs of a Bad Repair
- Black screen or no display
- Unresponsive touch
- Ghost touch or flickering
- Battery doesn’t charge
Don’t keep pushing—it could worsen the damage.
📞 When to Stop and Call a Professional

If you’re unsure at any point or damage something mid-repair, pause and call a technician.
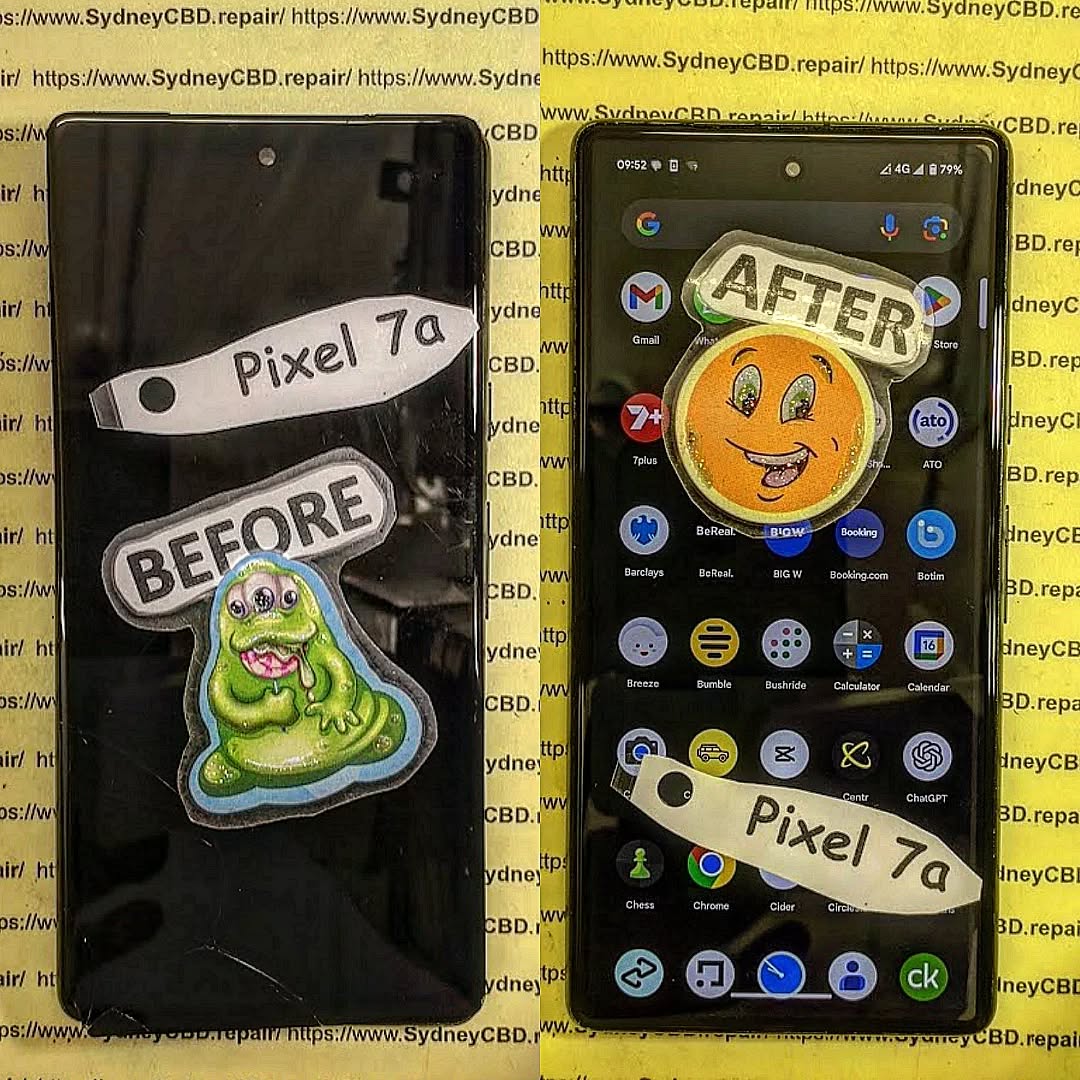
Why Sydney CBD Repair Centre is a Trusted Option
David from Sydney CBD Repair Centre and his team offer:
- Same-day express screen repairs
- Genuine parts with warranty
- Biometric calibration
- Expert technicians with 2000+ reviews
📍 Visit us: SydneyCBD.repair/locate-us
📞 Call: +61280114119
❓ Frequently Asked Questions (FAQs)
Q1: Is it safe to replace a phone screen at home?
Yes, but only with the proper tools, safety measures, and model-specific instructions.
Q2: How long does a DIY screen replacement take?
Anywhere from 30 minutes to 2 hours depending on the phone and your skill level.
Q3: Can I reuse adhesive or glue?
No. Always use new adhesive strips or liquid glue to ensure proper sealing.
Q4: Why won’t my new screen turn on after replacement?
Likely a loose connector, wrong screen part, or internal damage. Reopen and inspect or seek help.
Q5: Will my Face ID or fingerprint still work after DIY screen repair?
Only if you properly transfer the sensor module and use a compatible screen.
Q6: Is it worth fixing the screen myself or going to a shop?
For most users, professional repair is faster, safer, and comes with a warranty.
✅ Conclusion
DIY screen replacement can be rewarding—but it’s also risky without proper knowledge and tools. Following these best practices and safety tips gives you the best shot at success.
Still not confident? Let the professionals handle it. Sydney CBD Repair Centre is here to provide reliable, affordable, and high-quality screen repairs—done right the first time.