


DIY Screen Replacement: All The Tools and Adhesives You Need
![]()
DIY Screen Replacement: All The Tools and Adhesives You Need for Success + Proven Guide + 7 Steps
Introduction to DIY Screen Replacement
Cracked or shattered screens are one of the most common issues smartphone users face today. Dropping your device can instantly turn a sleek display into a spiderweb of cracks, making it hard to use and sometimes even unsafe. While many people rush to professional repair shops, others wonder: Can I fix my phone screen myself?
DIY screen replacement has grown in popularity thanks to affordable repair kits, YouTube tutorials, and step-by-step online guides. But success depends heavily on having the right tools and adhesives, as well as the patience to follow each step carefully.
If you’re considering tackling a screen repair on your own, this guide will walk you through every tool, adhesive, and precaution you’ll need.
Why Screen Replacement Matters
The Growing Cost of Professional Repairs
Professional repair services can be expensive, especially for flagship models like the iPhone, Samsung Galaxy, or Google Pixel. Replacing a screen at an official service centre often costs between $250–$500, depending on the model. This cost pushes many users toward DIY solutions.
Risks of Ignoring a Cracked Screen
It’s tempting to keep using a phone with a cracked display, but this can lead to:
- Touchscreen malfunctions
- Dust and moisture entering the device
- Further cracks spreading across the display
- Risk of injury from broken glass
Replacing your screen sooner rather than later not only restores functionality but also extends the lifespan of your device.
Essential Tools for DIY Screen Repair
To successfully replace a smartphone screen, you’ll need a mix of basic and specialized tools.
Precision Screwdriver Kits
Smartphones use tiny screws that require special drivers. A full kit should include:
- Phillips, Pentalobe, and Torx bits
- Anti-static handle grips
- Magnetized tips to prevent screw loss
Plastic Pry Tools & Spudgers
These tools help you gently separate the fragile glass and plastic parts without scratching them.
Suction Cups & Screen Separators
A suction cup makes it easier to lift the cracked screen off the phone body without causing further breakage. Some advanced kits even include screen separators with heating plates.
Heat Guns & iOpener Alternatives
Phone screens are secured with strong adhesives. To loosen them, you’ll need controlled heat. A hairdryer, heat gun, or iOpener (a microwavable heating tool) can all do the job.
Adhesives You Need for Screen Replacement
Using the wrong adhesive can make your repair fail within days. Here are the most common adhesives professionals use:
LOCA (Liquid Optically Clear Adhesive)
LOCA is used for glass-only replacements. It provides crystal-clear bonding between glass and display panels but requires UV curing.
Pre-cut Adhesive Strips
Perfect for beginners, these strips are pre-shaped to fit specific phone models. They’re cleaner, easier, and reduce the risk of misalignment.
UV Glue and Curing Lamps
For advanced repairs, UV glue ensures strong bonding. A portable UV curing lamp is necessary to harden the adhesive properly.
Step-by-Step Guide: DIY Screen Replacement in 7 Steps
Step 1: Preparing Your Workspace
- Use a clean, dust-free area
- Gather all tools before starting
- Ground yourself with an anti-static wrist strap
Step 2: Powering Down & Removing SIM
Always power off your phone and remove the SIM tray to prevent data loss or short circuits.
Step 3: Unscrewing & Separating Components
Remove screws carefully and place them on a magnetic mat to avoid losing them.
Step 4: Heating & Loosening Adhesive
Apply gentle, even heat around the edges to soften adhesive before lifting the screen.
Step 5: Detaching Broken Screen Safely
Use suction cups and pry tools to slowly separate the screen without damaging internal parts.
Step 6: Installing New Screen with Adhesive
Apply adhesive (pre-cut strips or LOCA), align the new screen precisely, and press firmly.
Step 7: Testing Before Full Assembly
Power on the phone before resealing to test touch sensitivity, display brightness, and camera function.
Common Mistakes to Avoid in Screen Replacement
- Using excessive force while prying
- Forgetting to disconnect the battery first
- Applying too much adhesive, leading to leakage
- Skipping testing before sealing the device
Cost Comparison: DIY vs Professional Repairs
| Option | Average Cost | Pros | Cons |
|---|---|---|---|
| DIY Repair | $30–$100 (tools & parts) | Low cost, learning experience | Risk of damage, time-consuming |
| Professional Repair | $200–$500 | Fast, guaranteed quality, warranty | Higher cost |
FAQs on DIY Screen Replacement
Q1: Can I replace a screen without special tools?
Not recommended. Precision screwdrivers and adhesives are essential.
Q2: How long does DIY screen replacement take?
Around 1–2 hours for beginners.
Q3: Will DIY repairs void my phone warranty?
Yes, in most cases. Check your manufacturer’s policy.
Q4: Are cheap screen replacement kits reliable?
Some are, but many use low-quality glass. Always check reviews.
Q5: Is LOCA adhesive better than pre-cut strips?
LOCA offers stronger bonding but is harder for beginners to apply.
Q6: When should I avoid DIY and go to a repair shop?
If your phone has water damage, bent frames, or multiple broken parts, it’s safer to seek professional repair.
Conclusion: Should You Do It Yourself?

DIY screen replacement is possible if you have the right tools, adhesives, and patience. However, it carries risks—especially for newer, high-end devices. If saving money is your top priority and you enjoy hands-on work, this guide can help you succeed.
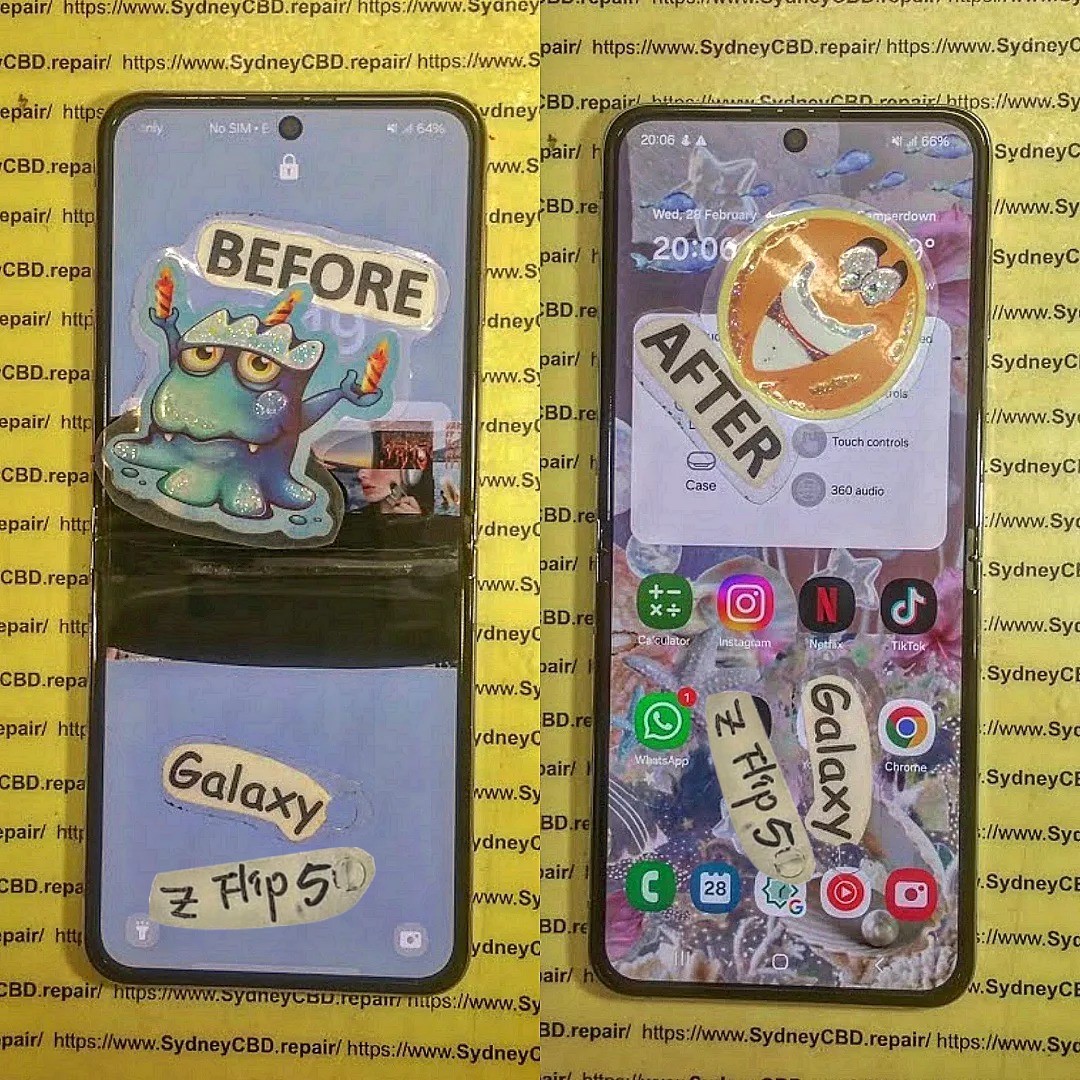
But if you want guaranteed results, genuine parts, and same-day service, visiting professionals like Sydney CBD Repair Centre is the smarter choice. With over 2000+ 5-star reviews, award-winning service, and genuine parts, you’ll walk out with your phone looking brand new—without the stress of a failed DIY attempt.
👉 Learn more or book a same-day repair here: Sydney CBD Repair Centre