


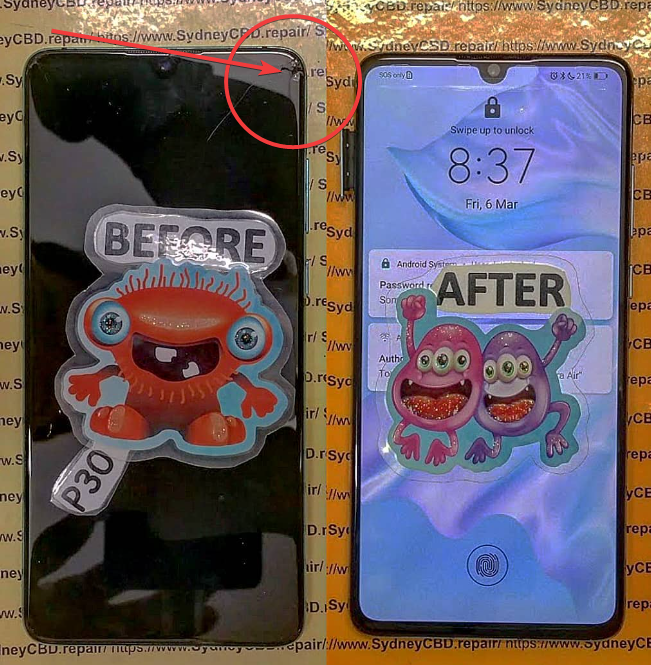
Replacing a Smartphone Display: A Step-by-Step Guide
![]()
Replacing a Smartphone Display: A Step-by-Step Guide
A cracked or unresponsive screen doesn’t mean your smartphone is beyond saving. With the right tools and knowledge, screen replacement is possible—whether you’re a tech enthusiast or simply exploring your options before heading to a repair shop.
In this guide from Sydney CBD Repair Centre, we’ll walk you through the step-by-step process of replacing a smartphone display, what to watch out for, and when it’s better to call in the professionals.
🧰 What You’ll Need Before You Start
Before you begin, gather the following tools and materials:
- Pentalobe or Phillips screwdriver (depending on your phone brand)
- Suction cup tool
- Plastic opening picks or spudger
- Tweezers
- Heat gun or hair dryer
- Anti-static gloves or wristband
- Replacement screen (preferably genuine or OEM-grade)
⚙️ Step-by-Step Smartphone Display Replacement
Step 1: Power Off the Device
Always power off your smartphone before starting any repair to avoid electrical short-circuits or data damage.
Step 2: Remove Screws and Heat the Display
Using the appropriate screwdriver, remove screws located near the charging port. Apply mild heat around the screen edges to loosen the adhesive—use a heat gun, not an open flame.
Step 3: Detach the Screen
Use a suction cup to gently lift one edge of the display. Slide an opening pick underneath to begin separating the screen from the body. Take your time—forcing it can damage internal cables.
Step 4: Disconnect the Battery
Once the screen is lifted, locate the battery connector and carefully disconnect it. This prevents accidental power to internal components.
Step 5: Disconnect Display Cables
Use a spudger or tweezers to detach the flex cables that connect the display to the motherboard. Be gentle—these connectors are fragile and essential for touch and display functionality.
Step 6: Remove and Replace the Display
Now that the old screen is detached, install the new display by reversing the above process. Reconnect all cables securely and double-check alignments.
Step 7: Reassemble and Test
Reattach the screen carefully, replace the screws, and power on your device. Check:
- Touch responsiveness
- Display brightness
- Front camera and sensors
- Face ID or fingerprint sensor (if applicable)
⚠️ Things to Watch Out For
- Loss of Waterproofing: Opening your phone breaks its factory seal.
- Touch & Display Calibration: Some features like True Tone or brightness auto-adjust may be lost.
- Face ID/Touch ID Damage: Mishandling can disable biometric sensors permanently.
🧑🔧 When to Leave It to the Pros

While DIY repairs can be fulfilling, they carry risks—especially for newer models with complex assemblies.
At Sydney CBD Repair Centre, we:
- Use only genuine parts
- Offer same-day repairs
- Provide a 90-day warranty
- Preserve your data and phone features
With over 2000+ 5-star reviews and award-winning service, we’re Sydney’s most trusted repair team for Apple, Samsung, Google Pixel, and more.
📍 Visit us today: https://SydneyCBD.repair/locate-us
📞 Call: +61280114119
Sydney CBD Repair Centre – Where Quality Meets Reliability.