


Precision Glass Removal: How to Fix Small Camera Cracks Without Further Damage
![]()
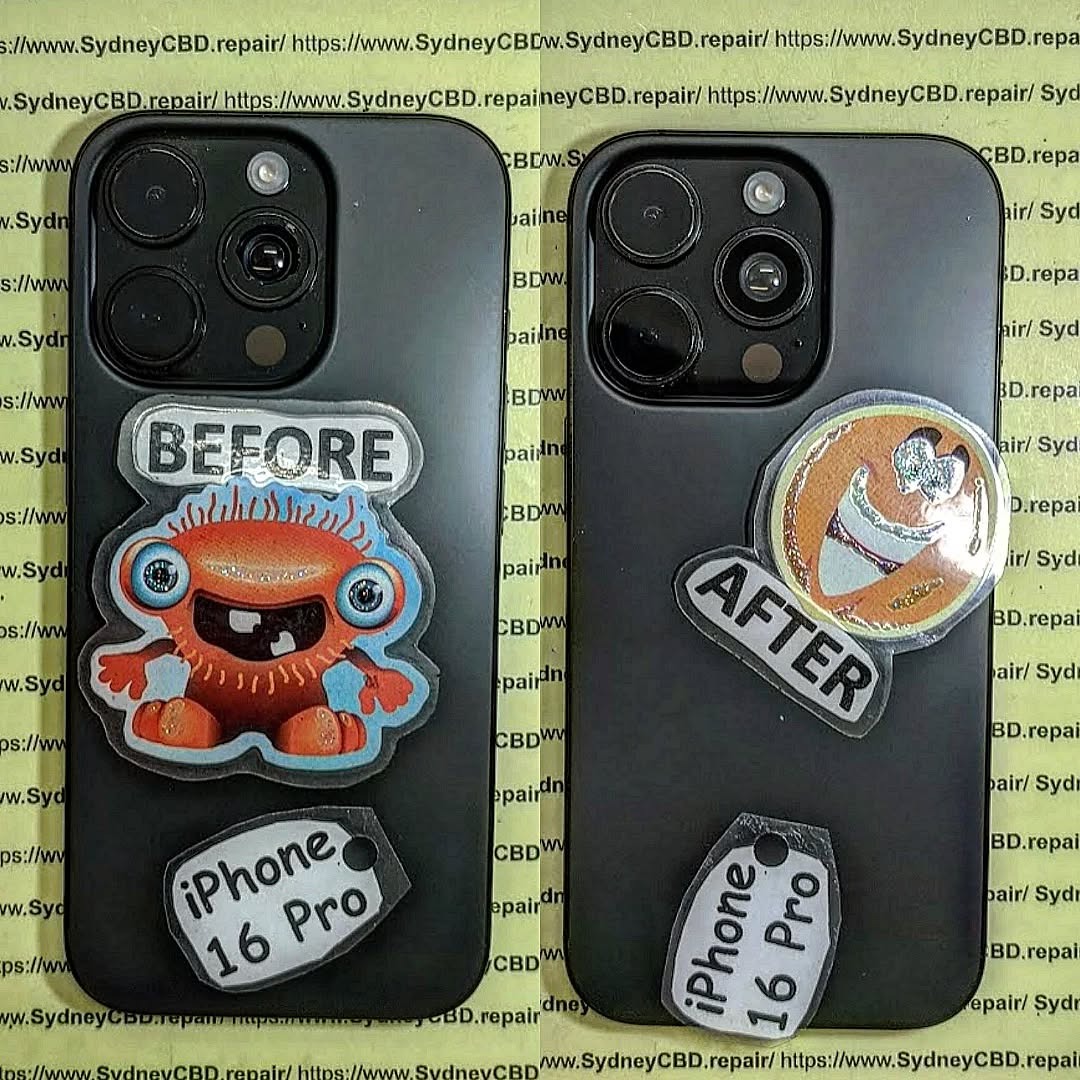
Precision Glass Removal: How to Fix Small Camera Cracks Without Further Damage – 9 Proven Techniques
Introduction to Camera Lens Cracks
Smartphone cameras have become essential in everyday life. From capturing memories to scanning documents, we rely heavily on them. However, even a small crack in the camera lens can ruin image quality and lead to further internal damage if left unattended.
That’s where precision glass removal comes in. This specialized technique allows you to safely fix small camera cracks without damaging the delicate internal components beneath the lens.
In this guide, we’ll walk you through everything you need to know—from tools and techniques to expert tips—so you can confidently handle minor camera lens repairs.
Understanding Precision Glass Removal
Precision glass removal is a controlled process used to carefully extract damaged or cracked camera lens glass without affecting the camera sensor underneath.
Unlike general screen repairs, this process requires more accuracy and patience. Even a slight slip can damage the sensor permanently.
Why Small Cracks Shouldn’t Be Ignored
Small cracks might seem harmless, but they can quickly escalate. Here’s why you shouldn’t ignore them:
- Dust and moisture can enter through cracks
- Image distortion and blurry photos worsen over time
- Cracks can spread due to pressure or temperature changes
- Internal components may get scratched
In short, acting early saves money and prevents bigger repairs.
Common Causes of Camera Glass Damage
Understanding the root cause helps prevent future issues:
- Accidental drops
- Pressure from tight pockets or bags
- Contact with hard surfaces
- Poor-quality phone cases
- Thermal expansion (heat exposure)
Tools Required for Precision Glass Removal
Before starting, it’s crucial to gather the right tools. Using improper equipment can make things worse.
Essential DIY Tools
For beginners, these tools are enough:
- Precision knife or blade
- Tweezers
- Microfiber cloth
- Isopropyl alcohol (90%+)
- Adhesive strips
- Replacement camera glass
Professional Equipment
Experts often use:
- Heat gun or hot air station
- Vacuum separator
- UV adhesive
- Microscope or magnifying lens
These tools improve accuracy but aren’t always necessary for minor repairs.
Step-by-Step Guide to Fix Small Camera Cracks

Let’s dive into the actual precision glass removal process.
Step 1: Assessing the Damage
First, inspect the crack carefully:
- Is it surface-level or deep?
- Is the camera still functioning properly?
- Are there loose glass fragments?
If the crack affects image quality, repair is recommended immediately.
Step 2: Preparing the Device
Preparation is key to avoiding further damage:
- Turn off the device
- Remove the case
- Clean the camera area
- Apply gentle heat (if needed) to soften adhesive
Heating makes glass removal easier and safer.
Step 3: Removing Broken Glass Safely
This is the most critical step in precision glass removal.
- Use a blade to lift cracked edges
- Gently peel off broken pieces
- Avoid applying pressure on the camera sensor
- Use tweezers for small fragments
Take your time—rushing increases the risk of internal damage.
Step 4: Cleaning Residue
After removing the glass:
- Clean adhesive residue with alcohol
- Use a microfiber cloth for polishing
- Ensure no dust particles remain
A clean surface ensures proper adhesion of the new glass.
Step 5: Installing Replacement Glass
Finally, install the new lens:
- Align the replacement glass carefully
- Apply adhesive evenly
- Press gently into place
- Allow it to set properly
Once done, test the camera for clarity and focus.
Safety Tips to Prevent Further Damage
When performing precision glass removal, safety should always come first:
- Work in a dust-free environment
- Use minimal force
- Avoid touching the camera sensor
- Keep tools clean and sharp
- Wear gloves if possible
Even experienced technicians follow these precautions.
DIY vs Professional Repair
Many users wonder whether to fix it themselves or seek help.
When DIY Works
DIY is suitable when:
- Crack is minor
- No sensor damage
- You have basic tools
- You’re confident with small repairs
When to Seek Expert Help
Professional repair is better if:
- Crack is deep or widespread
- Camera images are distorted
- You lack proper tools
- Device is expensive
Sometimes, paying a bit more ensures long-term reliability.
Cost Analysis of Camera Glass Repair
Repair costs vary depending on the device and method:
| Repair Type | Estimated Cost |
|---|---|
| DIY Repair | $5 – $20 |
| Professional Repair | $40 – $120 |
| Full Camera Replacement | $100 – $300 |
Clearly, precision glass removal is the most cost-effective solution for minor cracks.
Preventing Future Camera Lens Damage
Prevention is always better than repair. Here are some practical tips:
- Use a high-quality protective case
- Install a camera lens protector
- Avoid placing phone on rough surfaces
- Keep phone away from extreme heat
- Handle with care
These simple habits can save you from repeated repairs.
Common Mistakes to Avoid
Even small errors can lead to costly damage:
- Using too much force
- Skipping cleaning steps
- Misaligning replacement glass
- Using low-quality adhesive
- Ignoring small cracks
Avoiding these mistakes ensures a smooth repair process.
FAQs
1. Can I fix a cracked camera lens without replacing it?
Yes, if the crack is minor, precision glass removal allows you to replace only the outer glass without touching the camera module.
2. Will a cracked lens affect photo quality?
Absolutely. Even tiny cracks can cause glare, blur, and distortion in photos.
3. Is precision glass removal safe for beginners?
It can be, provided you follow proper steps and use the right tools carefully.
4. How long does the repair process take?
Typically, it takes 20–45 minutes depending on the complexity.
5. Do I need special adhesive for replacement glass?
Yes, using proper adhesive ensures durability and prevents dust entry.
6. What happens if I damage the camera sensor?
If the sensor is damaged, you’ll likely need a full camera replacement, which is more expensive.
Conclusion

Fixing small camera cracks doesn’t have to be complicated or expensive. With the right tools, patience, and technique, precision glass removal allows you to restore your camera’s functionality without risking further damage.
Whether you choose a DIY approach or professional help, the key is acting quickly and carefully. Small cracks may seem insignificant at first, but addressing them early can save both time and money.
🔧 Post-Article Message
David from Sydney CBD Repair Centre – The Best place to fix mobile phones as 7 Years In A Row! Top Mobile Phone Repair In Sydney. More than 2000 Positive Reviews on Google and Same Day Repairs.
We take pride in delivering exceptional repair services for all major phone brands including Apple, Samsung, Google, and more. Our expert technicians use only genuine parts and offer 90days warranty on repairs. Located in the heart of Sydney CBD, we’re your one-stop solution for all mobile device repairs.
Our commitment to excellence has earned us the trust of thousands of satisfied customers. Whether it’s a cracked screen, battery replacement, or water damage repair, we handle it all with professional care and expertise. Walk in today and experience why we’re Sydney’s #1 choice for mobile phone repairs.
Visit us for:
✓ Same Day Express Repairs
✓ Genuine Parts Guarantee
✓ Professional Technicians
✓ Competitive Pricing
✓ 2000+ 5-Star Google Reviews
✓ 7-Time Award Winner for Best Phone Repairs
Sydney CBD Repair Centre – Where Quality Meets Reliability.
Call : +61280114119
Website: https://SydneyCBD.repair/locate-us