


Insider’s Guide: Asus ROG 5 Ultimate Disassembly
![]()
Insider’s Guide: Asus ROG 5 Ultimate Disassembly – Master Every Step Like a Pro
Introduction: Understanding the Asus ROG 5 Ultimate
The Asus ROG 5 Ultimate is not just a smartphone—it’s a high-performance gaming powerhouse. With its Snapdragon 888 processor, 18GB of RAM, and an advanced cooling system, this device pushes the boundaries of mobile performance. However, this advanced engineering also makes the Asus ROG 5 Ultimate disassembly process more complex than typical smartphones.
Whether you’re replacing a cracked screen, a worn-out battery, or faulty internal components, understanding the internal layout and structure is essential. This guide walks you through the complete disassembly process while helping you avoid costly mistakes.
Essential Tools for Safe Disassembly
Before diving into the disassembly, ensure you have all the necessary tools. Proper tools not only protect your device but also make your repair process faster and safer.
Recommended Tools List:
- Plastic pry tools and guitar picks
- Precision screwdriver set (Phillips and Torx bits)
- Suction cup
- Heat gun or hairdryer
- Tweezers (non-metallic recommended)
- Anti-static wrist strap
- Magnetic screw mat or labeled tray
Why Using the Right Tools Matters
Using improper tools, like metal blades or oversized screwdrivers, can easily damage the fragile components inside your ROG 5 Ultimate. For example, the motherboard and AMOLED display are highly sensitive—one slip can render your phone unusable.
Investing in professional tools ensures cleaner disassembly, reduces the risk of damage, and helps you reassemble your device properly later on.
Preparing Your Workspace
A well-prepared workspace is crucial before starting the Asus ROG 5 Ultimate disassembly.
Static Electricity and Work Surface Safety
Static electricity can cause severe damage to internal chips. Always wear an anti-static wrist strap and ensure your work surface is clean, well-lit, and stable. Avoid working on carpets or rugs.
Pro Tip: Keep a screw map or a labeled organizer to track every screw and component. Asus uses various screw sizes—mixing them up during reassembly could cause frame warping or internal shorting.
Step-by-Step Asus ROG 5 Ultimate Disassembly Guide
Step 1: Power Off and Remove SIM Tray
Begin by powering off your phone completely. Use the SIM ejector tool to remove the SIM card tray. This prevents damage during disassembly and provides access to hidden clips in the rear cover.
Step 2: Heat and Remove Rear Glass Panel
The back glass is glued with strong adhesive. Use a heat gun or hairdryer to gently warm the edges for about 2–3 minutes. Insert a plastic pick or pry tool to slowly lift the glass panel.
Avoid excessive force—the glass is fragile and can crack easily.
Tip: Start from the corners and move gradually to the sides. Patience is key here.
Step 3: Disconnect Battery and Remove Midframe
After removing the back cover, you’ll see the plastic midframe secured by screws. Use a precision Phillips screwdriver to remove them. Then, carefully detach the battery connector before proceeding to any internal components—this ensures safety.
Once the midframe is lifted, you’ll gain access to the motherboard shield and various connectors.
Step 4: Accessing Motherboard and Components
Disconnect all ribbon cables, including the display and sub-board flex cables.
Remove the motherboard screws systematically, then gently lift the board using a nylon spudger.
Important: Avoid touching the copper heat pipes or thermal pads—they are vital for heat dissipation.
Step 5: Removing Cameras, Speakers, and Vibrator Module
Detach the rear and front cameras carefully using tweezers. Unscrew the loudspeaker module, which sits at the bottom of the phone. The vibration motor can be gently pried up using a thin plastic tool.
Step 6: Battery Removal Tips
The battery is glued with strong adhesive strips. Apply mild heat underneath and use plastic cards to lift it gradually. Avoid bending or puncturing the battery—it could leak or catch fire.
Safety Note: Never use metal tools when working around the battery area.
Step 7: Final Board and Display Separation
To fully separate the display, heat the screen edges and insert a thin pick under the glass. Once separated, you can replace the display, touch panel, or digitizer as needed.
Common Mistakes to Avoid During Disassembly
- Using metal tools near the battery or motherboard
- Forgetting to disconnect the battery first
- Applying too much heat to the screen or back glass
- Mixing up screws from different sections
- Pulling flex cables without proper detachment
Each mistake can cause expensive or irreversible damage, so always proceed slowly and double-check each step.
Pro Tips for Reassembly
- Clean surfaces before applying new adhesive.
- Reconnect cables firmly but gently to avoid loose contacts.
- Replace any damaged screws to ensure structural integrity.
- Perform a function test before sealing the phone completely.
- Use OEM or genuine adhesive tapes for better heat transfer and waterproofing.
When to Seek Professional Help

While DIY disassembly is possible, certain repairs—like display replacement or motherboard micro-soldering—require specialized tools and skills.
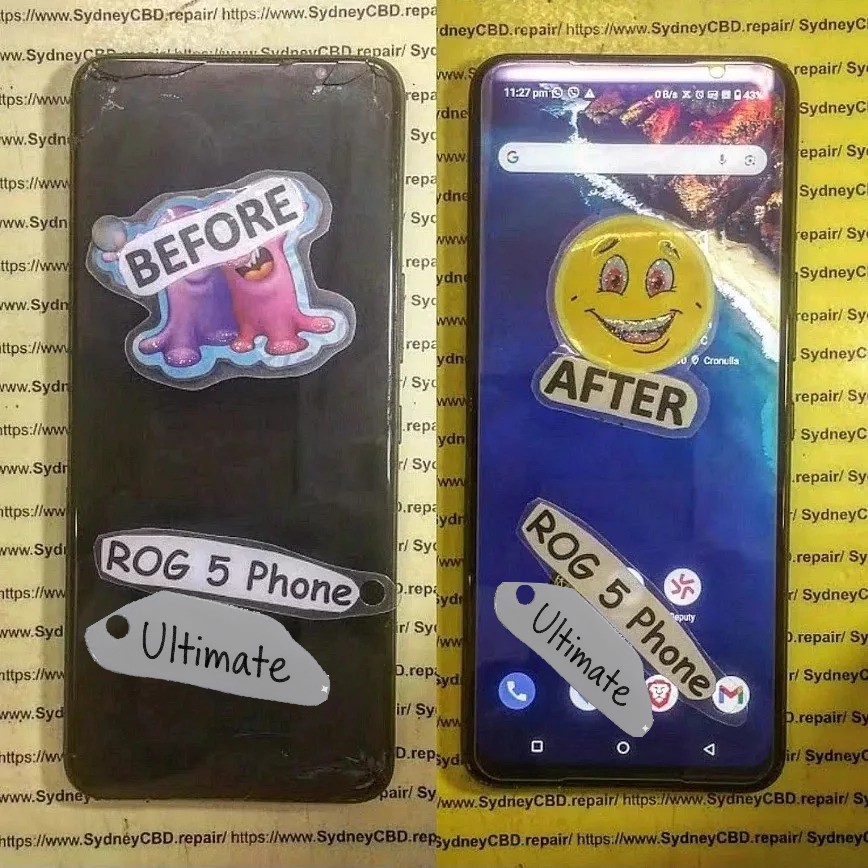
That’s where professional repair centers like Sydney CBD Repair Centre come in. With 6 years as Sydney’s #1 mobile repair shop and over 2000+ five-star Google reviews, they ensure your Asus ROG 5 Ultimate gets expert care using genuine parts and same-day service.
👉 Visit Sydney CBD Repair Centre for expert Asus ROG 5 Ultimate repairs today.
FAQs About Asus ROG 5 Ultimate Disassembly
1. Can I replace the ROG 5 Ultimate screen by myself?
Yes, but it requires patience and heating tools. If you lack experience, professional help is strongly recommended to avoid damaging the AMOLED panel.
2. What should I do if my battery is swollen?
Stop using your device immediately. Do not puncture or heat it. Visit a certified technician for safe replacement.
3. How long does the entire disassembly take?
Typically, between 45 to 90 minutes depending on your skill level and tools.
4. Is disassembling my ROG 5 Ultimate going to void my warranty?
Yes, self-repair generally voids manufacturer warranty unless performed by an authorized service center.
5. How can I avoid overheating during repair?
Use controlled heat (below 80°C) and avoid focusing on one spot for too long.
6. Where can I get genuine Asus ROG 5 parts?
You can source genuine parts through Sydney CBD Repair Centre, which uses only OEM components for replacements.
Conclusion
The Asus ROG 5 Ultimate disassembly process may seem intimidating, but with the right tools, preparation, and care, it can be done safely. From disconnecting the battery to removing the display, every step requires precision and patience. However, if you’re not confident or if your device has critical damage, trust Sydney CBD Repair Centre to handle the job professionally.
With same-day express repairs, genuine parts, and expert technicians, they’re the best in Sydney for Asus ROG and all smartphone repairs.
About Sydney CBD Repair Centre

David from Sydney CBD Repair Centre proudly leads Sydney’s most trusted repair shop — six years in a row!
They provide expert services for Apple, Samsung, Google, Asus, and more, with:
✓ Same Day Express Repairs
✓ Genuine Parts Guarantee
✓ Professional Technicians
✓ Competitive Pricing
✓ 2000+ 5-Star Google Reviews
✓ 6-Time Award Winner for Best Phone Repairs
📍 Sydney CBD Repair Centre – Where Quality Meets Reliability
📞 Call: +61280114119
🌐 Website: https://SydneyCBD.repair/locate-us