


The DIY Screen Replacement What You Need to Know
![]()
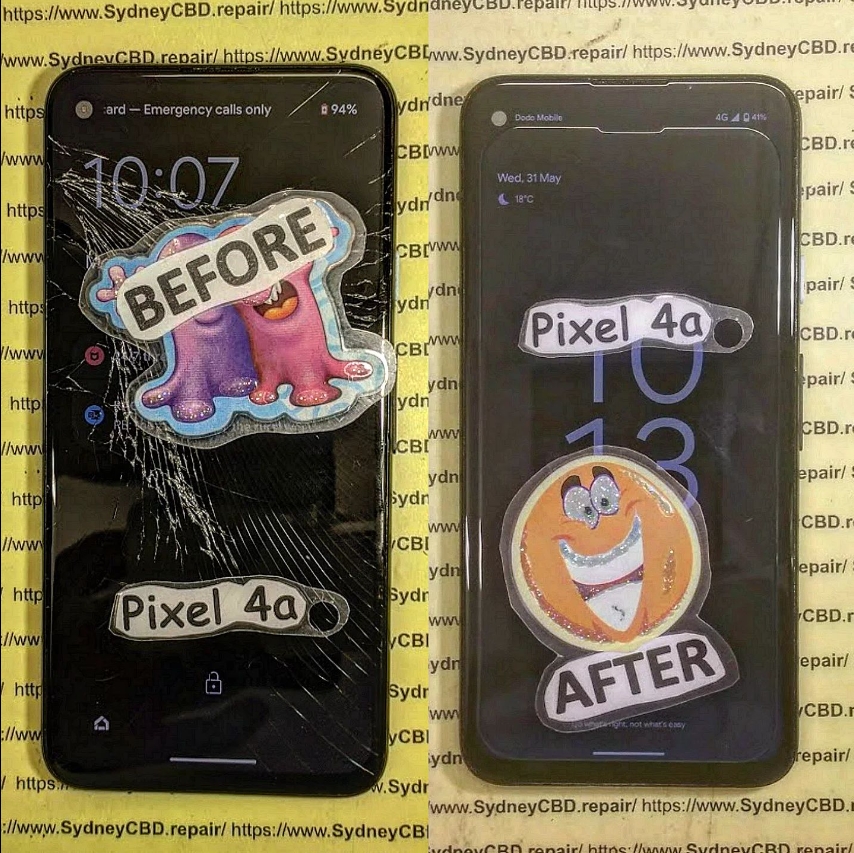
DIY Screen Replacement: What You Need to Know – Expert Tips + 12 Common Pitfalls
Introduction to DIY Screen Repairs
Cracked phone screens are frustrating — but paying for a professional fix can be costly. That’s why many tech-savvy users consider DIY screen replacement. But before grabbing a screwdriver and ordering a new screen online, it’s essential to understand what’s involved, what tools you need, and what risks you may face.
This guide will walk you through everything you need to know to decide if DIY repair is right for you — or if you’re better off leaving it to the pros.
When Should You Consider a DIY Screen Replacement?
DIY repairs might be suitable if:
- Your warranty has expired
- You’re comfortable working with electronics
- The phone isn’t your main device
- You’re trying to save money
- You have access to high-quality tools and parts
But if your phone is expensive, under warranty, or you’re unsure of your technical skills, it might not be worth the risk.
Pros and Cons of Replacing Your Own Phone Screen
| Pros | Cons |
|---|---|
| Save money on labor | Risk of damaging internal components |
| Learn a valuable skill | Requires precision tools and steady hands |
| Can be done at home | May void warranty or insurance |
| Satisfaction of fixing it yourself | Aftermarket screens may be low quality |
| Reuse and recycle rather than replace | Can cause data loss if not done correctly |
Tools You’ll Need for DIY Screen Replacement
To perform a safe and clean screen replacement, gather the following:
- Plastic opening tools or guitar picks
- Suction cup
- Precision screwdriver set (Torx, Phillips, or Pentalobe)
- Tweezers
- Heat gun or heating pad
- Isopropyl alcohol (90% or higher)
- Microfiber cloth
- Anti-static wrist strap
- Magnetic mat (for screws)
Without the right tools, you’re more likely to damage your phone.
Screen Types: LCD vs OLED vs AMOLED – What’s the Difference?
| Type | Features | Common Devices |
|---|---|---|
| LCD | Cheaper, less vibrant colors | Older iPhones, entry-level Android |
| OLED | Better colors and contrast, thinner | Mid to high-end smartphones |
| AMOLED | OLED with active matrix for faster refresh | Samsung Galaxy, Pixel, OnePlus |
Using the wrong screen type for your phone can affect display quality and touch responsiveness.
Step-by-Step Guide to DIY Screen Replacement
Step 1: Power Off and Remove SIM Card
Before starting, turn off your device and eject the SIM tray to prevent data loss or short-circuits.
Step 2: Open the Device Safely
Use a heat gun around the edges to soften adhesive. Then use a suction cup and pry tools to lift the screen or back panel — depending on the phone’s design.
Step 3: Disconnect Battery and Display Cables
Always disconnect the battery first. Then gently remove connectors for the screen, fingerprint sensor, and other components.
Step 4: Remove Old Screen
Once disconnected, gently heat and pry the old screen off. Be careful not to damage the frame or internals.
Step 5: Install New Screen and Reassemble
Clean the area with isopropyl alcohol, align the new screen, reconnect all cables, and test before sealing the phone back up.
12 Common DIY Screen Replacement Mistakes to Avoid
- Not powering off the phone before disassembly
- Using metal tools that can cause short circuits
- Applying too much heat or not enough
- Damaging flex cables or connectors
- Not disconnecting the battery before working
- Installing the wrong type of screen
- Forgetting to clean the frame
- Losing screws or using the wrong ones
- Forgetting to test the screen before reassembly
- Rushing the process
- Neglecting to use an anti-static strap
- Over-tightening screws, damaging threads or boards
Signs You’ve Damaged Components During Repair
- Screen remains black or flickers
- Touchscreen is unresponsive
- Phone doesn’t turn on
- Battery drains quickly
- No signal or Wi-Fi connection
- Fingerprint sensor no longer works
If you notice these after a repair, seek professional help immediately.
Using OEM vs Aftermarket Screens: What’s the Difference?
| Feature | OEM Screen | Aftermarket Screen |
|---|---|---|
| Display quality | Exact match | Often lower brightness or resolution |
| Touch responsiveness | High | May lag or misregister touches |
| Compatibility | 100% guaranteed | May lack features (e.g., fingerprint) |
| Durability | Built to last | Cheaper materials, lower lifespan |
| Price | Higher | Lower, but quality varies greatly |
At Sydney CBD Repair Centre, we use genuine OEM parts to maintain device integrity and performance.
Is It Cheaper to Do It Yourself?
It can be, but the savings often come with risks.
| Cost Breakdown (DIY) | Estimated |
|---|---|
| Screen part (aftermarket) | $60–$120 |
| Tools | $30–$100 |
| Time (2–4 hours) | Your time |
| Risk of error/damage | High |
Compare that to a professional repair which usually includes:
- OEM screen
- Warranty (60–90 days)
- Safe and fast turnaround
- No risk of voiding your warranty
Why Professional Help Might Be the Smarter Choice

At Sydney CBD Repair Centre, we offer:
- Same-day express repairs
- Genuine parts guarantee
- Highly skilled technicians
- 90-day warranty
- Over 2000 five-star reviews from satisfied customers
We specialize in screen replacements for Apple, Samsung, Google, and more — done right the first time.
📞 Call us: +61280114119
🔗 Locate Us Here
FAQs
1. Is DIY screen replacement worth it?
It can be if you’re skilled and have the tools, but many people end up causing more damage. For high-end phones, professional repair is safer.
2. How long does a screen replacement take?
DIY takes 2–4 hours. A pro can do it in under 1 hour, depending on the phone.
3. Can I fix a cracked screen without replacing it?
Not really. Glass-only repairs are rare and complex. Most screen replacements include the LCD or AMOLED.
4. Will DIY repairs void my warranty?
Yes, in most cases opening the phone voids manufacturer or carrier warranties.
5. What’s the most difficult part of DIY screen replacement?
Disconnecting flex cables and removing the screen without damaging the frame or motherboard.
6. Is it safe to buy replacement screens online?
Only from reputable sources. Look for OEM parts or high-grade replacements with good reviews.
Conclusion
DIY screen replacement can save you money — but it also comes with risks. If you’re confident, prepared, and have the right tools, it’s doable. But if you’re unsure or working on a valuable phone, professional repair is your safest and most reliable option.
Let the experts at Sydney CBD Repair Centre take care of your device with guaranteed quality and genuine parts.