


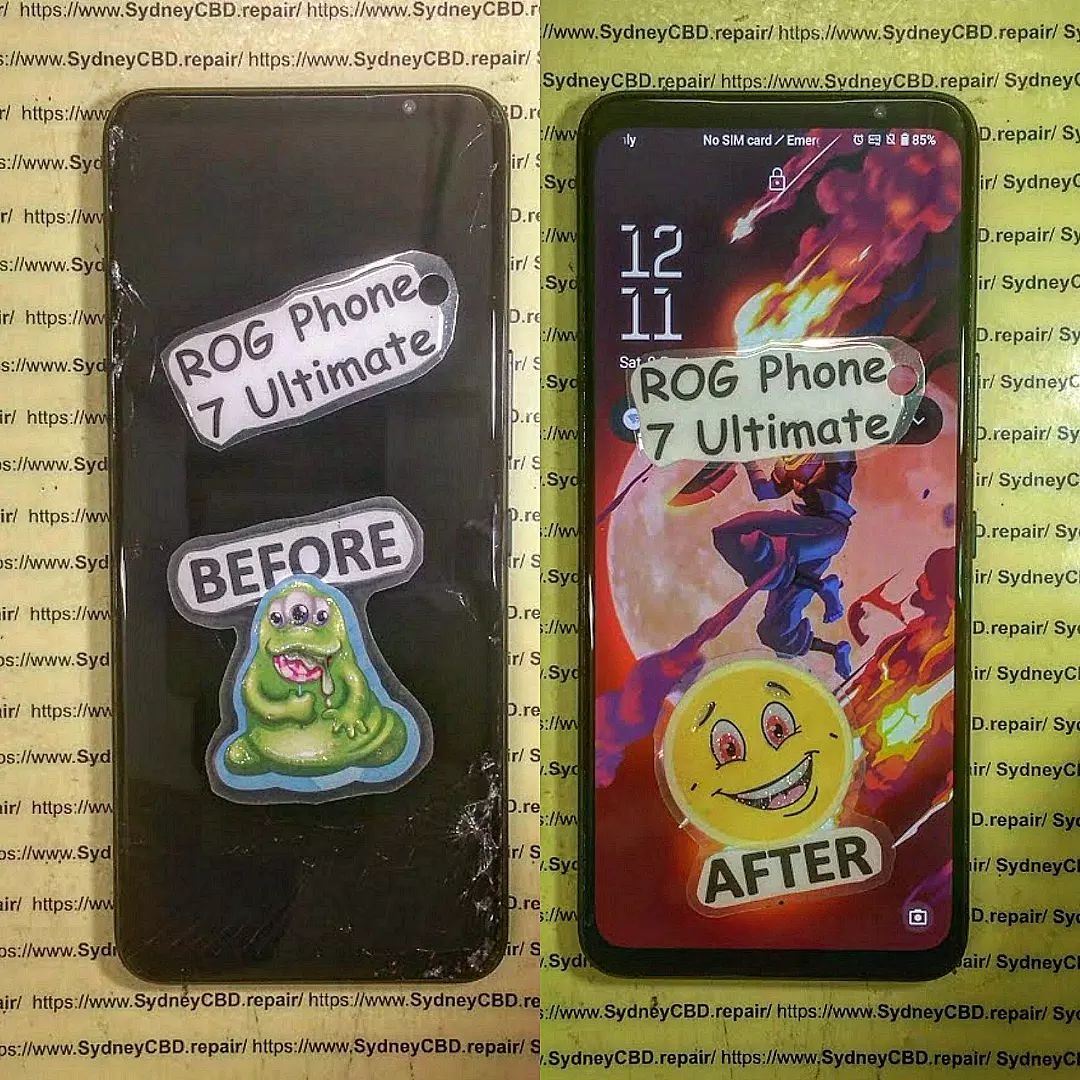
The Asus ROG Phone 7 Ultimate Disassembly Challenge
![]()
The Asus ROG Phone 7 Ultimate Disassembly Challenge: Unlocking the Power Within (2025 Edition)
Introduction
The Asus ROG Phone 7 Ultimate has redefined mobile gaming. Known for its cutting-edge performance and futuristic design, this device represents the pinnacle of Asus’s Republic of Gamers engineering. But have you ever wondered what’s beneath its sleek exterior?
In this disassembly challenge, we’ll take a closer look inside the ROG Phone 7 Ultimate — revealing its hardware marvels, cooling system, and repairability. Whether you’re a tech enthusiast, DIY repairer, or gamer curious about what makes this powerhouse tick, this guide is for you.
Understanding the ROG Legacy
Before diving into the disassembly, it’s worth understanding how far the ROG series has come. Since the first ROG Phone, Asus has pushed the boundaries of gaming performance. The ROG Phone 7 Ultimate continues that tradition with advanced hardware like the Snapdragon 8 Gen 2, AeroActive cooling system, and 165Hz AMOLED display.
Each iteration has improved cooling, durability, and repairability — showing Asus’s attention to both performance and long-term usability.
The Power Within: ROG Phone 7 Ultimate Specs
Here’s a quick overview of what makes the ROG Phone 7 Ultimate a powerhouse:
| Component | Specification |
|---|---|
| Processor | Qualcomm Snapdragon 8 Gen 2 |
| RAM | 16GB LPDDR5X |
| Storage | 512GB UFS 4.0 |
| Display | 6.78” AMOLED, 165Hz refresh rate |
| Cooling | AeroActive Portal + Vapor Chamber |
| Battery | 6000mAh dual-cell with 65W HyperCharge |
| Cameras | 50MP Sony IMX766 main + 13MP ultra-wide + 8MP macro |
| OS | ROG UI based on Android 13 |
Every part of this device has been designed to optimize heat dissipation and performance — which makes disassembly both fascinating and delicate.
Tools You’ll Need
Before starting the teardown, make sure you have these essential tools:
- Precision screwdriver set (Phillips and Torx bits)
- Plastic pry tools and spudger
- SIM ejector pin
- Suction cup
- Heat gun or iOpener
- ESD-safe tweezers
- Magnetic mat for screw management
Pro Tip: Always keep your workspace clean and grounded to prevent electrostatic damage to sensitive components.
Pre-Disassembly Preparations
- Power Off your device completely.
- Eject the SIM tray using the provided tool.
- Apply heat around the back cover edges to loosen the adhesive.
- Use a suction cup and plastic pry tool to gently lift the back cover.
- Be patient — the ROG Phone 7 Ultimate has strong adhesive and delicate connectors for its AeroActive portal.
Remember, rushing the process can cause glass cracks or connector damage.
Step 1: Removing the SIM Tray and Back Panel
Start by removing the SIM tray, then focus on separating the back glass panel. The glass is reinforced but fragile. Once loosened, lift the cover to reveal the AeroActive cooling connector and internal shield.
You’ll immediately notice the phone’s dense internal layout — evidence of Asus’s tight engineering.
Step 2: Disconnecting the Battery Safely
Next, locate the battery connector on the mainboard. Use a plastic spudger to carefully disconnect it. Avoid using metal tools here — the risk of shorting is high.
To remove the 6000mAh dual-cell battery, gently heat the adhesive and lift each cell individually. Patience pays off here; rushing can puncture the lithium cells, which is hazardous.
Step 3: Uncovering the Cooling System
The ROG Phone 7 Ultimate stands out with its AeroActive Portal and vapor chamber cooling. Once the battery and shields are removed, you’ll see the vapor chamber — a thin metal layer designed to dissipate heat evenly across the chassis.
The AeroActive portal opens automatically during gaming to enhance airflow, making this system one of the most advanced in smartphones today.
Step 4: Removing the Motherboard and Cameras
Disconnect all ribbon cables and antenna connectors linked to the motherboard. Remove screws securing it in place, then gently lift the board.
Underneath lies the triple-camera module — led by a 50MP Sony sensor with advanced OIS stabilization. Each component is modular, meaning they can be replaced individually, a win for repairability.
Step 5: Display and Frame Separation
Separating the AMOLED display is one of the trickiest steps. The screen is adhered with heat-resistant glue. Apply moderate heat and use a plastic pick to loosen it gradually.
If replacing the screen, make sure to clean the frame thoroughly before reinstallation.
Common Challenges and Mistakes
Here are the most common issues during disassembly:
- Overheating the display during adhesive removal
- Damaging ribbon cables under the shield plates
- Forgetting to disconnect the AeroActive connector
- Mixing up screw sizes (use a magnetic mat!)
Always label parts and take photos at every stage for easier reassembly.
Maintenance and Reassembly Tips
Reassembling requires precision. Always:
- Reconnect cables in reverse order
- Replace damaged adhesive with fresh strips
- Test components before sealing the back cover
- Ensure the AeroActive cooling flap aligns properly
Professional Repair vs DIY

While DIY disassembly can be satisfying, it’s not without risks. For most users, it’s safer and more cost-effective to trust a professional repair shop like Sydney CBD Repair Centre.
Their certified technicians use genuine Asus parts, offer same-day service, and provide a 90-day warranty.
👉 Visit Sydney CBD Repair Centre for expert Asus ROG Phone repairs.
Environmental Impact of Phone Repairs
Repairing instead of replacing reduces e-waste and carbon footprint. Supporting professional repair services contributes to sustainability and extends the lifespan of premium devices like the ROG Phone 7 Ultimate.
FAQs
1. Is the Asus ROG Phone 7 Ultimate easy to repair?
It’s moderately repairable but requires precision tools and experience due to tight internal design.
2. Does disassembly void the warranty?
Yes, unless performed by an authorized repair center like Sydney CBD Repair Centre.
3. Can I replace the battery myself?
Yes, but only if you’re familiar with safe disassembly techniques and adhesive handling.
4. What’s special about the AeroActive cooling system?
It’s a mechanical air portal that opens to enhance airflow, keeping the phone cool during long gaming sessions.
5. Are parts like the screen and camera modular?
Yes, most components are replaceable individually, improving longevity.
6. What’s the best place to repair my ROG Phone in Sydney?
Sydney CBD Repair Centre – trusted by over 2000 customers, 6 years in a row as Sydney’s top repair service.
Conclusion

The Asus ROG Phone 7 Ultimate disassembly reveals a masterclass in engineering — from the precision cooling to the modular camera system. While it’s possible to take it apart yourself, expert repair shops like Sydney CBD Repair Centre ensure your device stays in peak condition with genuine parts and professional care.
When performance meets craftsmanship, only the best hands can maintain it.
About Sydney CBD Repair Centre
David from Sydney CBD Repair Centre proudly leads the city’s most trusted mobile repair hub — awarded 6 years in a row as the Best Mobile Phone Repair in Sydney.
With same-day express repairs, genuine parts, and 2000+ 5-star reviews, it’s your go-to destination for fixing Apple, Samsung, Google, and Asus phones with care and precision.
📍 Visit: SydneyCBD.repair/locate-us
📞 Call: +61 2 8011 4119