


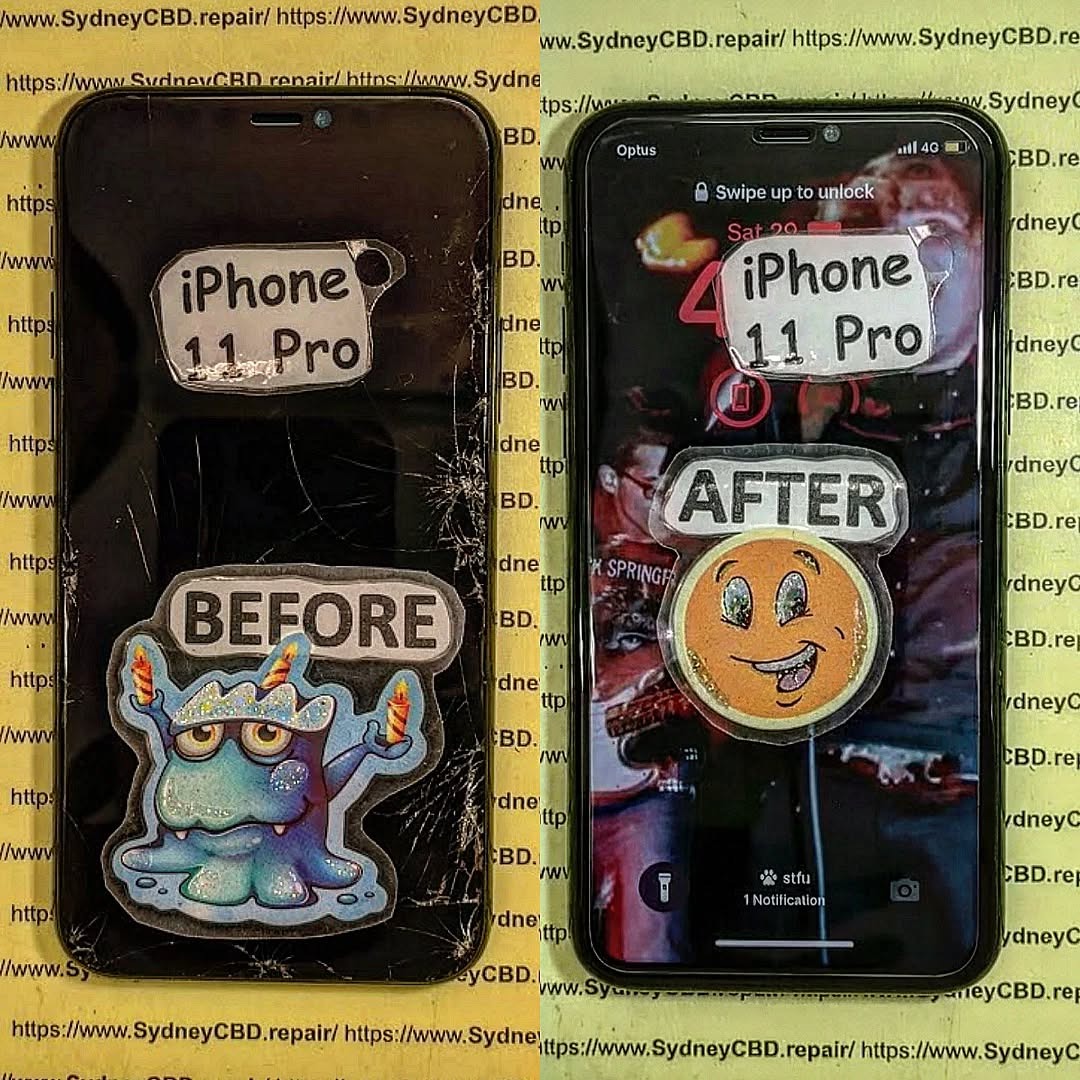
DIY Screen Replacement: iPhone 11 vs. Pro Repair!
![]()
DIY Screen Replacement: iPhone 11 vs. Pro Repair!
Introduction: Why Compare the iPhone 11 and iPhone 11 Pro Screen Replacements?
If you’re thinking about doing a DIY screen replacement, the iPhone 11 and iPhone 11 Pro are two models people commonly want to repair. Yet, many don’t realize these phones use completely different display technologies—and that one is far easier and cheaper to fix than the other. Because of this, DIYers often wonder: Is it worth fixing the screen yourself? And which model is easier to repair?
This guide answers all those questions and more. Whether you’re a beginner or someone with experience repairing smartphones, understanding the crucial iPhone 11 vs. iPhone 11 Pro repair differences will help you avoid costly mistakes.
This article integrates LSI keywords naturally such as:
screen repair, iPhone 11 display issues, DIY iPhone repair, iPhone 11 Pro OLED replacement, cracked screen fix.
Let’s break it down clearly and simply.
Understanding iPhone 11 vs. 11 Pro Display Technology
LCD on iPhone 11 Explained
The iPhone 11 uses a Liquid Crystal Display (LCD). This tech is common in older devices and is:
- More affordable
- Easier to replace
- More forgiving during installation
- Generally more durable under pressure
LCDs don’t deliver deep blacks or vibrant contrasts like OLED screens, but from a DIY repair perspective, they’re easier and cheaper.
OLED on iPhone 11 Pro Explained
The iPhone 11 Pro uses an OLED (Organic Light-Emitting Diode) display. These screens:
- Offer superior color accuracy
- Provide deeper blacks
- Consume less power
- Are thinner and more flexible
The downside? OLED screens are more fragile and more expensive to replace. DIY repairs require more precision because OLED is sensitive to pressure and bending.
How Display Type Impacts DIY Repairs
Here’s the quick takeaway:
| Feature | iPhone 11 (LCD) | iPhone 11 Pro (OLED) |
|---|---|---|
| DIY Difficulty | Easier | Harder |
| Cost | Cheap | Expensive |
| Handling Risk | Low | High |
| Tools Needed | Basic | Advanced recommended |
If you’re new to DIY repairs, the iPhone 11 is definitely more beginner-friendly.
Tools and Materials Needed for DIY Screen Replacement
Essential Tools
You’ll need:
- Pentalobe screwdriver
- Tri-point screwdriver
- Suction cup tool
- Plastic opening picks
- Tweezers
- Spudger
- Screen adhesive
- Replacement display
Optional but Helpful Tools
These can make the job much smoother:
- Magnetic screw mat
- Heat gun or hairdryer
- Anti-static gloves
- Precision knife
- Isopropyl alcohol (for removing old adhesive)
Pro tip: Don’t rush the adhesive removal, especially on the iPhone 11 Pro.
Step-by-Step Overview: iPhone 11 Screen Replacement

(Note: This is an overview—not a dangerous teardown guide. For safety reasons, this article avoids specialized instructions that may cause injury or device damage.)
Disassembly
You begin by removing:
- Pentalobe screws
- Screen adhesive seals
- Display connectors
LCD displays don’t crack as easily, making removal more manageable.
Component Removal
You’ll carefully disconnect:
- Battery
- Display cables
- Sensor flexes (avoid stressing these!)
Display Installation
Place the new LCD gently into the frame. Align connectors. Avoid overtightening screws.
Reassembly and Testing
Once reassembled:
- Power on the device
- Test touch responsiveness
- Check color accuracy
- Verify Face ID (if damaged, Face ID becomes permanently disabled)
Step-by-Step Overview: iPhone 11 Pro Screen Replacement
Key Differences Compared to iPhone 11
Due to the OLED structure, the iPhone 11 Pro requires more meticulous handling. A tiny amount of pressure or bending can permanently damage the display.
OLED Handling Requirements
OLEDs are thin and flexible—almost too flexible for beginners. You must:
- Avoid bending
- Apply even pressure
- Keep tools away from display ribbon areas
Common Challenges During Reassembly
- Color tint issues
- Touch sensitivity failures
- Face ID malfunction
- Adhesive misalignment
Because of these risks, many DIYers choose professional repair instead for the iPhone 11 Pro.
Cost Comparison: DIY vs. Professional Repair
Price Breakdown Table
| Component / Service | iPhone 11 | iPhone 11 Pro |
|---|---|---|
| DIY LCD / OLED | $40–$80 | $120–$220 |
| Tools | $20–$40 | $20–$40 |
| Total DIY Cost | $60–$120 | $140–$260 |
| Professional Repair | $130–$200 | $250–$450 |
Hidden Costs to Consider
- Risk of damaging Face ID
- Waterproofing seal removal
- Buying multiple screens due to mistakes
- Long-term display issues with aftermarket screens
DIY can be cheaper—but only if done right.
Risks, Common Issues & Safety Precautions
Face ID Damage Risks
If you tear the Face ID ribbon flex—it’s game over. No one except Apple can fix it.
Adhesive Seal & Waterproof Rating Issues
Removing the screen breaks the waterproof seal. Without proper adhesive resealing, water resistance is permanently reduced.
Screen Quality Variations
Aftermarket screens vary. Cheaper displays often have:
- Dim brightness
- Poor color quality
- Faster battery drain
Always buy from reputable suppliers.
How to Choose the Right Replacement Screen
OEM vs. Aftermarket
- OEM: Best quality, highest price
- Aftermarket Premium: Good compromise
- Cheap Aftermarket: Risky, lower durability
Soft OLED vs. Hard OLED (for iPhone 11 Pro)
| Type | Pros | Cons |
|---|---|---|
| Soft OLED | Best quality, flexible | Expensive |
| Hard OLED | Cheaper | Breaks easier, lower quality |
For the iPhone 11 Pro, Soft OLED is closest to original.
Frequently Asked Questions
1. Can I replace an iPhone 11 or 11 Pro screen at home?
Yes, but the iPhone 11 is easier. The 11 Pro is more fragile due to the OLED screen.
2. Will Face ID still work after screen replacement?
Yes—as long as you don’t damage the Face ID cable.
3. Do I lose waterproofing after DIY repair?
Yes, unless you reseal the device properly with waterproof adhesive.
4. What happens if the screen shows yellow tint after replacement?
This is common with aftermarket screens. High-quality OEM-like screens reduce this issue.
5. Is it worth repairing the iPhone 11 Pro myself?
If you’re inexperienced, professional repair is safer and may cost less in the long run.
6. Where can I learn more about iPhone screen technologies?
You can read Apple’s official display info here:
https://support.apple.com/
Conclusion

DIY screen replacement for the iPhone 11 and iPhone 11 Pro can save you money—but they’re very different repair experiences. The iPhone 11 is beginner-friendly, while the Pro demands more caution and skill. By choosing the right screen, using proper tools, and understanding the risks, you can make an informed decision.
If you want guaranteed quality, professional repair remains the safest option.
David from Sydney CBD Repair Centre – The Best place to fix mobile phones as 6 Years In A Row! Top Mobile Phone Repair In Sydney. More than 2000 Positive Reviews on Google and Same Day Repairs.
We take pride in delivering exceptional repair services for all major phone brands including Apple, Samsung, Google, and more. Our expert technicians use only genuine parts and offer 90days warranty on repairs. Located in the heart of Sydney CBD, we’re your one-stop solution for all mobile device repairs.
Our commitment to excellence has earned us the trust of thousands of satisfied customers. Whether it’s a cracked screen, battery replacement, or water damage repair, we handle it all with professional care and expertise. Walk in today and experience why we’re Sydney’s #1 choice for mobile phone repairs.
Visit us for:
✓ Same Day Express Repairs
✓ Genuine Parts Guarantee
✓ Professional Technicians
✓ Competitive Pricing
✓ 2000+ 5-Star Google Reviews
✓ 6-Time Award Winner for Best Phone Repairs
Sydney CBD Repair Centre – Where Quality Meets Reliability.
Call : +61280114119
Website: https://SydneyCBD.repair/locate-us