


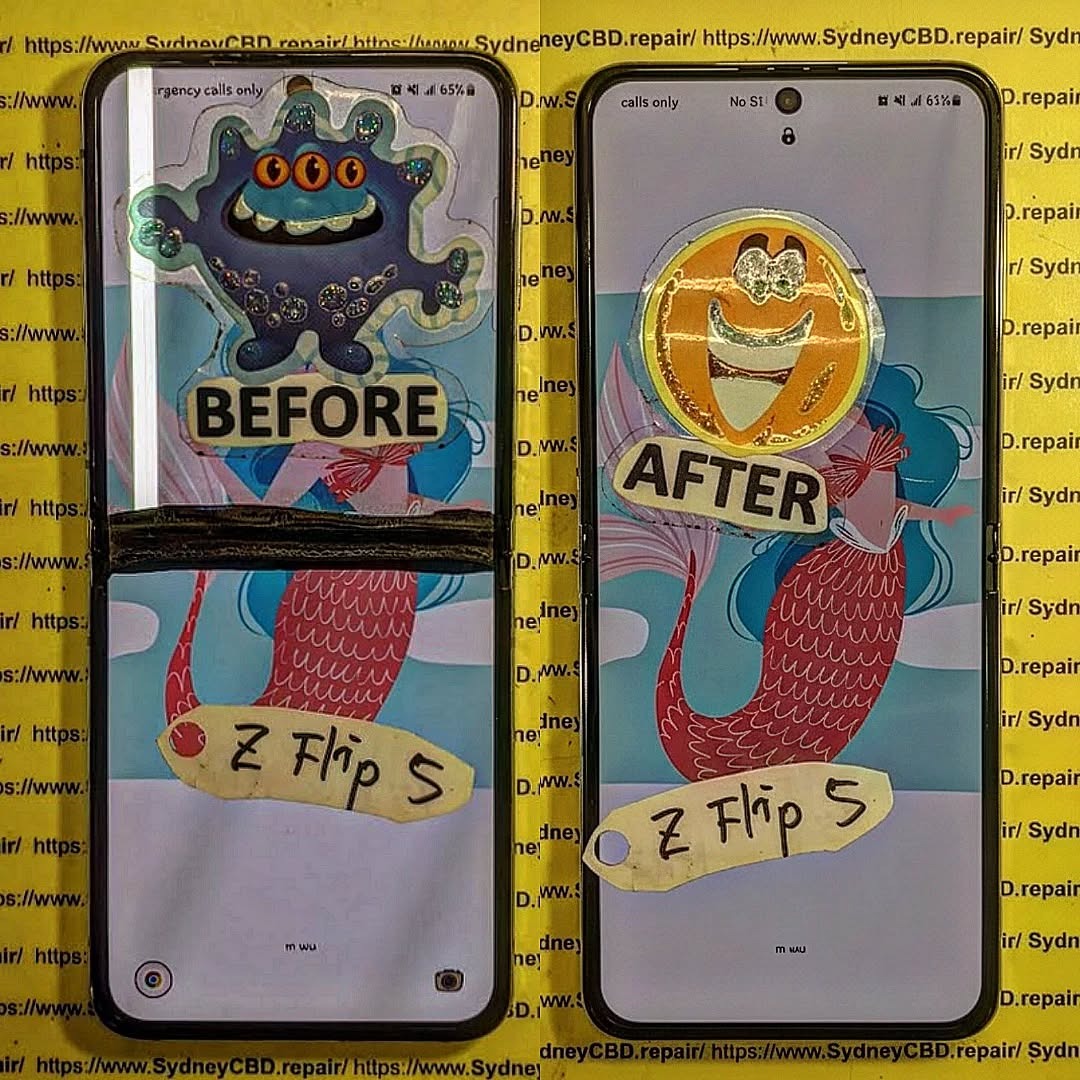
The Elusive Green Line Fix: Display Panel Restoration
![]()
The Elusive Green Line Fix: Display Panel Restoration + Proven 7-Step Method
Introduction
Few things are as frustrating for smartphone and tablet users as noticing a stubborn green line slicing across the display. It disrupts the viewing experience, affects touch sensitivity, and often signals a deeper issue with the device’s display panel. Whether it’s caused by accidental drops, water exposure, faulty connectors, or failing display ICs, the green line is more than just a cosmetic annoyance—it’s a warning sign that your device may need professional attention or a careful DIY fix.
In this comprehensive guide, we’ll explore everything you need to know about tackling this common display problem. From understanding the root causes and diagnosing the issue to following a proven 7-step restoration process, this article equips you with practical knowledge and actionable solutions. We’ll also cover preventive measures to avoid future screen problems, cost estimates for repairs, and when it’s wise to seek professional help.
By the end of this guide, you’ll not only know how to restore your device’s display to its former clarity but also gain confidence in preventing similar issues in the future. Whether you’re a tech-savvy DIY enthusiast or someone looking to make an informed decision on professional repairs, this guide has got you covered.
Understanding the Green Line Issue
If you’ve ever noticed a stubborn green line appearing across your phone or tablet screen, you know how distracting it can be. Green lines are a common display panel problem that can indicate anything from a minor connection issue to serious hardware failure. Understanding what causes these lines and recognizing the warning signs early can save you a lot of time, money, and frustration.
Common Causes of Green Lines on Screens
Green lines typically appear due to hardware issues, although software problems can occasionally contribute. The main culprits include:
- Damaged flex cables: These thin connectors transmit data from the motherboard to the display. A tear or bend can trigger lines.
- Faulty display driver IC: The integrated circuit responsible for screen signals may fail.
- Screen or panel damage: Dropping the device, pressure, or water exposure can damage the panel, producing green streaks.
- Software glitches: Though less common, firmware bugs or improper updates can create display artifacts.
Understanding the root cause is critical before attempting any repairs.
Signs Your Display Panel Needs Restoration
Before diving into restoration, check for these common symptoms:
- Vertical or horizontal green lines appearing constantly or intermittently.
- Flickering or ghosting along the line’s path.
- Touchscreen unresponsiveness in affected areas.
- Color distortion or patches of discolored pixels.
Identifying these early ensures a smoother restoration process and reduces the risk of further damage.
Diagnosing the Display Panel
Proper diagnosis is the foundation of a successful green line fix. This involves differentiating between software and hardware issues.
Visual Inspection Techniques
Start with a careful visual inspection:
- Examine the screen for cracks, dents, or signs of water damage.
- Check connectors for bent pins or corrosion.
- Inspect flex cables for signs of wear, folds, or improper seating.
A simple magnifying glass can help detect subtle damage that’s otherwise easy to miss.
Software vs Hardware Diagnosis
To determine whether the issue is software-related:
- Boot the device in safe mode to bypass third-party apps.
- Update your firmware to the latest version.
- Perform a factory reset if necessary (back up data first).
If the green line persists after software checks, the problem is almost certainly hardware-related, requiring hands-on restoration.
Step-by-Step Green Line Fix

Repairing a green line is delicate work. Follow these seven steps carefully.
Step 1: Power Off and Safety Measures
Before touching internal components:
- Power off the device completely.
- Disconnect from any charging source.
- Ground yourself with an anti-static wrist strap.
- Prepare a clean, well-lit workspace.
Step 2: Disassembly of Device
Disassembly must be precise to avoid further damage:
- Remove screws using the correct size screwdriver.
- Pry open the screen gently, using plastic tools to avoid scratching.
- Keep a small container for screws and tiny components.
Step 3: Cleaning Connectors and Flex Cables
Dirty or oxidized connectors are common culprits:
- Use 90–99% isopropyl alcohol with a lint-free cloth.
- Gently clean connector pins.
- Inspect for visible corrosion; minor corrosion can often be carefully removed.
Step 4: Reflowing or Replacing the Display Panel
Depending on the damage:
- Reflowing: Heat specific areas of the display IC with a hot air station to re-establish solder connections. Only attempt if experienced.
- Replacement: If reflowing fails or damage is severe, replace the display panel with a genuine or high-quality OEM part.
Step 5: Reassembly and Testing
Once the panel is repaired or replaced:
- Reassemble the device carefully.
- Test the screen before closing completely to ensure the green line is gone.
- Check touch functionality and display brightness.
Step 6: Calibration and Software Check
After hardware repair:
- Run any available screen calibration tools.
- Update firmware and perform diagnostic tests.
- Verify color accuracy and touchscreen responsiveness.
Step 7: Final Quality Assurance
- Stress-test the screen over several hours.
- Look for any recurring lines or flickering.
- Ensure all connectors are tight and the device is functioning optimally.
Preventive Measures to Avoid Green Lines
Once your device is restored, prevent future issues by:
- Using a durable screen protector.
- Avoiding excessive pressure or bending of the screen.
- Keeping the device away from liquids.
- Handling charging cables carefully to avoid flex cable stress.
Cost and Time Estimates for Repairs
Repair costs vary:
| Repair Type | Approximate Cost | Time Required |
|---|---|---|
| DIY Cleaning & Connector Fix | $10–$30 | 30–60 min |
| Professional Reflow | $40–$80 | 1–2 hours |
| Display Replacement | $80–$250 | 1–3 hours |
Professional repairs are recommended if you are inexperienced, as improper handling can worsen the damage.
When to Seek Professional Help
Even with step-by-step instructions, some scenarios require professional intervention:
- The green line persists after cleaning and reflowing.
- The display shows multiple colors or is cracked.
- You lack tools or experience to safely disassemble the device.
Sydney CBD Repair Centre offers same-day repairs using genuine parts, with a 90-day warranty, ensuring safe and reliable restoration. Visit Sydney CBD Repair Centre for expert assistance.
Frequently Asked Questions (FAQs)
1. Can a green line disappear on its own?
Rarely. Most green lines indicate physical damage and will persist until repaired.
2. Is it safe to continue using a device with a green line?
Temporary use is possible, but long-term use may worsen the damage or lead to complete screen failure.
3. Can software updates fix green lines?
Only in rare cases. Persistent lines usually indicate hardware failure.
4. Are aftermarket screens reliable for repair?
Quality varies. Always choose OEM or high-grade aftermarket screens to ensure performance and durability.
5. How long does a professional repair take?
Most professional repairs, including screen replacement, take 1–3 hours depending on device complexity.
6. Will warranty cover green line issues?
It depends on the manufacturer and the cause. Physical or liquid damage is often excluded.
Conclusion

Fixing the elusive green line on your device’s display panel requires careful diagnosis, precision, and sometimes professional help. By following this 7-step method—covering disassembly, cleaning, reflowing, replacement, and final calibration—you can restore your device’s screen and prevent future issues. If in doubt, rely on trusted professionals like Sydney CBD Repair Centre for same-day, guaranteed repairs.
David from Sydney CBD Repair Centre – The Best place to fix mobile phones as 6 Years In A Row! Top Mobile Phone Repair In Sydney. More than 2000 Positive Reviews on Google and Same Day Repairs.
Visit us for:
✓ Same Day Express Repairs
✓ Genuine Parts Guarantee
✓ Professional Technicians
✓ Competitive Pricing
✓ 2000+ 5-Star Google Reviews
✓ 6-Time Award Winner for Best Phone Repairs
Sydney CBD Repair Centre – Where Quality Meets Reliability.
Call : +61280114119
Website: https://SydneyCBD.repair/locate-us