


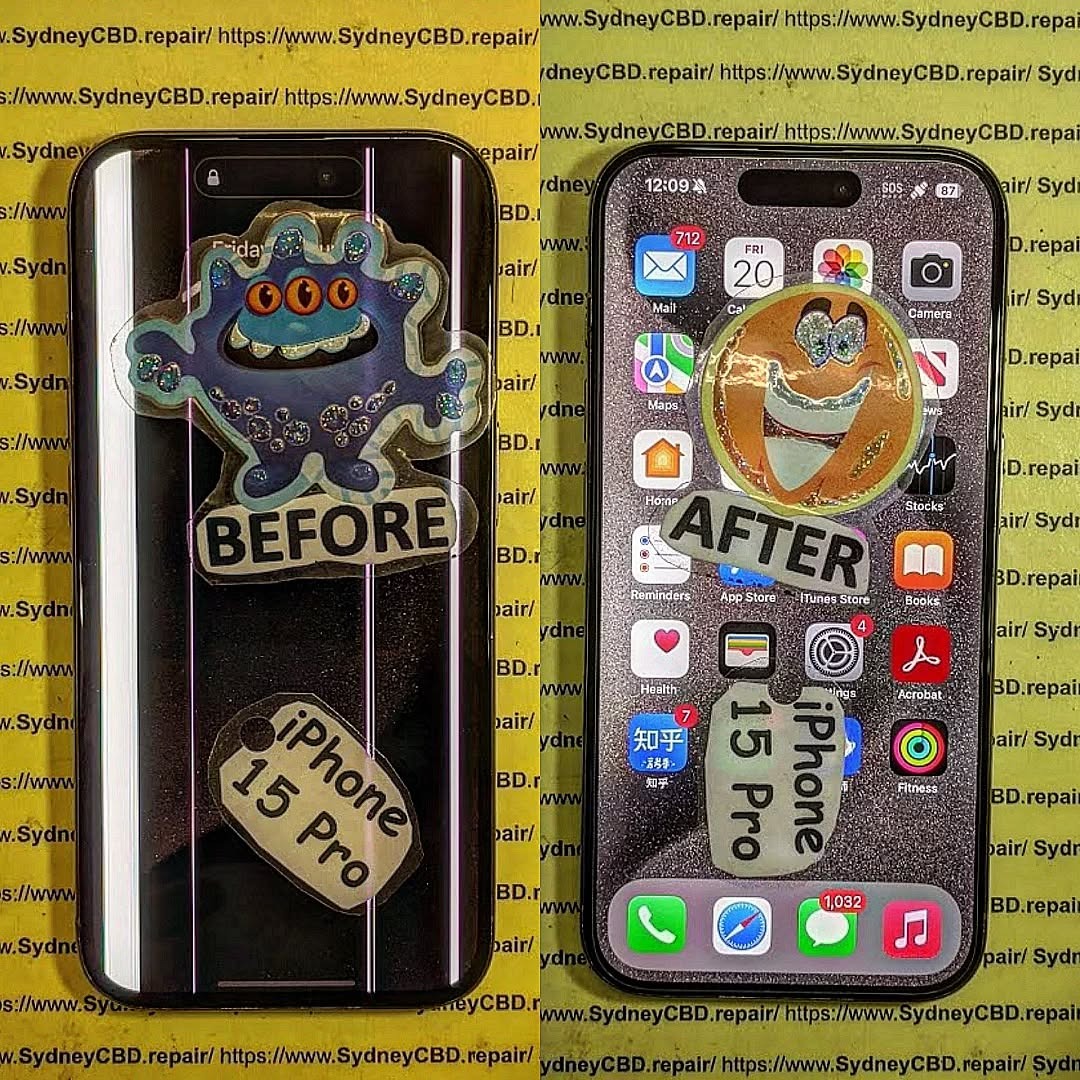
Can you replace your iPhone 15 Pro screen yourself?
![]()
Can You Replace Your iPhone 15 Pro Screen Yourself? + The Truth + 10 Must-Know Facts
📱 Understanding the iPhone 15 Pro’s Screen Technology
The iPhone 15 Pro boasts a cutting-edge Super Retina XDR OLED display with Ceramic Shield protection, which is not only brighter and more responsive than previous models but also more intricate in its engineering. This makes replacing it far more complicated than older iPhones.
Key specs:
-
6.1-inch OLED display
-
ProMotion 120Hz refresh rate
-
Dynamic Island
-
True Tone, HDR10, Dolby Vision
-
Ceramic Shield front for extra durability
But even with these premium specs, the screen can still crack, shatter, or become unresponsive due to accidental drops or impact. And that’s when you start thinking—should you repair it yourself or leave it to the pros?
🔧 Reasons for Replacing the iPhone 15 Pro Screen
You might consider a screen replacement for a few of the following reasons:
-
Cracked or shattered display
-
Dead pixels or screen burn-in
-
Touchscreen unresponsiveness
-
Ghost touches
-
Display discoloration or flickering
-
Face ID not working due to display damage
While the symptoms might seem fixable, diving into DIY repair without adequate prep could make things worse.
🛠️ DIY Screen Repair: Is It Even Possible?
Technically, yes—you can attempt to replace the iPhone 15 Pro screen yourself, but should you? Let’s weigh the tools and knowledge required first.
🧰 Tools and Materials You’ll Need
To even consider a DIY screen replacement, you’ll need:
-
Pentalobe screwdriver (P2)
-
Tri-point screwdriver (Y000)
-
Plastic spudger and opening picks
-
Suction handle
-
Heat gun or iOpener
-
Anti-static mat and gloves
-
Replacement OLED screen (genuine or high-quality third-party)
Even experienced DIYers often lack the tools to safely remove Apple’s display adhesives and micro-connectors.
🛒 Where to Source Genuine Parts
Apple allows access to original parts via its Self Service Repair program in select countries. However, for most people outside this circle, parts come from third-party vendors. Be cautious—cheap knock-offs can damage your logic board or result in poor display performance.
Step-by-Step Guide to iPhone 15 Pro Screen Replacement
Warning: This is a high-risk repair. Even a small mistake can permanently damage your iPhone.
🔌 Step 1: Power Off and Disassemble
Before anything, power off your iPhone. Use a Pentalobe screwdriver to remove the two screws next to the Lightning port. Gently heat the display edges with a heat gun or iOpener to loosen the adhesive.
Use a suction handle to lift the display slightly while sliding an opening pick along the edges to break the seal. Take extreme care—pulling too hard may damage flex cables underneath.
🔋 Step 2: Disconnect the Battery
After lifting the screen, use a tri-point screwdriver to remove the cover plate that shields the battery and display connectors. Disconnect the battery first to avoid short-circuits.
📱 Step 3: Remove the Damaged Display
Once disconnected, carefully remove the display by detaching the remaining connectors. Don’t force anything—most connectors are delicate and sit snugly.
🔄 Step 4: Install the New Screen
Place the new screen and reconnect all display flex cables. Ensure each one clicks gently into place. Misaligned connections could disable Face ID or display functions.
🔧 Step 5: Reassemble and Test
Reattach the battery and cover plate. Close the screen gently, ensuring proper alignment, then reinstall the Pentalobe screws. Turn the iPhone on and test:
- Display brightness and responsiveness
- Face ID functionality
- ProMotion refresh
- True Tone (may be lost without Apple calibration)
⚠️ Challenges of DIY Repairs
Repairing an iPhone 15 Pro screen isn’t like swapping out batteries on older models. Here’s what makes it risky:
😟 Face ID & OLED Issues
Face ID components are tied to your logic board. Damaging them disables facial recognition permanently unless you go through Apple.
OLED screens are fragile and require precision handling. One wrong flex and you’ll see flickering, ghosting, or dead zones.
💧 Dust, Water Resistance & Internal Damage Risks
Opening your iPhone breaks its waterproof seal. Reapplying adhesive rarely restores its original IP68 water resistance.
You also risk puncturing the battery, bending logic board contacts, or damaging the speaker/mic seals.
📜 Apple’s Official Policy on Third-Party Repairs
Apple allows third-party and self-service repairs but warns that:
- Certain features like True Tone, Face ID, and brightness calibration may not work correctly without proprietary tools.
- Damage during third-party repair voids the warranty, even if the original fault was unrelated.
- Post-repair errors may not be resolved through Apple Store support.
Apple’s official Self Service Repair program gives access to tools and manuals, but is not available in all regions and assumes advanced technical skills.
💰 Warranty Implications and Device Lockout Risks
Improper screen installation can result in:
- Touch ID / Face ID Lockout
- Loss of Apple warranty or AppleCare+
- Software alerts about “Unknown Parts”
- iOS feature limitations (like True Tone or Auto-Brightness malfunctioning)
Apple’s diagnostic tools will detect third-party displays, which could result in service refusals later.
💵 Professional vs DIY: A Cost Comparison
| Repair Method | Average Cost | Time Required | Risk Level | Warranty |
|---|---|---|---|---|
| DIY (with tools) | AUD $400–$600 | 2–4 hours | High | None |
| Professional Repair | AUD $480–$550 | 1 hour | Low | 90-day or more |
Though DIY may appear cheaper at first, consider the long-term costs of screen failure, re-repair, or disabling Face ID. Most users save money by doing it right the first time.
⚡ Safety Concerns with DIY Repairs
- 🔋 Battery puncture can cause fire
- 🧲 Static discharge may damage components
- 👁️ Sharp OLED shards can cause injury
- 🧪 Exposure to glue fumes can irritate skin/eyes
Unless you’re confident and well-equipped, the risk is often not worth the reward.
🛠️ What to Expect from a Professional Repair Shop
⏱️ Turnaround Time
Shops like Sydney CBD Repair Centre offer same-day screen replacement. Most customers are in and out within 1–2 hours.
📜 Warranty and Support
You’ll get:
- 90-day warranty on parts and labor
- Genuine Apple-compatible parts
- Expert calibration for Face ID, True Tone, and display settings
And most importantly, peace of mind.
⭐ Sydney CBD Repair Centre: Your Trusted Repair Partner

Located in the heart of the Sydney CBD, we are:
- 🛠️ 6-time winner for best mobile phone repair
- ✅ Over 2000 verified 5-star Google reviews
- 📱 Specialists in Apple, Samsung, and Google Pixel repairs
- 💯 Only use genuine parts with full functionality
Walk-in or book online for same-day service:
🔗 Locate us here
❓ 6 FAQs About iPhone 15 Pro Screen Replacement
1. Can I replace the iPhone 15 Pro screen myself?
Technically yes, but it’s risky and may void your warranty. Always weigh the risks before proceeding.
2. Will Face ID still work after replacement?
Only if done professionally. DIY repairs may break the Face ID sensor permanently.
3. Does Apple allow third-party screen repairs?
Yes, but they won’t cover any resulting damage under warranty unless it’s done through official channels.
4. How long does a professional repair take?
Most professional screen replacements are completed within 60–90 minutes.
5. What’s the average cost in Sydney?
Expect to pay between AUD $480 to $550 for a professional iPhone 15 Pro screen replacement with genuine parts.
6. Can I keep my True Tone feature after repair?
Only if the repair technician transfers the original screen data correctly—which most DIYers cannot do.
✅ Conclusion
So, can you replace your iPhone 15 Pro screen yourself? Sure.
Should you? Probably not—unless you’re highly experienced and fully equipped.
DIY repairs are tempting but carry major risks: broken Face ID, water damage, or complete phone failure. For most people, the smartest choice is turning to professionals like Sydney CBD Repair Centre—where quality meets reliability.