DIY Phone Repair: Tools, Tape, and Troubleshooting
![]()
DIY Phone Repair: Tools, Tape, and Troubleshooting – Master Your Fixes with 15 Essential Tips
Introduction: Why DIY Phone Repair is Growing
Smartphones are an essential part of our lives, but accidents happen—cracked screens, weak batteries, or malfunctioning buttons. The rising costs of professional repairs have encouraged many people to try DIY phone repair. With the right tools, proper tape, and a bit of troubleshooting knowledge, you can restore your device without breaking the bank.
This guide will walk you through essential DIY repair tools, different types of tape, common troubleshooting techniques, and when it’s best to seek professional help. Whether you’re fixing an iPhone, Samsung Galaxy, or Google Pixel, this article will equip you with everything you need.
The Risks and Rewards of DIY Repairs
Rewards:
- Save money on repair costs
- Learn valuable technical skills
- Fix issues on your own schedule
- Gain confidence in handling electronics
Risks:
- May void manufacturer warranty
- Potential damage to phone components
- Risk of personal injury (sharp tools, battery hazards)
- Not all repairs are suitable for beginners
DIY repair is most successful when you understand your limitations and know when to stop and seek expert help.
Essential Tools for DIY Phone Repair
Precision Screwdrivers
A set of precision screwdrivers (Torx, Phillips, Pentalobe) is non-negotiable for safe phone disassembly.
Spudgers and Pry Tools
Plastic spudgers prevent scratches, while metal pry tools assist in lifting stubborn components.
Anti-Static Mats and Wrist Straps
Static electricity can fry your phone’s motherboard. Anti-static gear protects delicate electronics.
Magnifying Glasses and Lighting
Good lighting and magnification help identify micro components and connectors.
The Role of Tape in Smartphone Repair
Kapton Tape
Heat-resistant Kapton tape is ideal for insulating components during soldering.
Adhesive Strips for Screens and Batteries
Pre-cut adhesives are used to reseal screens or secure batteries.
Electrical Tape Uses
Useful for quick insulation, but not a permanent fix for critical components.
Common DIY Repairs You Can Attempt
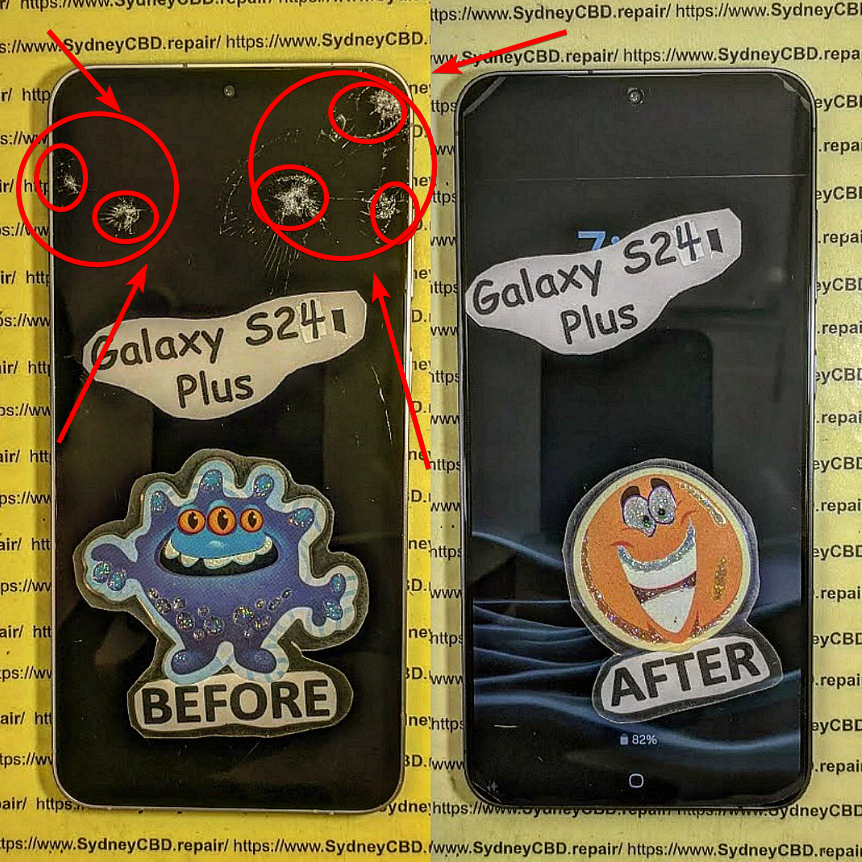
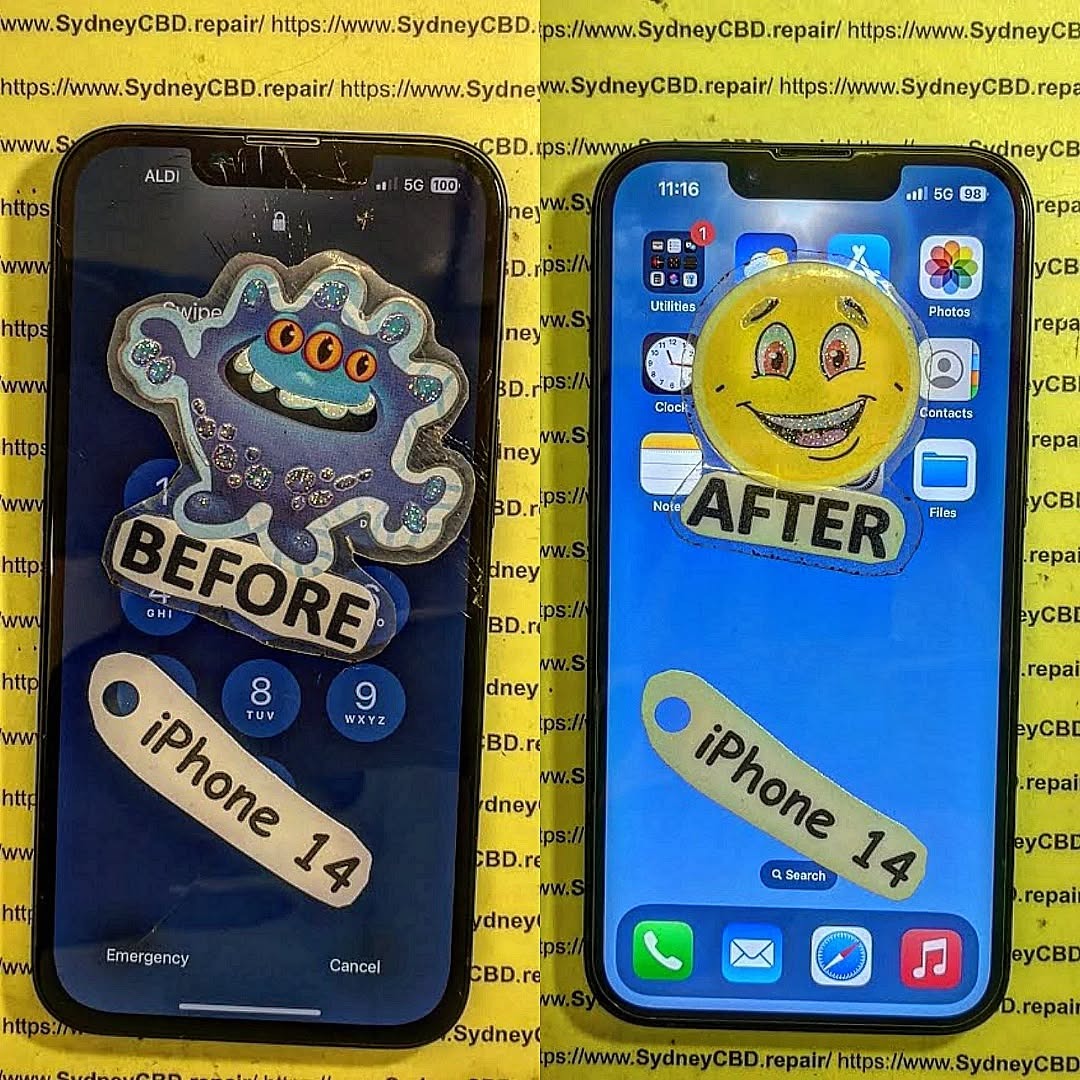
Replacing a Cracked Screen
The most common repair, requiring patience and adhesive strips.
Fixing a Weak Battery
Many devices allow battery swaps using proper adhesive strips and a spudger.
Repairing a Faulty Charging Port
Requires steady hands, as ports are soldered and delicate.
Camera and Button Issues
Dust cleaning, reseating cables, or replacing small components can fix these.
Troubleshooting Basics Before Repair
Phone Won’t Turn On
Check the battery, charging cable, and try a hard reset before opening the device.
Overheating Problems
Could be due to background apps, old batteries, or blocked ventilation.
Audio and Speaker Malfunctions
Clean dust, check for software updates, and test headphones.
Water Damage Diagnostics
Don’t charge a wet phone—use silica gel or rice packs for initial drying.
Mistakes to Avoid During DIY Phone Repairs
- Using force when prying open the phone
- Forgetting to disconnect the battery first
- Losing screws or mixing up sizes
- Ignoring safety precautions with lithium-ion batteries
Professional vs DIY Repairs: When to Seek Help

While DIY can fix minor issues, water damage, motherboard faults, and advanced soldering are best left to professionals like Sydney CBD Repair Centre, trusted by thousands in Sydney for fast, reliable phone repairs.
Step-by-Step Guide: Safely Opening Your Phone
- Power off the device
- Remove SIM tray
- Heat the phone edges with a heat gun/hairdryer
- Use suction cup and pry tool
- Disconnect the battery first before handling components
Data Safety Before Any Repair
Always back up your data to the cloud or a PC. This ensures you don’t lose precious photos or files if something goes wrong.
Cost Comparison: DIY vs Professional Repair
| Repair Type | DIY Cost (AUD) | Professional Cost (AUD) |
|---|---|---|
| Screen Replacement | $60–$120 | $200–$400 |
| Battery Replacement | $40–$80 | $100–$200 |
| Charging Port | $30–$70 | $120–$250 |
| Water Damage | Risky at home | $200–$600 |
❓ FAQs
1. Can I repair my phone at home without special tools?
Yes, but you’ll need at least a screwdriver set and pry tools for safe disassembly.
2. What tape is best for phone repair?
Kapton tape for insulation and pre-cut adhesive strips for screens and batteries.
3. Will DIY repairs void my warranty?
Yes, most phone manufacturers void warranties if you attempt unauthorized repairs.
4. How do I know if my battery needs replacement?
If your phone shuts off unexpectedly, drains too fast, or overheats, it may need a new battery.
5. Can water-damaged phones be fixed at home?
Minor cases may be dried, but severe water damage requires professional diagnostics.
6. When should I avoid DIY repair and call a pro?
If the issue involves the motherboard, complex soldering, or severe liquid damage, go to a professional repair centre.
Conclusion
DIY phone repair is a rewarding way to save money, learn new skills, and gain independence in handling your device. With the right tools, proper tape, and solid troubleshooting steps, you can confidently attempt common fixes like screen or battery replacements. However, always know your limits—when repairs involve delicate soldering or motherboard damage, it’s best to trust certified experts like Sydney CBD Repair Centre, the #1 choice for phone repairs in Sydney.