Samsung Galaxy S25 Ultra Disassembly – Full Teardown and Repair Guide
![]()
The Samsung Galaxy S25 Ultra has taken smartphone innovation to the next level with its sleek design, powerful internals, and impressive camera system. In this guide, we take a deep dive into the full disassembly process of the Galaxy S25 Ultra, highlighting each component, tool needed, and key repairability tips. If you’re considering a teardown or simply want to understand the phone’s internal design, this is the most comprehensive and professional resource available.
🔧 Tools You’ll Need for Disassembly
To begin the teardown process, make sure you have the following tools ready:
- Hairdryer or heat gun
- Plastic pry tools
- Phillips screwdriver
- SIM ejector tool
- B-7000 adhesive glue
- Tweezers
- Suction cup tool
- Razor blade or X-Acto knife for fine removal work
Note: Links to recommended tools can be found in the video description. Always work on a clean, static-free surface.
📤 Step 1: Remove SIM Tray and S Pen
Begin by ejecting the SIM card tray and S Pen. The SIM tray features a gray rubber gasket, providing a seal against moisture and dust. The S Pen is easily removable and clicks securely into its slot.
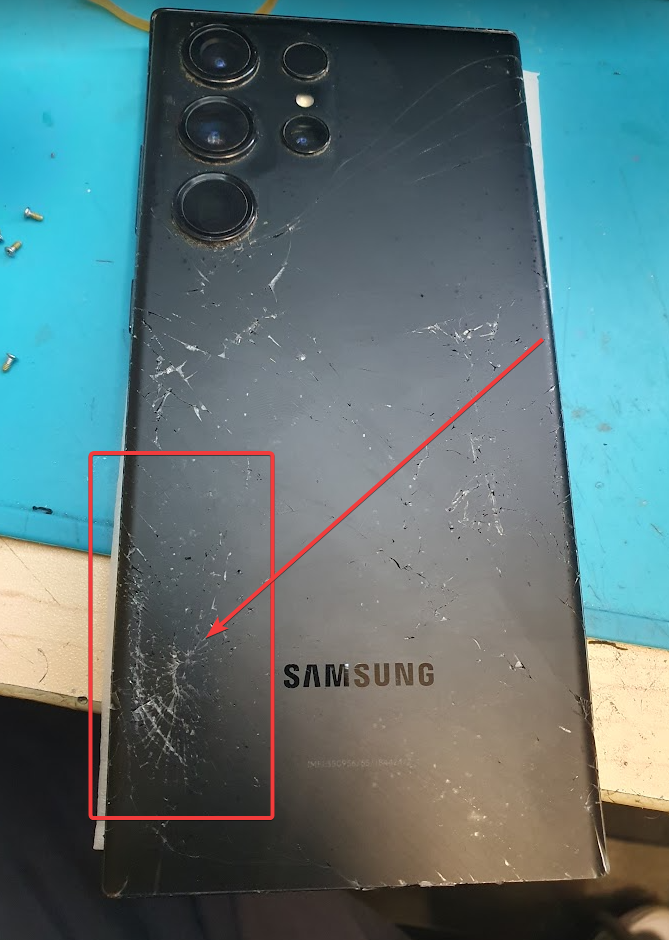
🔥 Step 2: Heat and Remove the Glass Back Plate
Use a hairdryer or heat gun to soften the adhesive beneath the glass back panel. A hairdryer is safer as it reduces the risk of overheating and damaging internal components.
Once heated, insert a plastic pry tool between the frame and the back glass to slowly lift it off. Take care near the camera housing. The camera glass rings and lens covers are replaceable without full disassembly—just heat and gently pry them off.
👍 Replaceable Camera Rings
Each individual camera ring can be replaced if damaged, making this repair-friendly. All you need is a replacement ring and B-7000 adhesive glue.
🔩 Step 3: Remove 18 Phillips Screws
Once the back panel is removed, you’ll see 18 Phillips screws securing the internal components. Remove all screws and place them aside safely.
📡 Step 4: Examine Internal Components
After removing the screws, begin lifting the internal covers:
- Top motherboard shield contains the NFC antenna, wireless charging coil, and ultra-wideband antenna.
- Graphite film is used throughout to transfer heat from hot components.
- The S Pen detection sensor is located beneath the motherboard shield.
Disconnect the battery cable first, then follow with other ribbon cables.
🔊 Step 5: Speaker and Haptics Assembly
You’ll find:
- Top earpiece speaker
- Bottom loudspeaker unit with mesh filter and rubber gasket
- Linear vibration motor housed behind the speaker enclosure
Each component is modular and replaceable. Flex cables run between the main board and sub-board, including the critical screen connector flex.
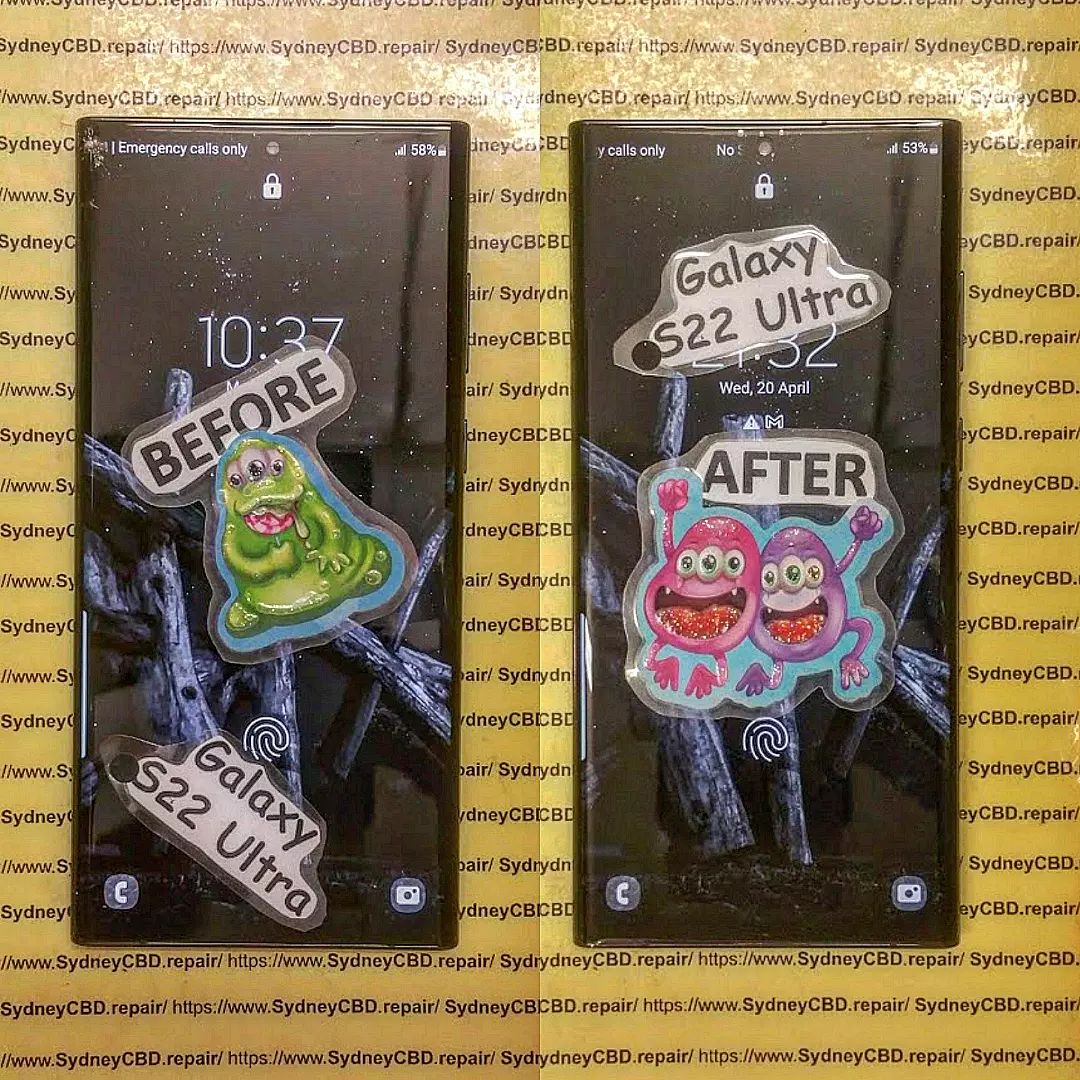
🖥️ Step 6: Removing and Replacing the Screen
There are two methods to replace the screen:
Option 1: Front-Only Method
Heat the front glass and pry the screen from the frame. Carefully disconnect the screen’s flex from the rear after partially lifting the screen. This method is more difficult and risks damaging the screen if the flex cable doesn’t reconnect correctly.
Option 2: Full Disassembly Method (Recommended)
- Disconnect the screen flex from the back after removing the back cover and speaker assembly.
- Pry off the screen from the front after heating.
- This ensures proper alignment and lowers the risk of damaging the new screen.
🔋 Step 7: Battery Removal and Vapor Chamber Reveal
Samsung has improved the battery removal design with easy-pull tabs under the 5,000mAh battery. Gently pull the tabs to lift the battery.
To showcase the internal vapor chamber, peel off one of the side tabs and remove the battery completely. The copper vapor chamber runs under the motherboard and battery, significantly larger than that of the S24 Ultra, boosting thermal management.
📷 Step 8: Camera System Breakdown
The quad rear camera setup includes:
- 200MP main sensor with OIS
- 50MP periscope telephoto with OIS
- 10MP standard telephoto with OIS
- 50MP ultra-wide sensor
There’s also:
- 12MP front-facing camera mounted with a cure-in-place gasket
- Laser autofocus sensor
- Secondary microphone
- Ambient light and proximity sensors
Camera flex cables can be popped off for replacement. The front-facing camera requires careful cutting around the gasket with a razor for removal.
🔌 Step 9: Subboard and Port Assembly
There are three screws securing the subboard, which includes:
- Primary microphone
- USB-C charging port with red rubber gasket
- SIM card reader (reverse side)
Each part is modular and replaceable with precision tools.
🖲️ Step 10: Button and Sensor Modules
- Power and volume button flex can be peeled off from the frame.
- Metal bracket holds them in place internally.
- Physical buttons can be removed from the frame and replaced if worn or damaged.
Samsung designed these to be user-serviceable with minimal adhesive.
🧠 Final Thoughts on Repairability
The Samsung Galaxy S25 Ultra earns a 9 out of 10 for repairability. Modular parts, improved battery tab design, and accessible screen and port replacements make it a top-tier device for DIY repairs or professional servicing.
There’s little risk of accidental damage during SIM ejection, as filters and microphones are protected above the eject holes.
🔁 Reassembly and Final Steps
After replacing or servicing components:
- Reconnect all flex cables.
- Reapply graphite film and shields.
- Reinsert all 18 screws.
- Apply new adhesive to the back plate.
- Reinstall the back glass and power on the device.
Congratulations — the Galaxy S25 Ultra is successfully reassembled.
If you’re in Sydney and need professional help repairing your Galaxy S25 Ultra, trust David from Sydney CBD Repair Centre. With over 1900 5-star reviews, we offer:
- ✅ Same Day Repairs
- ✅ Genuine Samsung Parts
- ✅ Trained Technicians
- ✅ 90-Day Warranty
- ✅ Affordable Pricing
- ✅ Awarded Best Mobile Repair 6 Years in a Row
📍 Visit Us: Sydney CBD Repair Centre
📞 Call: +61280114119