❤ iOS 18.1 beta 2 with Apple Intelligence and iOS 18.0 beta 6 now available now rolling out to developers
![]()
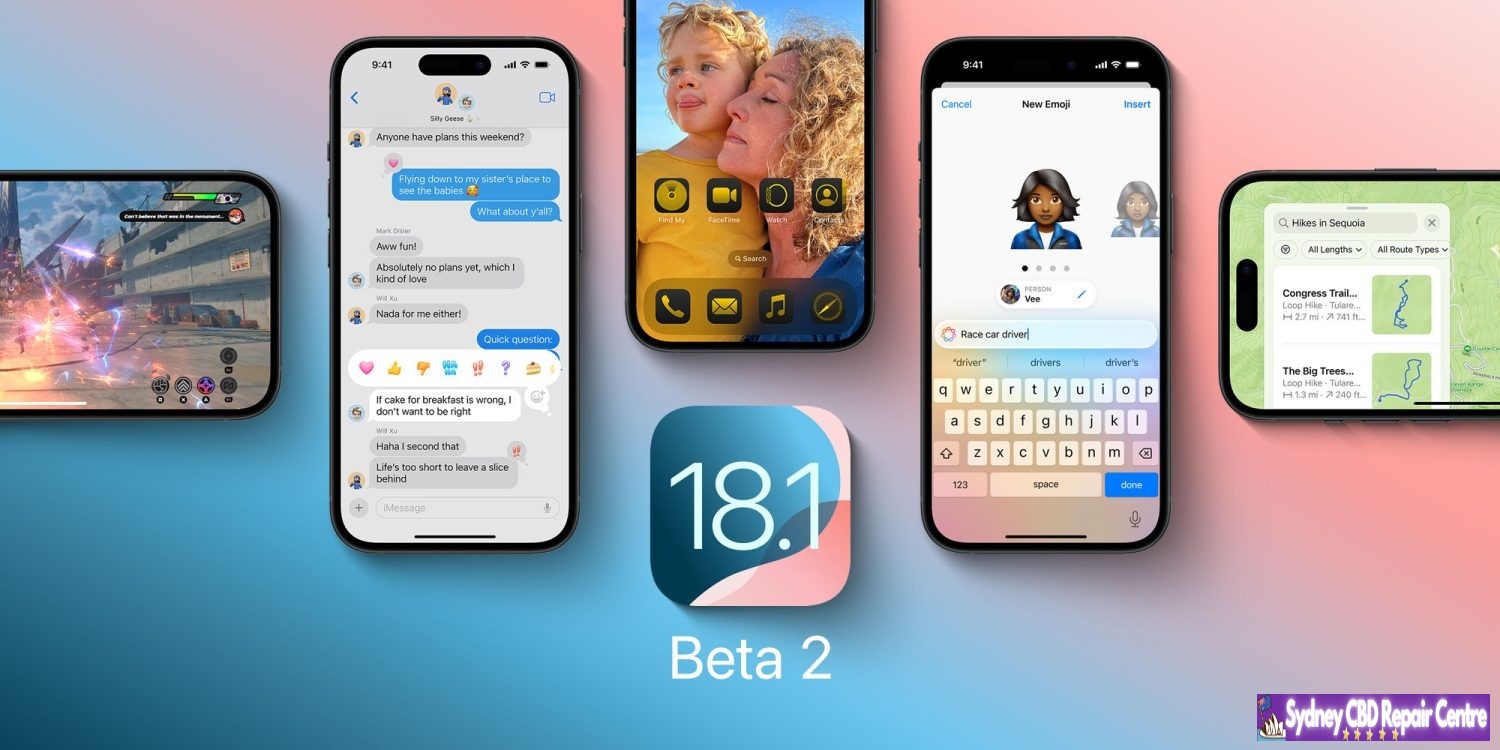
Apple is now rolling out iOS 18.1 beta 2 to developers, two weeks after it began iOS 18.1 beta testing. iOS 18.1 includes the first set of Apple Intelligence features, including a redesigned Siri, Writing Tools, and more.
Here’s everything you need to know about the current iOS 18 beta cycle…
iOS 18.1: Everything you need to know
iOS 18.1 beta 2 is available to developer beta testers with build number 22B5023e. There is no public beta available, and there’s no timetable for when that will change. Additionally, iOS 18.1 only available for iPhone 15 Pro and iPhone 15 Pro Max, the only two iPhone models that support Apple Intelligence.
Meanwhile, iPadOS 18.1 is available to any iPad with an M1 chip or newer, as those are the requirements to run Apple Intelligence on the iPad.
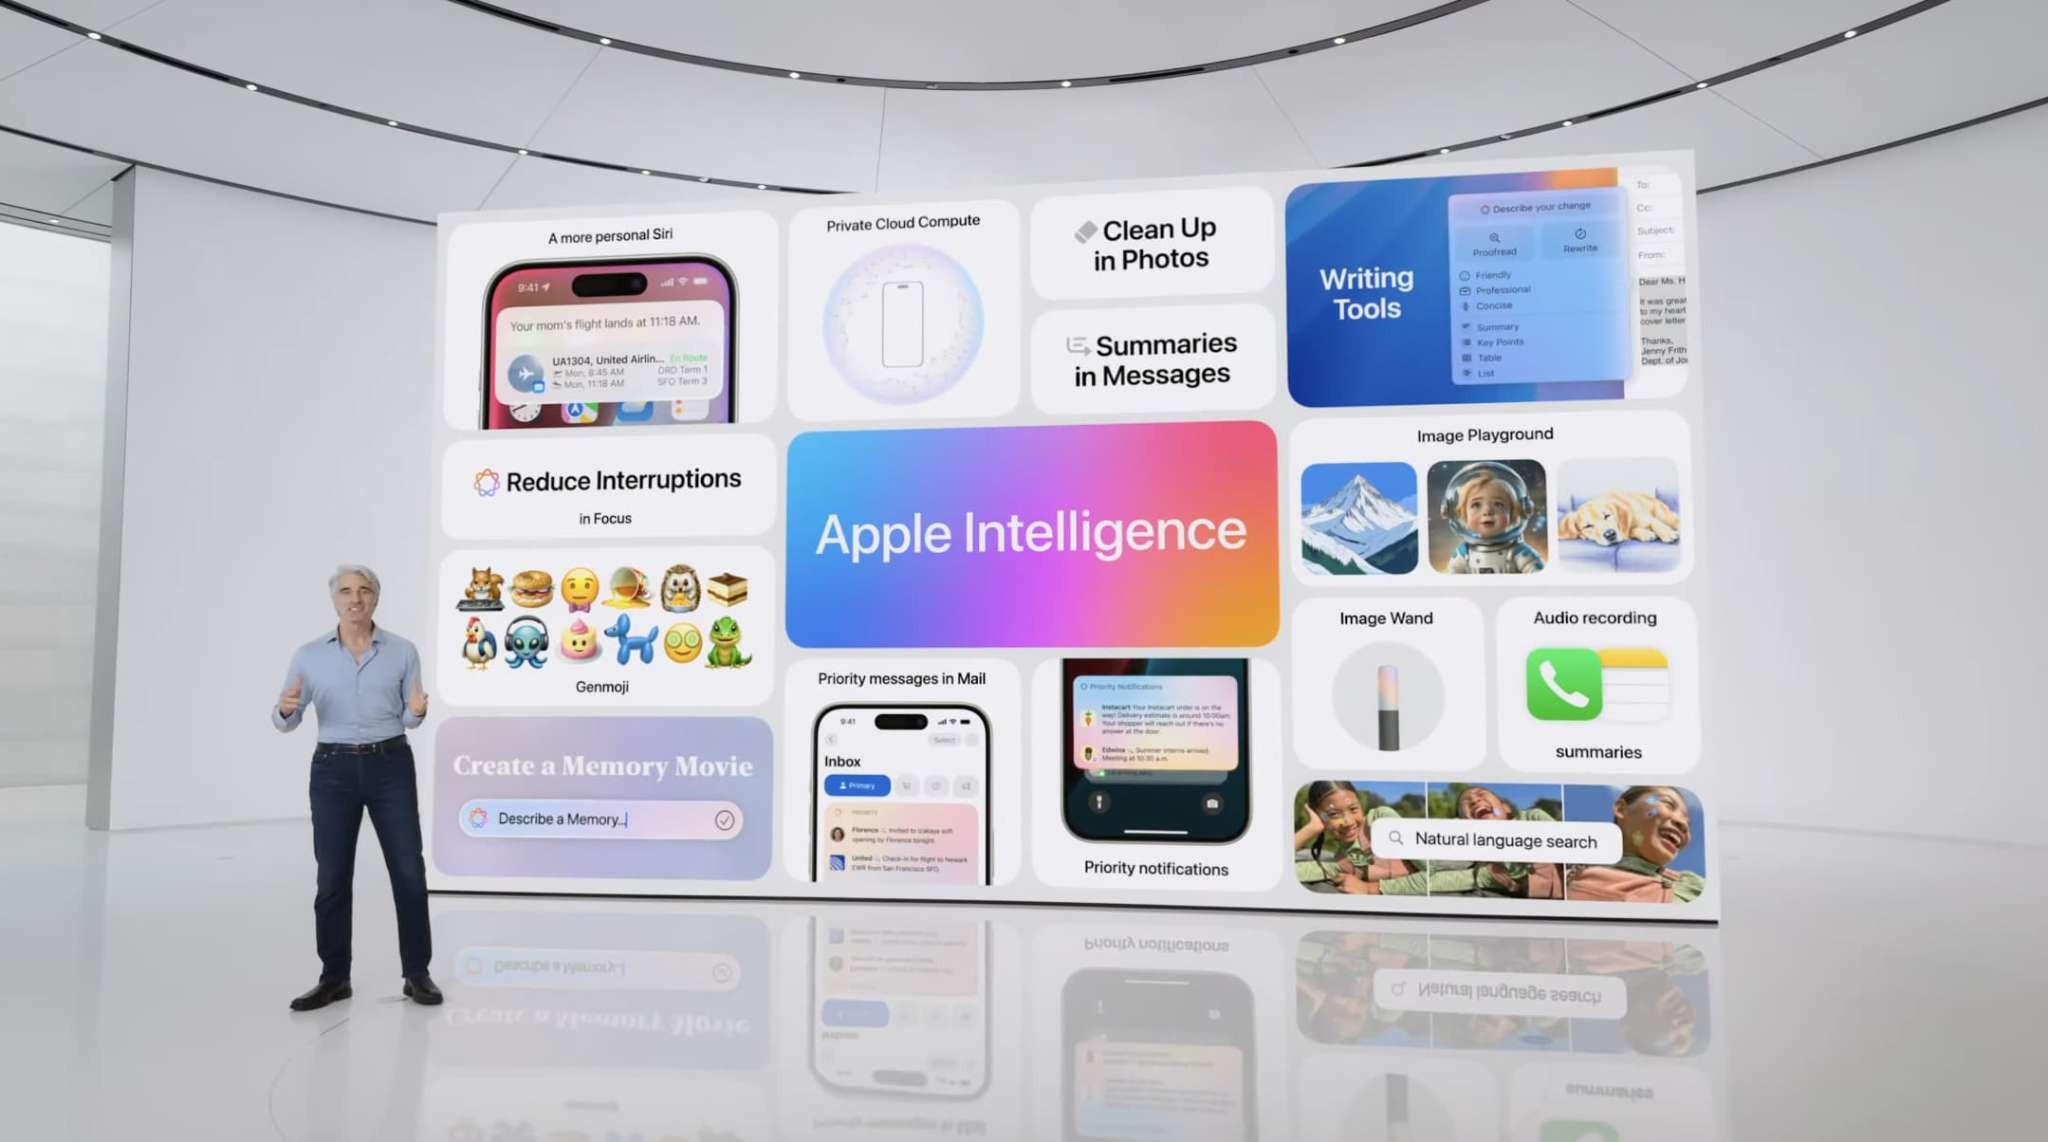
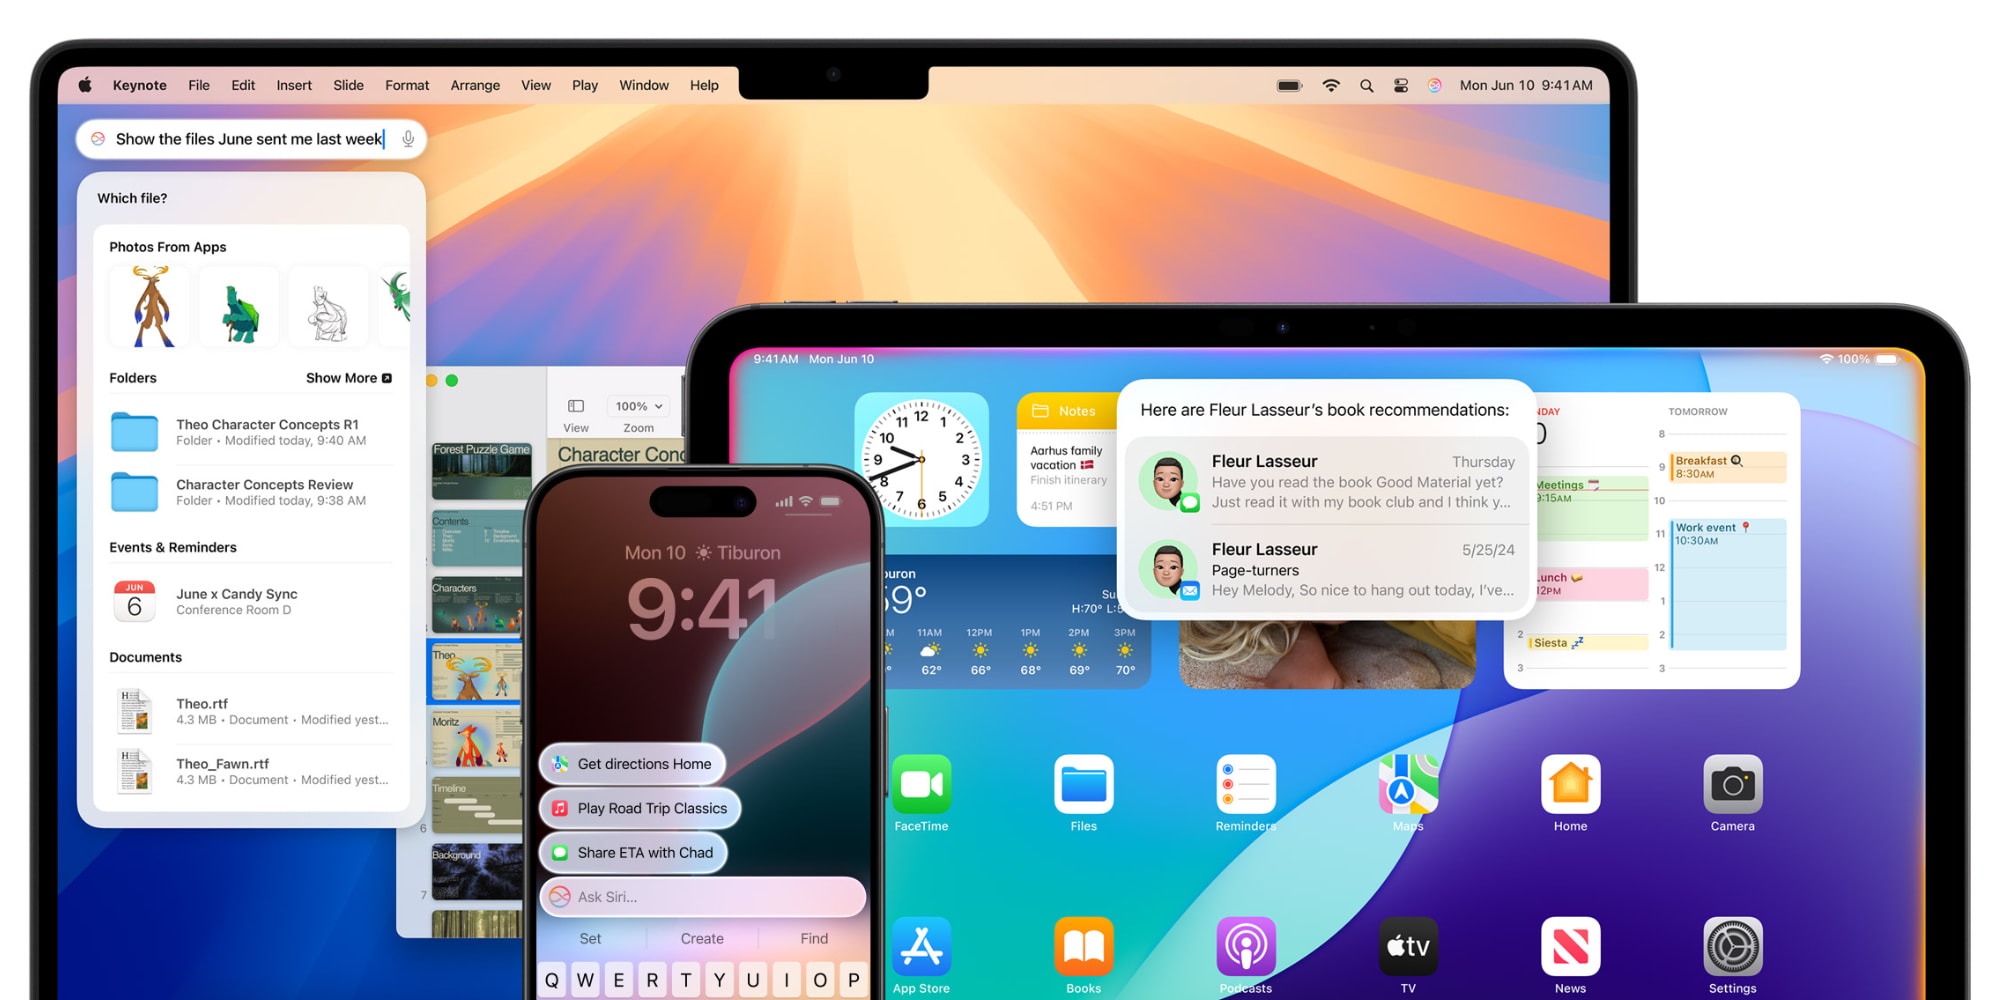
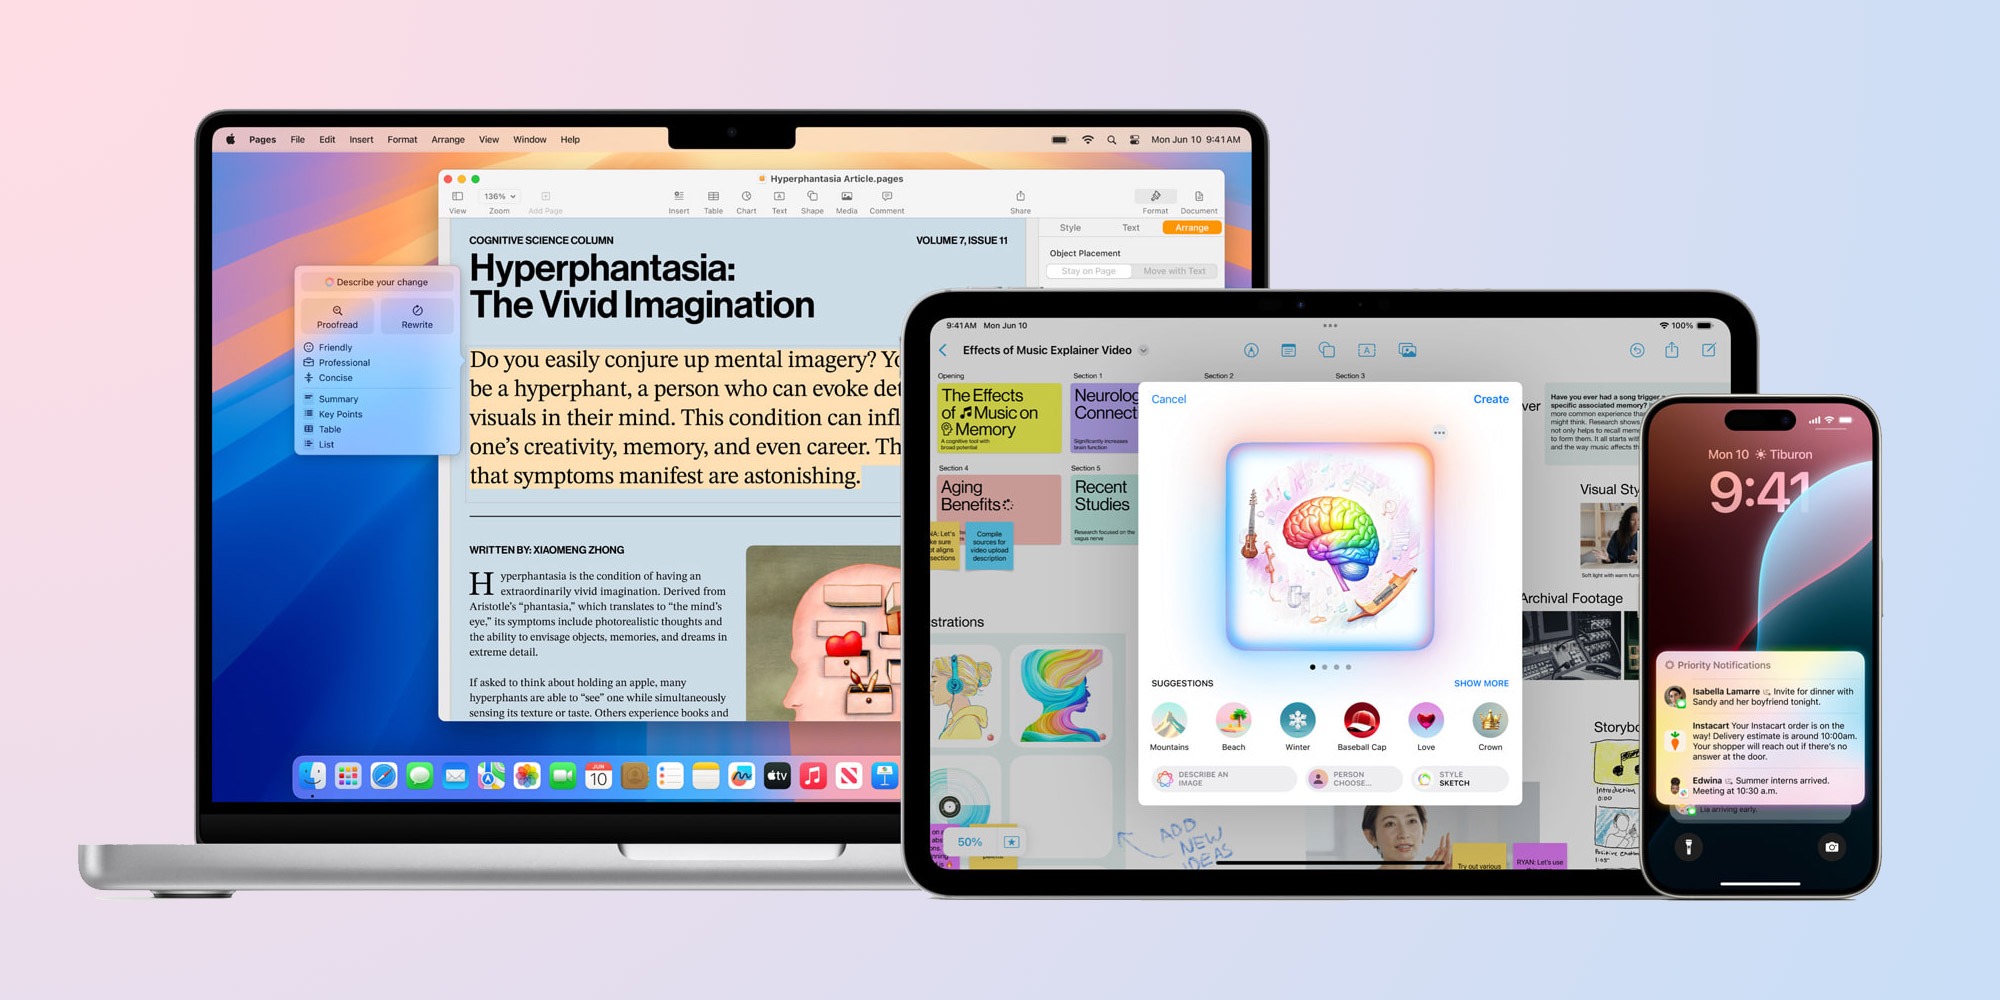
iOS 18.1 includes the first set of Apple Intelligence features, such as Writing Tools for rewriting, proofreading, and summarizing text. Siri has also been completely redesigned and now supports the ability to type to Siri. There are new features in the Mail app, including messages summaries, priority sorting, and Smart Reply. iOS 18.1 also adds a new Reduce Interruptions Focus mode, which uses AI to surface only the notifications that might need immediate attention.

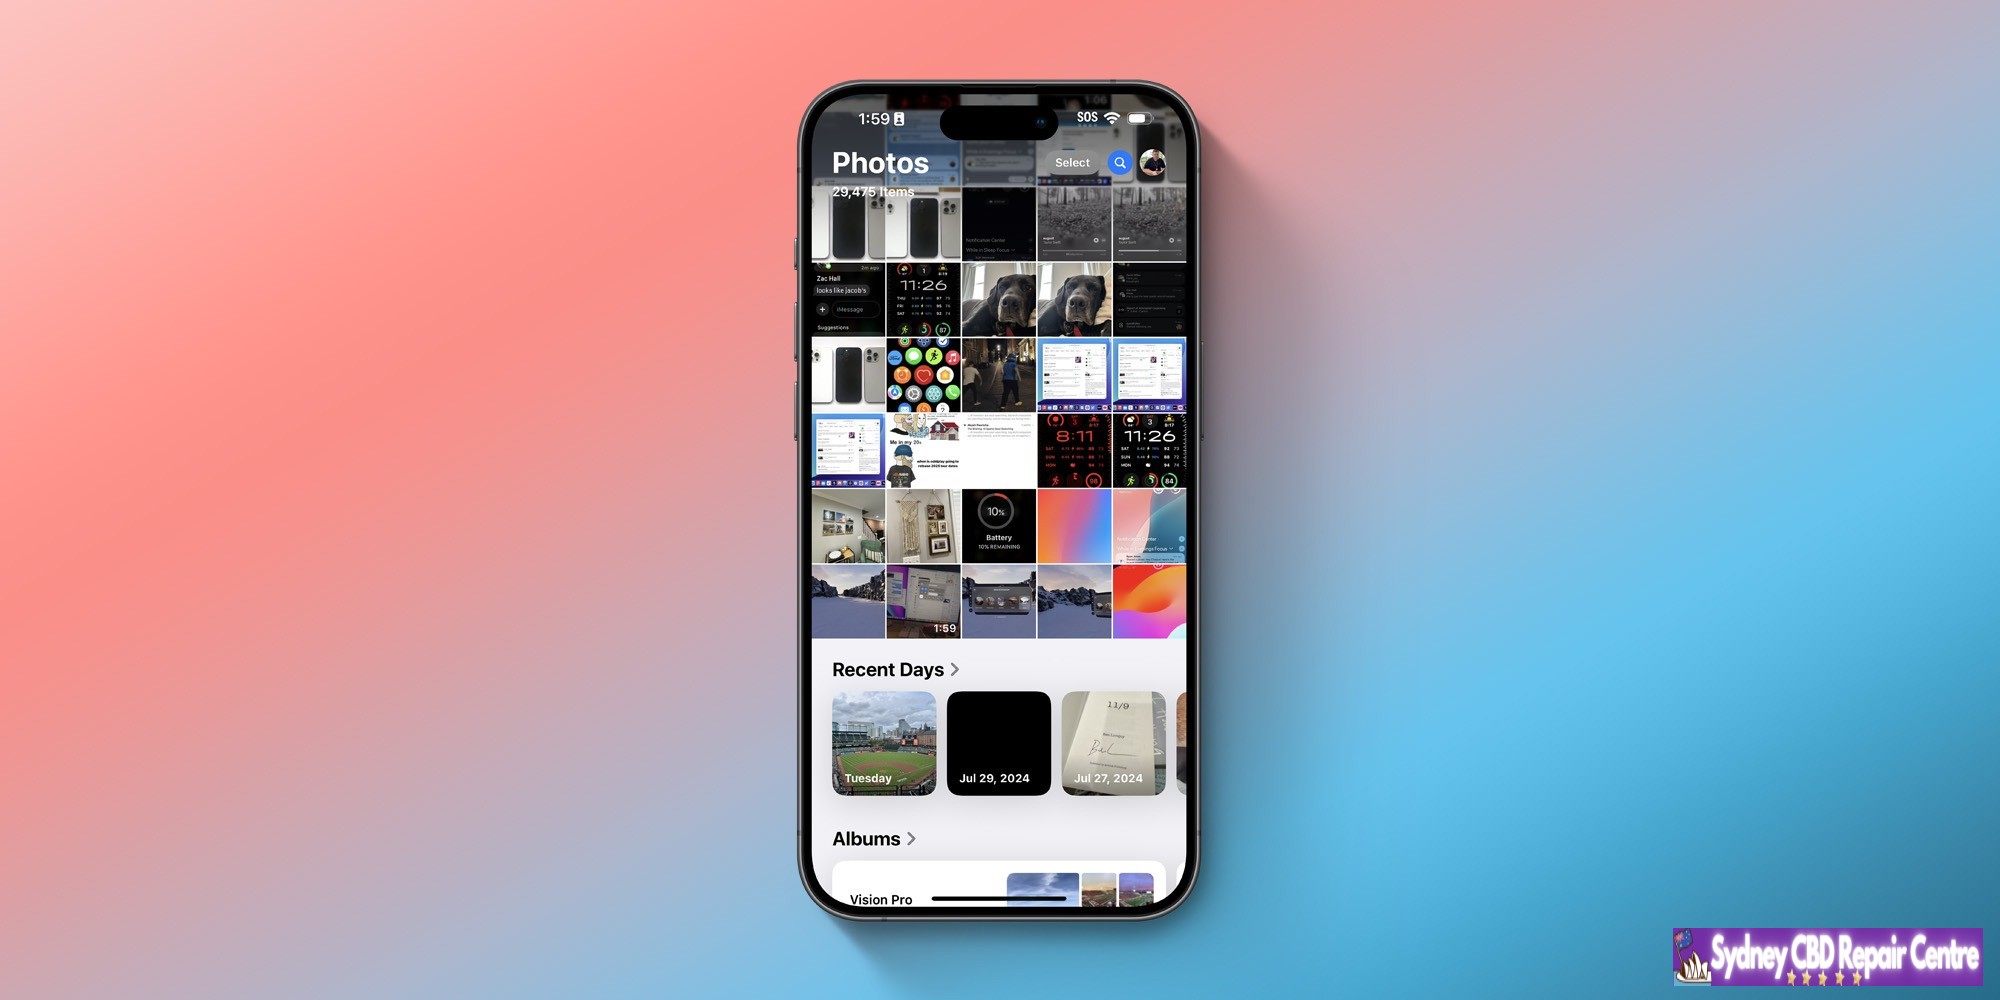
Finally, iOS 18.1 adds new AI-powered features to the Photos app, including natural language search, the ability to search in videos, and support for creating Memories on demand. There are a number of Apple Intelligence features not included in iOS 18.1, such as Genmoji, Image Playgrounds, and ChatGPT integration.
Apple is also continuing to beta test iOS 18.0 with developers and public beta users. Apple released iOS 18.0 beta 5 last week, bringing changes to the Photos app redesign and a new Distraction Control feature for Safari. These features currently aren’t available in iOS 18.1 and it remains to be seen whether today’s release of iOS 18.1 beta 2 changes that.
iOS 18 developer beta 6 now available
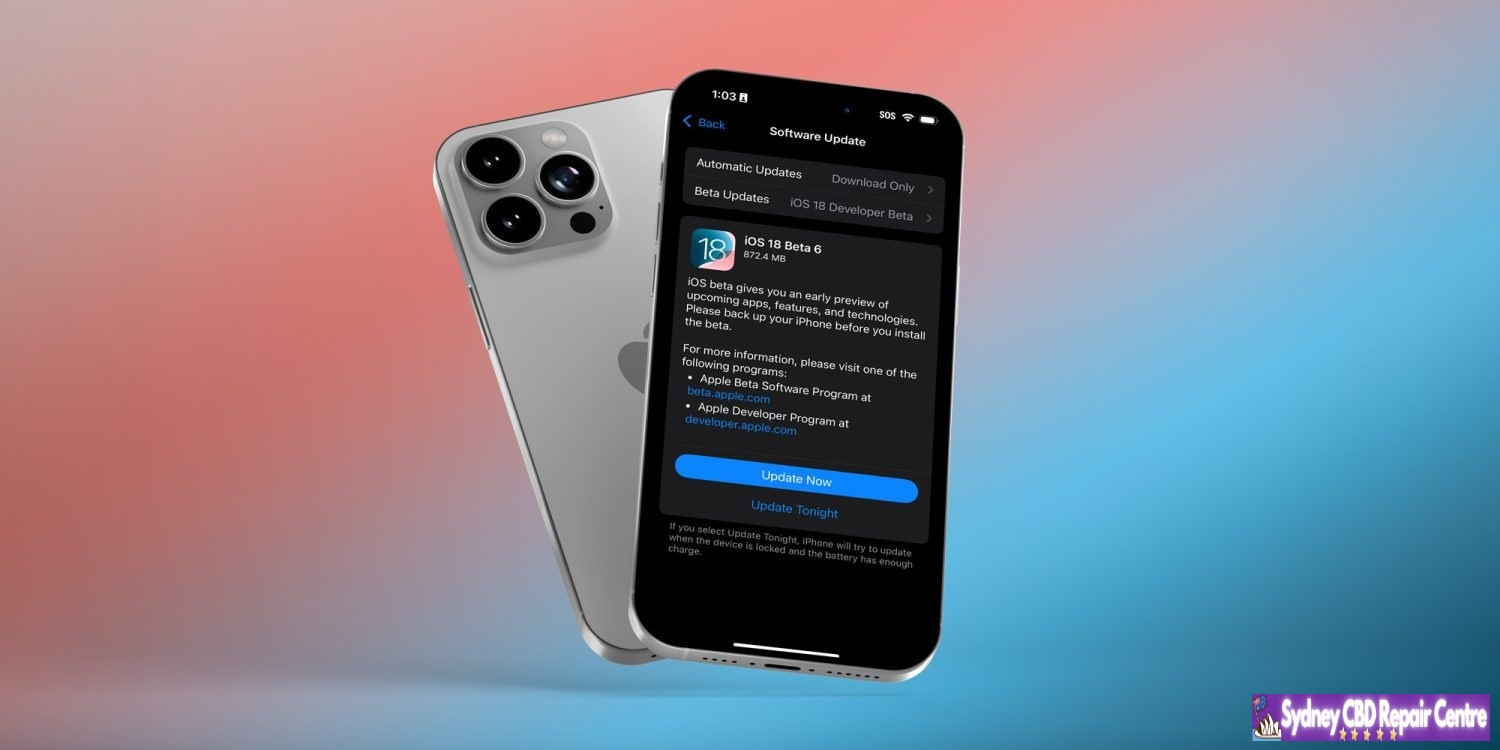
Apple has released the latest developer beta for iOS 18. Beta 6 comes less than a week after beta 5 debuted, and confirms releases are ramping up leading into the fall.
iOS 18 developer beta 6 is the newest beta for developers running iOS 18.0. Apple also released a new beta for iOS 18.1 users today with Apple Intelligence features.
Leading up to Apple’s September introduction of the iPhone 16, Apple is working on finalizing iOS 18 for public release. As a result, changes in today’s beta are likely to be few.
The focus of beta 6 is likely on bug fixes and performance improvements.
Apple typically releases weekly betas throughout the month of August. The public launch of iOS 18 should then arrive in mid-September shortly after the iPhone 16 is unveiled, and shortly before it arrives in users’ hands.
We will cover any updates and changes discovered in beta 6. But expect the focus here to be on unseen changes that help your iPhone run more smoothly.
Last week’s beta 5 introduced changes to the redesigned Photos app, a new Safari feature called Distraction Control, and more.