The Genuine Phone Screens vs. The Generic Phone Screens: What’s the Difference?
![]()
📱 The Genuine Phone Screens vs. The Generic Phone Screens: What’s the Difference?: What’s the Difference?
🔍 Introduction: The Real Price Behind the Screen
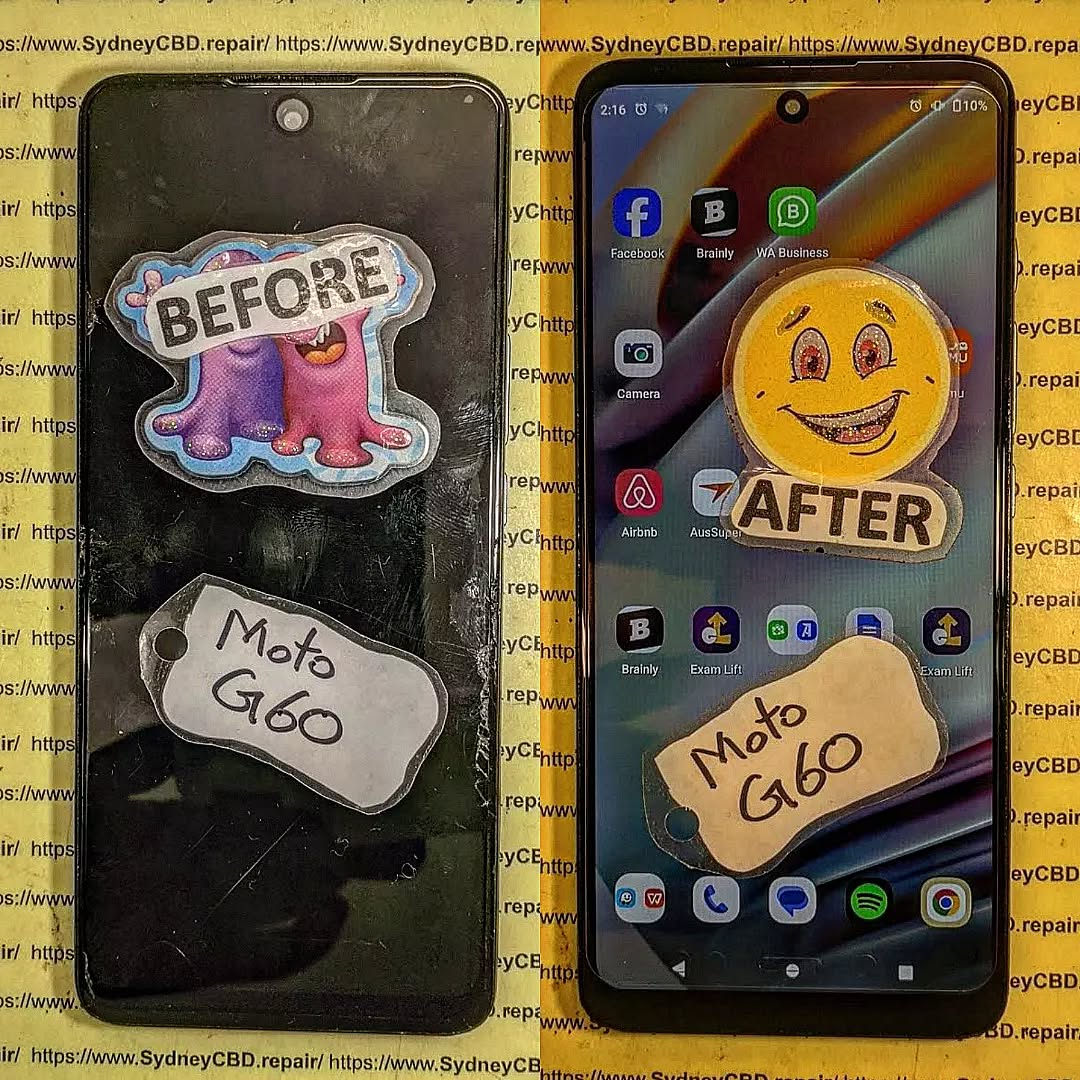
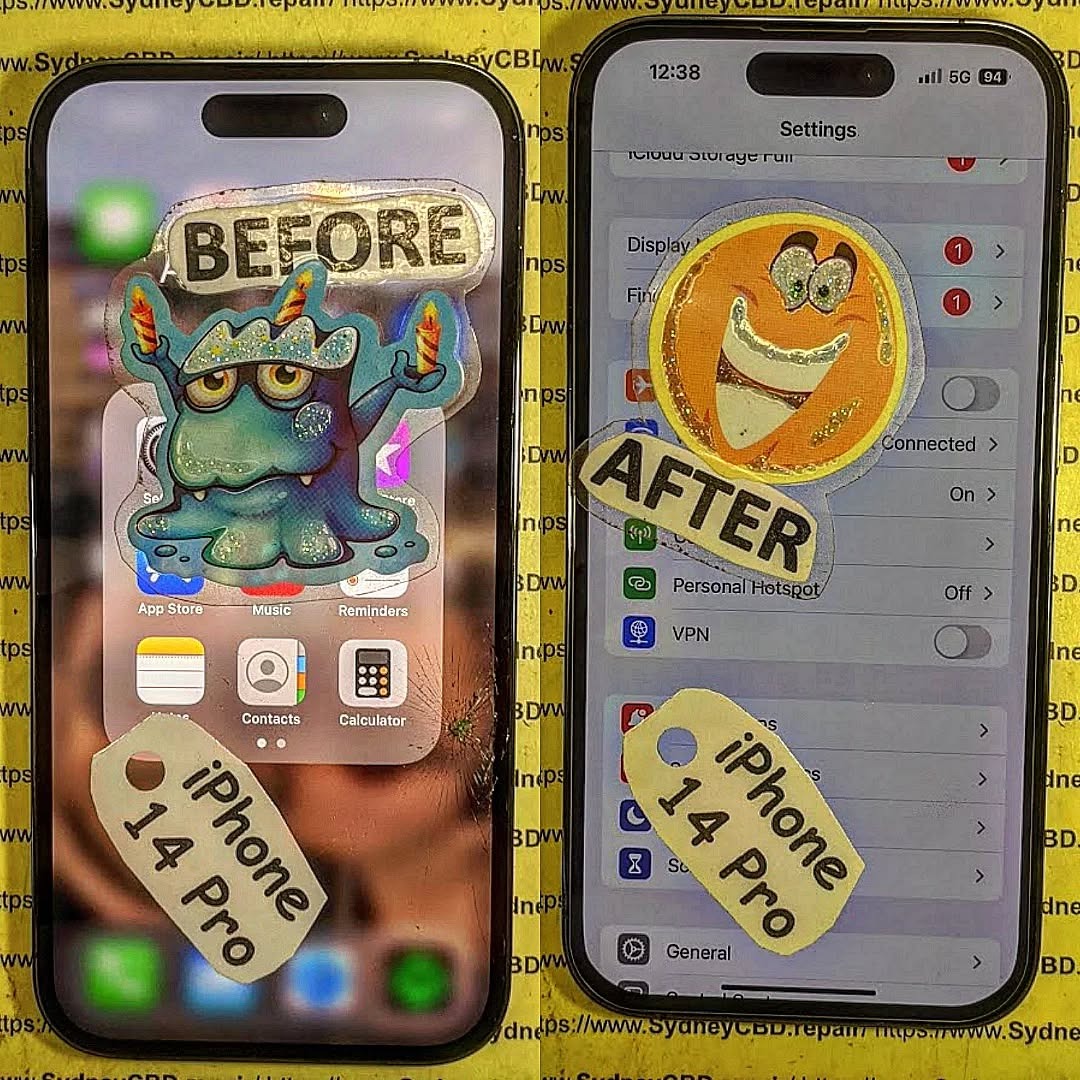
Your smartphone screen does more than just display content—it’s the heart of your interaction with your device. When it’s cracked or damaged, you’re faced with a decision: go with a cheaper, generic screen or invest in a genuine replacement.
At first glance, the difference may seem minimal. But beneath the glass, the consequences of your choice can significantly affect your phone’s performance, lifespan, and value.
🏷️ What Is a Genuine Phone Screen?
OEM (Original Equipment Manufacturer) Defined
A genuine screen is one that’s manufactured by, or approved by, the original brand—whether that’s Apple, Samsung, Google, or others. These screens are built to meet exact specifications for:
- Resolution
- Touch responsiveness
- Color reproduction
- Battery efficiency
They’re the same as the ones used when the phone was first assembled.
🧩 What Is a Generic (Aftermarket) Phone Screen?
Third-Party Manufacturing Explained
Generic screens—often labeled as “aftermarket,” “third-party,” or “compatible”—are made by other manufacturers who don’t follow the strict standards set by the phone’s brand.
Although they fit the phone’s housing, they often lack:
- High-quality materials
- Accurate touch calibration
- Full software compatibility
Result: While they may be cheaper, performance is usually compromised.
🎨 1. Display Quality: Clarity, Brightness, and Color Accuracy
Genuine screens deliver true-to-life color, deep contrast, and optimal brightness—even in direct sunlight.
Generic screens may:
- Look dull or washed out
- Show lower brightness levels
- Struggle with contrast in low-light modes
If you value vibrant visuals, genuine is the clear winner.
✋ 2. Touch Responsiveness and Sensitivity
Genuine screens provide seamless responsiveness, essential for:
- Gaming
- Typing
- Swiping
- Multi-touch gestures
With generic screens, you may experience:
- Lagging input
- Missed taps
- Ghost touches
This can frustrate even the simplest tasks like messaging or scrolling.
🛡️ 3. Durability and Resistance to Damage
Genuine screens are designed with Gorilla Glass or similar high-grade materials, offering better resistance against drops and scratches.
Generic screens often use inferior glass that cracks more easily—even with minor impacts.
At Sydney CBD Repair Centre, we’ve seen generic replacements shatter within a week of use.
⚙️ 4. Compatibility With Software and Hardware Features
OEM screens are designed to support:
- True Tone and Face ID (on iPhones)
- Fingerprint sensors
- Adaptive brightness
- Refresh rate synchronization
Generic screens can disable or degrade these features.
🔋 5. Battery Life and Power Consumption Differences
Genuine screens are optimized for power efficiency, reducing unnecessary battery drain.
Generic screens may lack power-saving calibration, causing:
- Faster battery depletion
- Overheating
- Shorter battery lifespan
🔥 6. Safety Concerns: Heat, Short Circuits, and Fire Hazards
Poor-quality generic screens may cause:
- Short circuits
- Improper grounding
- Excessive heat buildup
This creates real fire and explosion risks—especially if the battery or internal connectors are disturbed during installation.
📝 7. Warranty and Manufacturer Support
Using a generic screen often voids your phone’s warranty. Many manufacturers refuse repairs if the phone has been opened or modified with non-genuine parts.
Sydney CBD Repair Centre uses only genuine or certified OEM parts, preserving your warranty and device integrity.
💡 Why Genuine Screens Offer Long-Term Value
Though they cost more upfront, genuine screens offer:
- Longer lifespan
- Lower risk of future issues
- Better resale value
Generic screens may save money now, but cost you more later in repairs and frustration.
❌ Common Myths About Generic Screens Debunked
| Myth | Reality |
|---|---|
| “They’re just as good” | Generic screens lack the precision and quality of OEM ones |
| “They save money” | You may pay more in repeat repairs |
| “No one can tell the difference” | Display and touch issues become obvious quickly |
| “All parts are made in the same factory” | Not true—OEM screens pass rigorous testing |
🛠️ Sydney CBD Repair Centre: Genuine Parts You Can Trust

David from Sydney CBD Repair Centre and his expert team have been Sydney’s top-rated repair service for 6 years running.
Why choose us?
✅ Genuine Parts
✅ 90-Day Warranty
✅ Same-Day Repairs
✅ Certified Technicians
✅ Over 2000 5-Star Reviews
✅ Competitive Pricing
📍 Find Us Here
📞 Call: +61280114119
❓ FAQs About Phone Screen Replacements
1. How can I tell if a screen is genuine?
Look for warranty certification, clear part labeling, and ask the repair shop to show proof of OEM sourcing.
2. Will a generic screen affect resale value?
Yes, most buyers and trade-in programs value phones with genuine parts significantly higher.
3. Do genuine screens work better with phone features?
Absolutely. Only genuine screens support features like Face ID, adaptive brightness, and higher refresh rates.
4. Are all third-party screens bad?
Not all—but most don’t meet OEM standards. It’s best to go with certified OEM parts if genuine isn’t available.
5. Why are genuine parts more expensive?
They’re made to higher standards and tested rigorously for quality, performance, and safety.
6. Is the repair process different for genuine screens?
Yes. Genuine screens often require precise calibration, which only experienced technicians can handle properly.
✅ Conclusion: Make the Smart Choice for Your Smartphone
Choosing a genuine screen isn’t just about having a good display—it’s about ensuring your device continues to function as it was designed.
Avoid unnecessary risks and save money long-term by trusting a reputable repair shop that uses genuine parts.
Sydney CBD Repair Centre is your best bet for safe, reliable, and expert screen replacements.