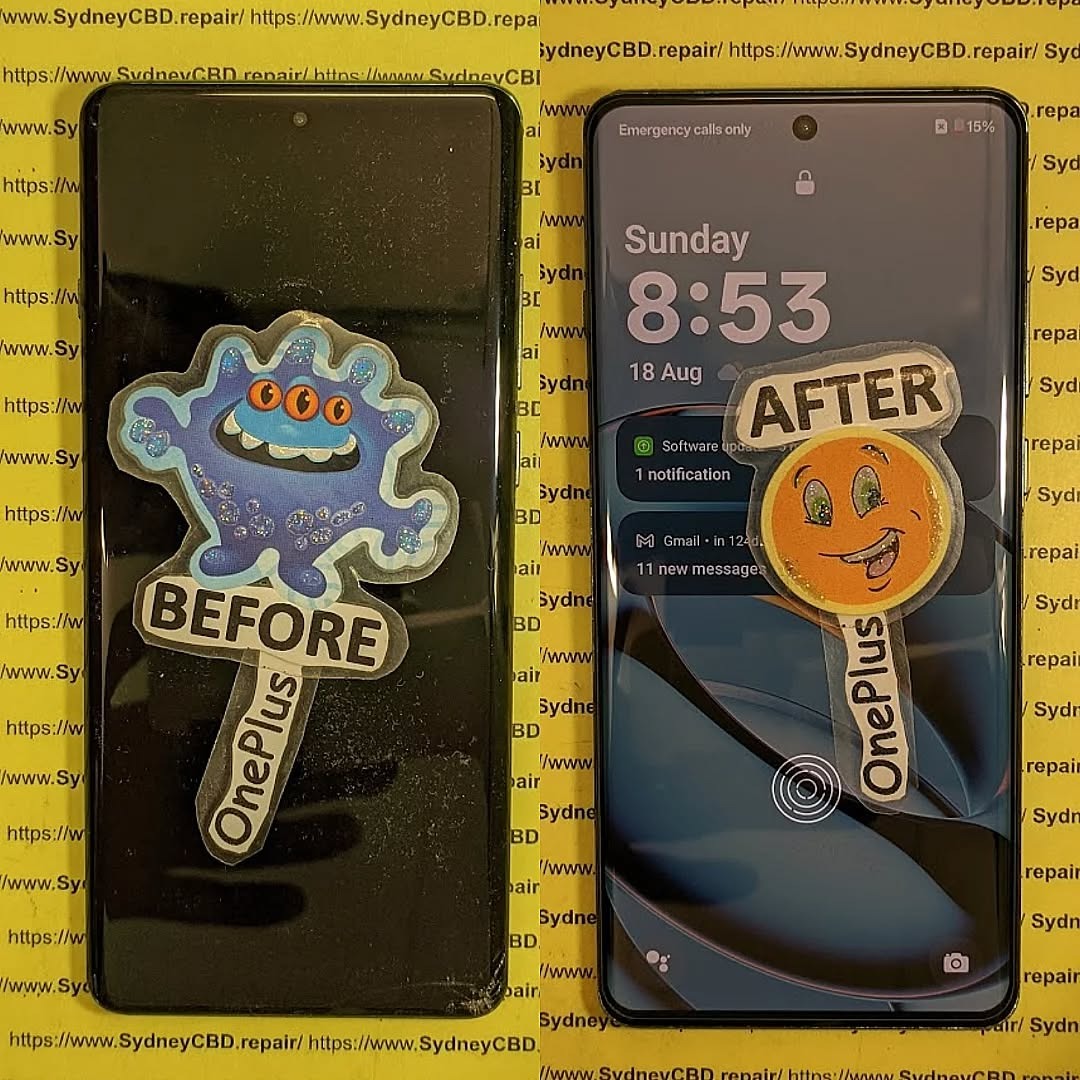
📱 The Genuine Phone Screens vs. The Generic Phone Screens: What’s the Difference?: What’s the Difference?
🔍 Introduction: The Real Price Behind the Screen
Your smartphone screen does more than just display content—it’s the heart of your interaction with your device. When it’s cracked or damaged, you’re faced with a decision: go with a cheaper, generic screen or invest in a genuine replacement.
At first glance, the difference may seem minimal. But beneath the glass, the consequences of your choice can significantly affect your phone’s performance, lifespan, and value.
A genuine screen is one that’s manufactured by, or approved by, the original brand—whether that’s Apple, Samsung, Google, or others. These screens are built to meet exact specifications for:
Resolution
Touch responsiveness
Color reproduction
Battery efficiency
They’re the same as the ones used when the phone was first assembled.
Generic screens—often labeled as “aftermarket,” “third-party,” or “compatible”—are made by other manufacturers who don’t follow the strict standards set by the phone’s brand.
Although they fit the phone’s housing, they often lack:
High-quality materials
Accurate touch calibration
Full software compatibility
Result: While they may be cheaper, performance is usually compromised.
🎨 1. Display Quality: Clarity, Brightness, and Color Accuracy
Genuine screens deliver true-to-life color, deep contrast, and optimal brightness—even in direct sunlight.
Generic screens may:
Look dull or washed out
Show lower brightness levels
Struggle with contrast in low-light modes
If you value vibrant visuals, genuine is the clear winner.
✋ 2. Touch Responsiveness and Sensitivity
Genuine screens provide seamless responsiveness, essential for:
Gaming
Typing
Swiping
Multi-touch gestures
With generic screens, you may experience:
Lagging input
Missed taps
Ghost touches
This can frustrate even the simplest tasks like messaging or scrolling.
🛡️ 3. Durability and Resistance to Damage
Genuine screens are designed with Gorilla Glass or similar high-grade materials, offering better resistance against drops and scratches.
Generic screens often use inferior glass that cracks more easily—even with minor impacts.
At Sydney CBD Repair Centre, we’ve seen generic replacements shatter within a week of use.
⚙️ 4. Compatibility With Software and Hardware Features
OEM screens are designed to support:
True Tone and Face ID (on iPhones)
Fingerprint sensors
Adaptive brightness
Refresh rate synchronization
Generic screens can disable or degrade these features.
🔋 5. Battery Life and Power Consumption Differences
Genuine screens are optimized for power efficiency, reducing unnecessary battery drain.
Generic screens may lack power-saving calibration, causing:
Faster battery depletion
Overheating
Shorter battery lifespan
🔥 6. Safety Concerns: Heat, Short Circuits, and Fire Hazards
Poor-quality generic screens may cause:
Short circuits
Improper grounding
Excessive heat buildup
This creates real fire and explosion risks—especially if the battery or internal connectors are disturbed during installation.
📝 7. Warranty and Manufacturer Support
Using a generic screen often voids your phone’s warranty. Many manufacturers refuse repairs if the phone has been opened or modified with non-genuine parts.
Sydney CBD Repair Centre uses only genuine or certified OEM parts, preserving your warranty and device integrity.
💡 Why Genuine Screens Offer Long-Term Value
Though they cost more upfront, genuine screens offer:
Longer lifespan
Lower risk of future issues
Better resale value
Generic screens may save money now, but cost you more later in repairs and frustration.
❌ Common Myths About Generic Screens Debunked
Myth
Reality
“They’re just as good”
Generic screens lack the precision and quality of OEM ones
“They save money”
You may pay more in repeat repairs
“No one can tell the difference”
Display and touch issues become obvious quickly
“All parts are made in the same factory”
Not true—OEM screens pass rigorous testing
🛠️ Sydney CBD Repair Centre: Genuine Parts You Can Trust
David from Sydney CBD Repair Centre and his expert team have been Sydney’s top-rated repair service for 6 years running.
Why choose us?
✅ Genuine Parts
✅ 90-Day Warranty
✅ Same-Day Repairs
✅ Certified Technicians
✅ Over 2000 5-Star Reviews
✅ Competitive Pricing
Why Your Face ID Stops Working After A Simple DIY Screen Replacement: 9 Shocking Reasons Every iPhone Owner Must Know
Introduction
Many iPhone users try fixing cracked screens at home to save money. At first glance, replacing a screen looks easy. You watch a few videos online, order a replacement display kit, and begin the repair yourself. However, many people quickly discover a frustrating surprise: Face ID suddenly stops working after the repair.
This issue is more common than most people realize. In fact, one small mistake during a DIY screen replacement can disable Face ID permanently. Since Apple designed Face ID with advanced security hardware, every tiny component must stay perfectly connected and calibrated.
When people search for why your Face ID stops working after a simple DIY screen replacement, they often assume the screen itself caused the problem. Yet the real issue usually comes from damaged sensors, torn cables, poor-quality parts, or improper installation techniques.
The good news is that understanding the causes can help you avoid expensive mistakes. More importantly, professional repair shops can often diagnose and fix the issue before it becomes irreversible.
In this guide, you’ll learn exactly why Face ID fails after screen repairs, how the technology works, what warning signs to watch for, and why expert repair matters more than ever.
Before discussing repair mistakes, it’s important to understand how Face ID operates.
Face ID isn’t just a simple front camera. Instead, it’s a highly advanced biometric security system made up of several delicate components working together.
These include:
Infrared camera
Flood illuminator
Dot projector
Ambient light sensor
Proximity sensor
Front camera module
Together, these parts create a detailed 3D map of your face. Unlike traditional fingerprint systems, Face ID constantly analyzes depth and facial geometry for security.
Apple also pairs many of these components to the phone’s logic board. That means replacing or damaging certain parts can break communication between the hardware and software.
As a result, even a “simple” screen replacement can become risky if proper procedures aren’t followed.
DIY repairs have become increasingly popular for several reasons.
First, replacement kits are widely available online. Second, tutorial videos make repairs appear fast and easy. Finally, many users want to avoid expensive repair costs from official service centers.
Still, DIY repairs often overlook one important fact: modern smartphones are incredibly delicate.
Unlike older phones with modular designs, newer iPhones contain tightly integrated systems. Components are layered closely together, and even minor force can damage hidden cables or sensors.
Additionally, aftermarket repair kits may include:
Low-quality screens
Weak adhesives
Incorrect screws
Cheap tools
Poor flex cable alignment
Consequently, people attempting repairs without professional experience often encounter problems immediately afterward.
One of the most frustrating outcomes is discovering that Face ID no longer functions properly.
The Fragile Components Connected to Face ID
The Face ID system sits near the top portion of the iPhone display assembly. During a screen replacement, technicians must carefully transfer these components from the old screen to the new one.
Unfortunately, these parts are extremely sensitive.
A tiny tear in a cable or slight misalignment can trigger errors such as:
“Face ID Not Available”
“Unable to Activate Face ID”
Face recognition failure
Camera malfunction messages
What makes matters worse is that some Face ID components are cryptographically paired to the motherboard. Once damaged, they cannot simply be replaced with generic parts.
This is why professional technicians use specialized microscopes, calibration tools, and anti-static equipment during repairs.
#1 Damaged Flex Cables
One of the most common causes of Face ID failure is torn flex cables.
The flex cable connecting the front sensor assembly is extremely thin. During DIY repairs, people may accidentally:
Pull the screen too hard
Pry at the wrong angle
Bend the cable sharply
Disconnect connectors improperly
Even microscopic tears can interrupt communication between sensors and the motherboard.
Unfortunately, these cables are fragile enough that damage may not even be visible to the naked eye.
Professional repair technicians inspect these cables under magnification to detect tiny breaks or stress points.
#2 Incorrect Screen Installation
Improper installation can also stop Face ID from working.
When a replacement screen isn’t seated correctly, the sensor assembly may become slightly misaligned. Since Face ID relies on precision positioning, even a tiny shift can interfere with depth mapping.
Common installation mistakes include:
Uneven screw pressure
Missing brackets
Incorrect screw placement
Misaligned sensor brackets
Interestingly, using the wrong screw length can even damage internal motherboard layers. This issue is known in repair circles as “long screw damage.”
Therefore, attention to detail is critical during every repair step.
#3 Dot Projector Misalignment
The dot projector is arguably the most important Face ID component.
It projects thousands of invisible infrared dots onto your face to create a 3D map.
However, this module is extremely delicate.
If the dot projector becomes damaged or misaligned during screen replacement, Face ID may stop working permanently.
Unlike ordinary camera modules, dot projectors require factory-level precision. In many cases, replacing the projector alone won’t restore functionality because the system is uniquely paired to the motherboard.
This is why expert handling matters so much during repairs.
#4 Water Resistance Seal Problems
Modern iPhones use adhesive seals to maintain water resistance.
During DIY screen replacement, these seals are often damaged or discarded entirely.
While this may not immediately affect Face ID, moisture exposure afterward can cause corrosion around sensitive front sensor components.
Over time, corrosion may damage:
Infrared sensors
Camera connectors
Dot projector circuitry
Ambient light sensors
As a result, Face ID may fail days or weeks after the repair.
Professional repair centers typically replace waterproof seals properly using precision adhesives and controlled installation methods.
#5 Non-Genuine Screen Compatibility Issues
Cheap aftermarket screens are another major problem.
Although many third-party displays appear similar to genuine Apple screens, they often lack proper compatibility with Face ID systems.
Common issues include:
Sensor interference
Poor proximity sensor alignment
Excessive display thickness
Weak flex cable shielding
In some cases, aftermarket displays trigger random touchscreen problems alongside Face ID errors.
That’s why reputable repair centers usually recommend premium-quality or genuine replacement parts whenever possible.
#6 Static Electricity Damage
Static electricity can silently destroy sensitive electronics.
Without proper anti-static protection, touching internal iPhone components may discharge electricity into delicate circuits.
The scary part is that static damage often leaves no visible signs.
A repair may appear successful initially, only for Face ID problems to appear later.
Professional technicians use:
ESD-safe workstations
Anti-static mats
Grounded wrist straps
Controlled environments
These precautions dramatically reduce the risk of hidden electrical damage.
#7 Software Calibration Errors
Face ID depends on both hardware and software communication.
Sometimes, after screen replacement, calibration issues occur.
This can happen when:
Connectors are not fully seated
Sensors initialize incorrectly
Software detects hardware mismatch
The repair interrupts TrueDepth calibration
In some situations, software updates or advanced calibration tools may help restore normal operation.
However, severe hardware damage usually requires board-level repair expertise.
#8 Front Camera Damage During Repair
The front camera assembly sits extremely close to the Face ID sensors.
During DIY repairs, users may accidentally damage:
Camera lenses
Sensor brackets
Camera connectors
Infrared filters
When this happens, Face ID often fails simultaneously because the system relies on multiple interconnected modules.
Typical symptoms include:
Symptom
Possible Cause
Blurry selfies
Front camera damage
Black camera screen
Connector issue
Face ID unavailable
Sensor communication failure
Auto-brightness failure
Ambient sensor damage
Therefore, even if the screen replacement seems successful, hidden camera damage may still exist internally.
#9 Improper Tools and Repair Techniques
Many DIY kits include low-quality tools that increase repair risks.
Using metal prying tools incorrectly can scratch circuits, damage connectors, or puncture cables.
Likewise, excessive heat from cheap heat guns may damage nearby components.
Professional repair centers use specialized equipment such as:
Precision screwdrivers
Controlled heating systems
Microsoldering stations
Screen separation machines
Calibration software
These tools help ensure safe, accurate repairs.
Signs Your Face ID Is Failing
After a DIY repair, watch for warning signs immediately.
Common symptoms include:
Face ID setup fails
Unlocking becomes inconsistent
Face recognition slows down
Front camera issues appear
Auto-brightness stops working
Portrait mode fails on selfies
These signs usually indicate sensor communication problems or physical damage.
The sooner the phone is inspected, the better the chances of successful repair.
Can Face ID Be Repaired After DIY Damage?
In many situations, yes — but not always.
The outcome depends on which component failed.
Minor issues like:
Loose connectors
Poor installation
Misaligned brackets
can often be repaired successfully.
However, severe damage to paired components like the dot projector may require advanced microsoldering or specialized data transfer procedures.
In worst-case scenarios, Face ID may become permanently disabled.
That’s why early diagnosis from experienced technicians is extremely important.
Why Professional Repair Matters
Professional repair isn’t only about replacing parts. It’s about protecting delicate systems throughout the repair process.
Experienced technicians understand:
Safe disassembly methods
Component sensitivity
Calibration procedures
Static protection
Screw mapping
Adhesive sealing
Moreover, professional shops often test all sensors before and after repair to confirm everything functions correctly.
This dramatically lowers the risk of accidental Face ID failure.
How Technicians Restore Face ID Properly
Professional repair specialists follow strict procedures when handling Face ID systems.
Typical steps include:
Diagnostic testing
Sensor inspection
Connector verification
Microscope examination
Flex cable testing
Software calibration
Waterproof resealing
Final quality testing
Some advanced repair centers even perform board-level microsoldering repairs to recover damaged Face ID systems.
This expertise can save customers from replacing their entire device.
For official repair information, users can also visit Apple Support.
Tips To Prevent Face ID Problems
If you’re considering screen replacement, these tips can help protect your device.
Always Use Quality Parts
Cheap screens may create compatibility issues.
Avoid Excessive Force
Never pull the display aggressively during opening.
Disconnect Battery First
This reduces electrical damage risks.
Use Proper Tools
Precision tools lower the chance of connector damage.
Consider Professional Repair
Complex devices deserve experienced handling.
Preventive care is usually far cheaper than repairing Face ID damage afterward.
DIY Repair vs Professional Repair Comparison
Feature
DIY Repair
Professional Repair
Lower upfront cost
Yes
No
Risk of Face ID failure
High
Low
Waterproof sealing
Often missing
Professionally restored
Warranty protection
Usually none
Often included
Calibration tools
Limited
Advanced
Microsoldering capability
Rare
Available
Genuine parts access
Limited
Better availability
Although DIY repairs may seem cheaper initially, failed repairs can ultimately become far more expensive.
Frequently Asked Questions
Does replacing an iPhone screen automatically disable Face ID?
No. Proper repairs usually preserve Face ID functionality. Problems happen when components become damaged or improperly installed.
Why does Face ID say “Unavailable” after screen replacement?
This message often appears due to damaged flex cables, sensor misalignment, or communication errors between the TrueDepth system and motherboard.
Can aftermarket screens break Face ID?
Yes. Some low-quality screens interfere with sensor alignment and proximity systems, leading to Face ID issues.
Is Face ID repair expensive?
Costs vary depending on the damage severity. Simple connector fixes may be affordable, while microsoldering repairs are more advanced and costly.
Can Apple repair Face ID damage caused by DIY repair?
In many cases, Apple may recommend full device replacement if paired Face ID components are damaged.
Should I attempt DIY repair again after Face ID failure?
Usually no. Reopening the phone without proper tools or expertise may worsen the damage.
How can I protect Face ID during repair?
Use professional repair services, quality parts, anti-static precautions, and proper installation techniques.
Conclusion
Understanding why your Face ID stops working after a simple DIY screen replacement can help you avoid one of the most frustrating iPhone repair mistakes.
Although DIY repairs may appear simple online, modern iPhones contain incredibly delicate hardware systems. Tiny errors involving flex cables, dot projectors, sensors, or calibration can permanently disable Face ID functionality.
The reality is that Face ID technology requires precision, experience, and specialized tools. While some repair issues are recoverable, severe damage may become irreversible.
That’s why choosing professional repair services remains the safest option for protecting both your device and your data security.
When it comes to modern smartphone repairs, expertise truly matters.
David from Sydney CBD Repair Centre – The Best place to fix mobile phones as 7 Years In A Row! Top Mobile Phone Repair In Sydney. More than 2000 Positive Reviews on Google and Same Day Repairs.
We take pride in delivering exceptional repair services for all major phone brands including Apple, Samsung, Google, and more. Our expert technicians use only genuine parts and offer 90days warranty on repairs. Located in the heart of Sydney CBD, we’re your one-stop solution for all mobile device repairs.
Our commitment to excellence has earned us the trust of thousands of satisfied customers. Whether it’s a cracked screen, battery replacement, or water damage repair, we handle it all with professional care and expertise. Walk in today and experience why we’re Sydney’s #1 choice for mobile phone repairs.
Visit us for:
✓ Same Day Express Repairs
✓ Genuine Parts Guarantee
✓ Professional Technicians
✓ Competitive Pricing
✓ 2000+ 5-Star Google Reviews
✓ 7-Time Award Winner for Best Phone Repairs
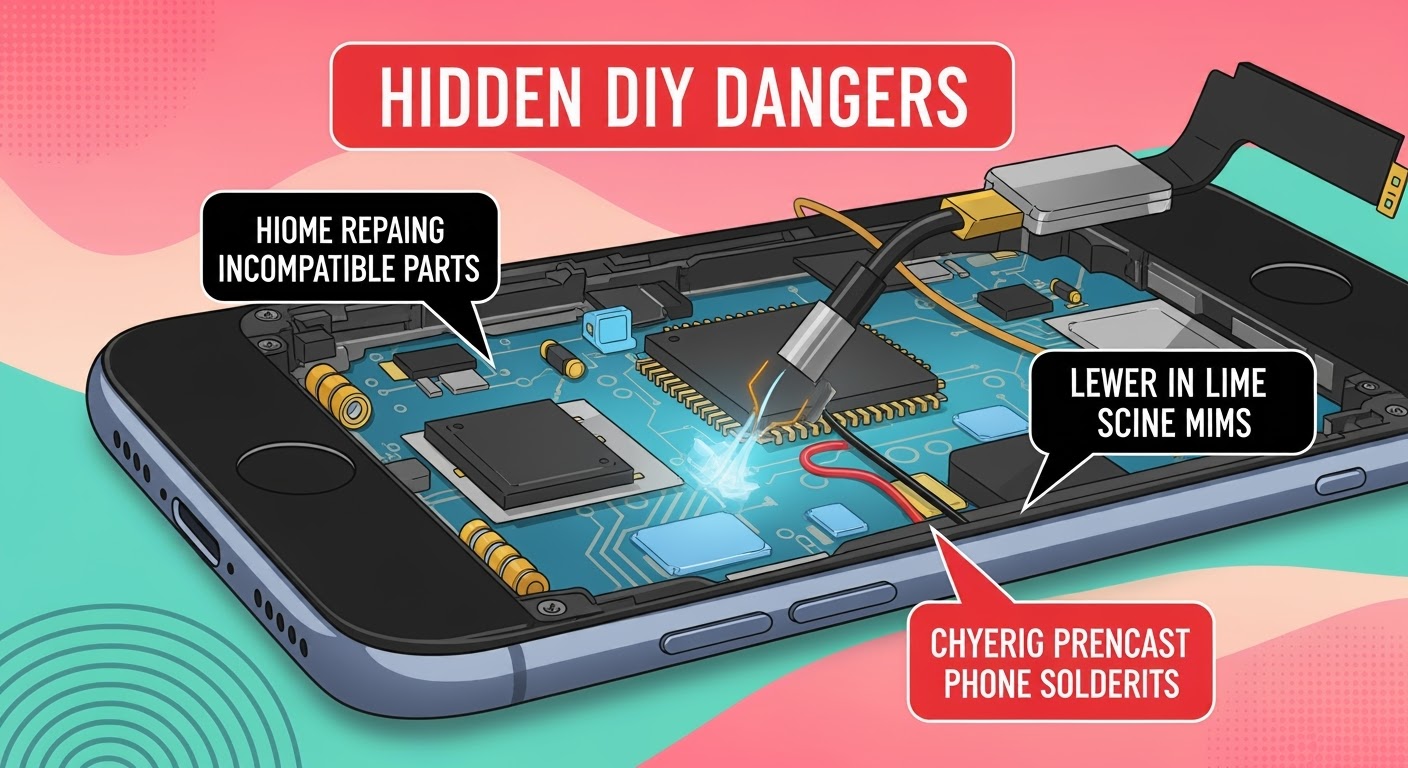
Hidden DANGERS of DIY Phone Repair Revealed – 7 Shocking Truths You Need to Know
🟢 Introduction
DIY phone repair videos flood YouTube. Toolkits are cheap. Replacement parts ship fast. It seems easy, right? But beneath the surface lies a set of risks that can turn your fix into a failure—or even a fire hazard.
At Sydney CBD Repair Centre, we’ve seen dozens of DIY repair attempts gone wrong. This guide reveals the hidden dangers of DIY phone repair—so you can make smarter, safer decisions when your device breaks down.
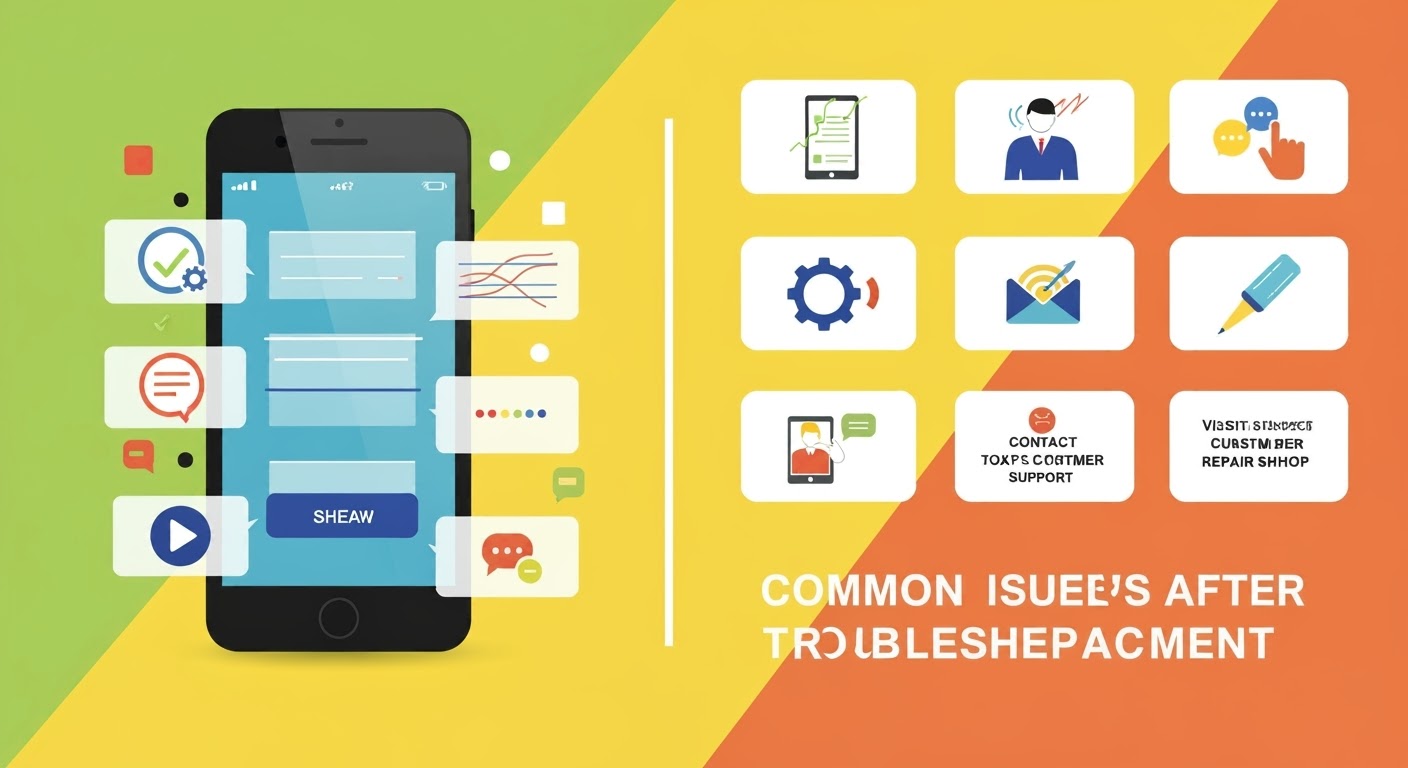
Common Issues After Screen Replacement: Troubleshooting Tips That Actually Work – Top 12 Fixes
🛠️ Introduction
You’ve just had your phone screen replaced—everything should be good as new, right? But sometimes, a fresh screen brings unexpected headaches. From unresponsive touch to battery drain and malfunctioning sensors, common issues after screen replacement can ruin your smartphone experience.
This article breaks down the 12 most common screen replacement problems, why they happen, and how to fix them—either on your own or with professional help.
Screen replacements are more complex than they seem. Whether it’s a cracked display or a full OLED replacement, tampering with your phone’s delicate internals can impact sensors, connectors, or battery performance. Even a slight misalignment can throw off essential functions.
Let’s explore the top 12 issues and their solutions.
Restart your device and boot in safe mode to rule out software issues.
Check if touch sensitivity improves without screen protector.
If problem persists, visit a professional technician to inspect cable alignment.
2. 🎨 Display Discoloration or Dead Pixels
Post-Repair LCD/OLED Malfunctions
Dead zones or weird color bands may appear
Poor-quality panels often lack factory calibration
Warranty Considerations
If discoloration appears within days, it’s likely a hardware fault. Reputable repair centers like Sydney CBD Repair Centre offer 90-day warranties to cover such issues.
3. 🔋 Battery Draining Fast
Connection Issues with Battery After Repair
Battery flex cable may have been loosened or pinched
Display and digitizer may be drawing excess power
Power Management Post-Replacement
Use a battery health checker app
If rapid drain continues, return to repair centre to recheck installation
4. 💡 Screen Flickering
Faulty Connectors or Low-Quality Screens
Flickering often stems from:
Loose LCD connector
Software glitch post screen replacement
Non-OEM screen components
How to Test for Hardware vs Software Causes
Perform a factory reset (after backing up)
Try in Safe Mode
Persistent flicker? Replace with a genuine screen
5. 🕵️ Proximity Sensor Not Working
Call Screen Won’t Turn Off
Sensor misalignment
Blocked by adhesive or dust post-repair
Recalibrating the Sensor
Use apps like Sensor Test to recalibrate
If it remains inaccurate, technician adjustment is needed
6. 👻 Ghost Touch or Phantom Touches
Common Causes of Ghost Touch
Faulty digitizer
Improper grounding inside the device
Screen flex cable damage
Fixing Ghost Touch Issues Without Tools
Remove any magnetic case or glass screen protector
Update firmware
If ghost touch persists, seek hardware inspection
7. 🔌 No Display but Phone Turns On
Check the Display Connector
Sounds or vibrations happen but screen is black
Likely screen isn’t seated correctly
Use of Diagnostic Tools
Professional tools can test screen signal without disassembly. A trusted repairer will swap display components to confirm the fault.
8. 🧷 Screen Lift or Separation from Frame
Glue Quality and Improper Clamping
Inferior adhesive or poor curing time causes screen lift
How Professionals Prevent This Issue
At Sydney CBD Repair Centre, industrial-strength UV glue and frame clamps are used to ensure a solid seal.
9. 🌞 Poor Display Brightness
Brightness Sensor or Low-Quality Panel
Sensor may not be reattached or misaligned
Budget panels lack brightness calibration
Testing vs Original Display Quality
Compare to pre-repair photos or video. If you notice a visible downgrade, you may have received a low-tier replacement screen.
10. 🔊 Speaker or Mic Malfunction After Repair
Misalignment or Loose Internal Connections
Displaced components or blocked mesh
Use of heat during repair may dislodge nearby components
Testing Sound Hardware Post-Screen Change
Run diagnostics with built-in codes (e.g., #0# for Samsung) or apps to test audio hardware.
11. 📸 Camera Not Working or Blurry
Lens or Sensor Blocked During Repair
Dust under lens cover
Front camera alignment disturbed
Fixes for Front and Rear Camera Issues
Clean lens carefully with microfiber cloth
Technician can reseat or replace camera if sensor error appears
12. 🧬 Face ID or Fingerprint Sensor Failure
Recalibration and Compatibility Issues
Face ID or fingerprint may be disabled if screen isn’t paired
iPhones in particular require screen replacement by trained specialists
Solutions for Biometric Failures
Only use authorized repair centres with biometric-capable tools
Always verify your new screen is compatible with OEM biometric tech
🛡️ How to Avoid These Issues with a Trusted Repair Centre
Importance of Choosing Certified Technicians
Cheap repairs are tempting—but can cost more in the long run. Certified technicians use:
Genuine parts
Anti-static environments
Proper sealing tools
Why Sydney CBD Repair Centre is Trusted
David from Sydney CBD Repair Centre leads a team of expert technicians who:
Q1: Why is my touch not working properly after a screen replacement?
A: It could be due to a misaligned digitizer, faulty screen, or an issue with the internal connector. Professional diagnosis is recommended.
Q2: How long should a screen replacement last?
A: If done properly using genuine parts, a screen replacement should last the life of the device.
Q3: Can screen replacement cause battery problems?
A: Yes, if the battery connector was disturbed or the replacement screen draws too much power.
Q4: Will my Face ID or fingerprint still work after a screen replacement?
A: Only if the repair is done correctly with proper pairing tools, especially on Apple devices.
Q5: Is screen flickering after replacement normal?
A: No, it’s often a sign of poor screen quality or an issue with the internal display connection.
Q6: How do I know if I got a genuine screen?
A: Genuine screens are brighter, sharper, and more responsive. Reputable centers offer proof of authenticity and warranties.
🔚 Conclusion
A screen replacement should breathe new life into your phone—not introduce new issues. If you’re facing common issues after screen replacement, many can be resolved with the right knowledge or help from professionals.
For peace of mind, trust a reliable repair centre like Sydney CBD Repair Centre where quality meets reliability every time.
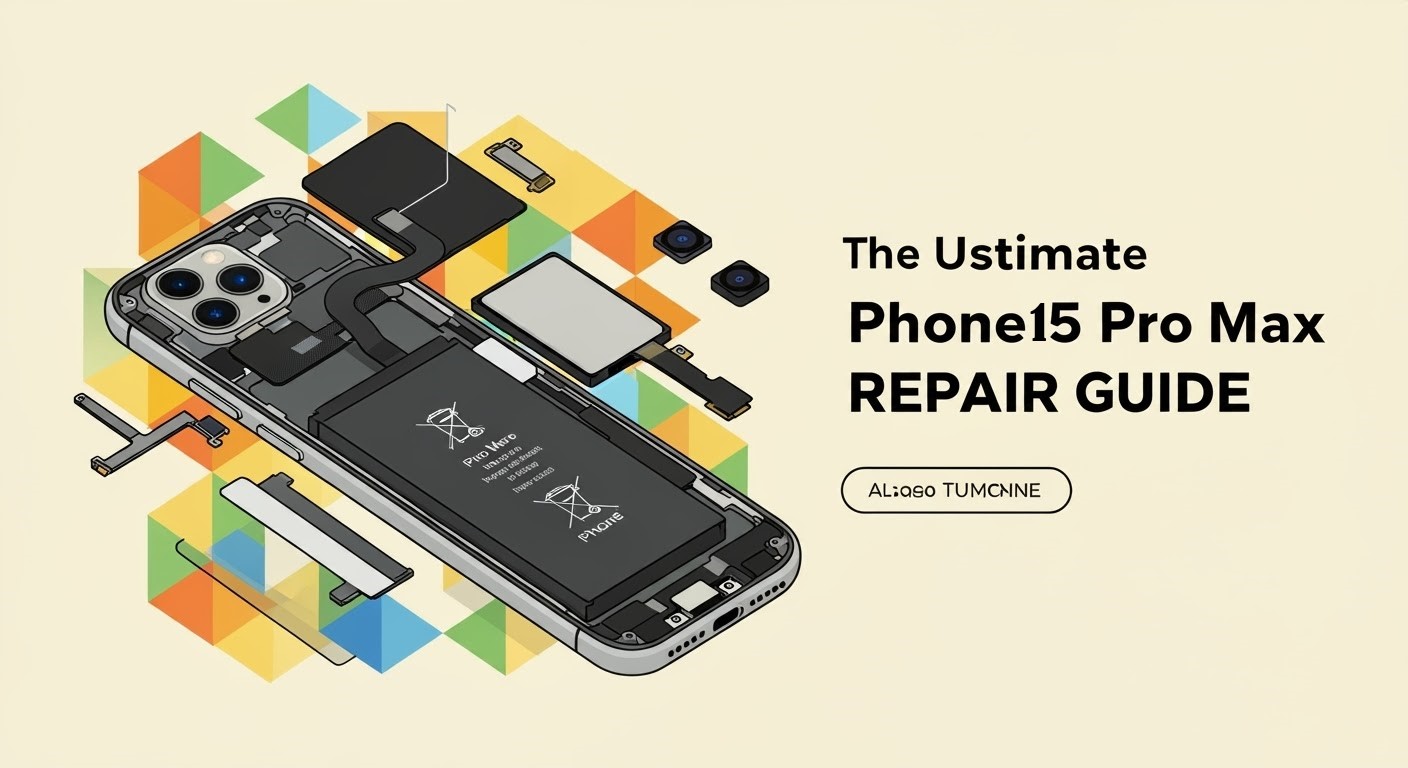
The iPhone 15 Pro Max is Apple’s most advanced smartphone yet, boasting cutting-edge performance, stunning titanium build, and industry-leading camera systems. But even the best devices aren’t immune to wear and tear. Whether you’ve cracked the screen, damaged the charging port, or experienced water damage—this ultimate guide covers everything you need to know to get your iPhone 15 Pro Max back in top shape.
Despite its premium design, the iPhone 15 Pro Max can still face various issues:
Cracked or shattered front glass
Unresponsive OLED display
Battery drain or sudden shutdowns
Charging port malfunction (USB-C)
Camera module problems
Water or liquid damage
Software glitches and boot loops
Face ID or proximity sensor failures
💥 Cracked Screen Replacement
Signs You Need a Screen Replacement:
Visible cracks
Ghost touch or no touch response
Dead pixels or black spots
Flickering display
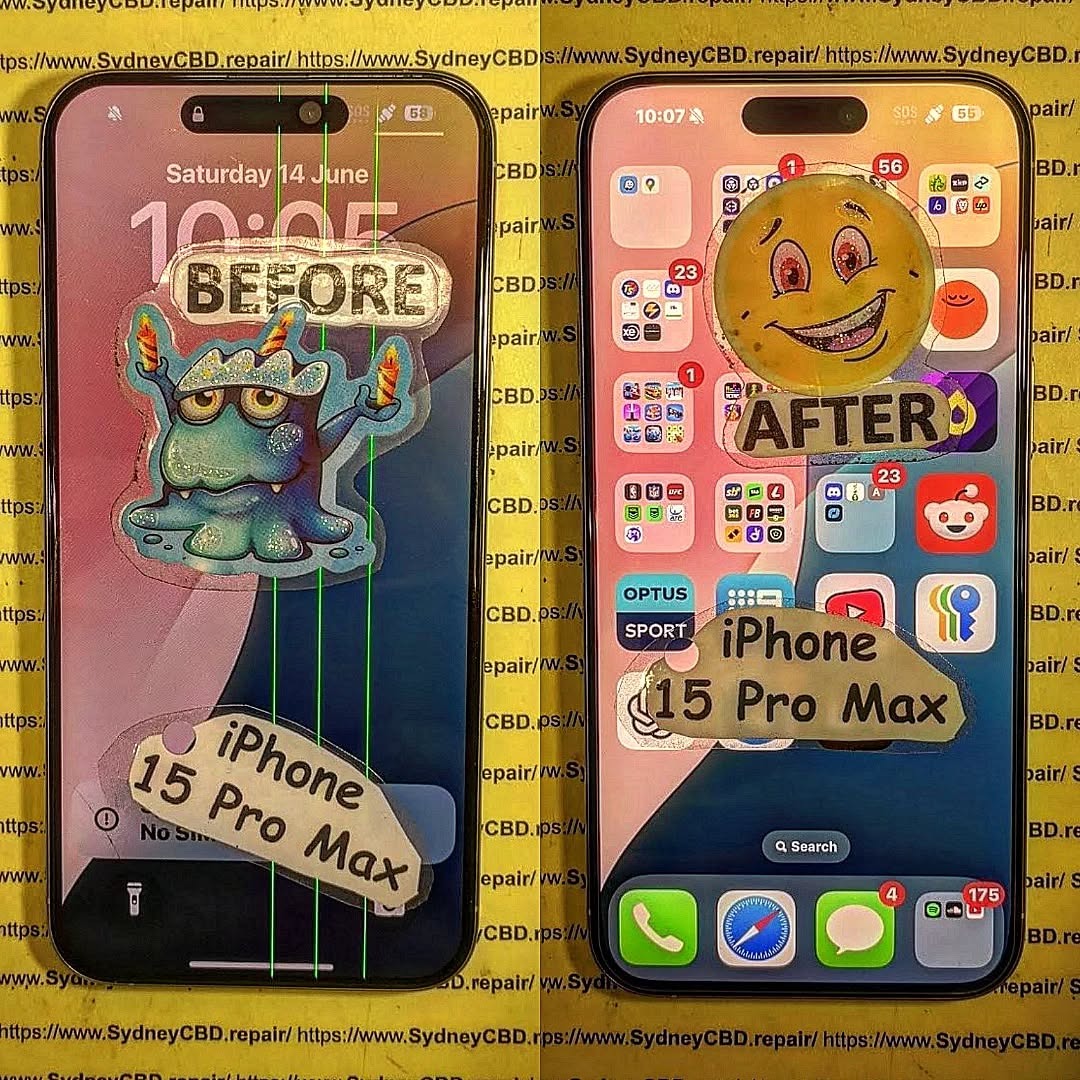
At Sydney CBD Repair Centre, we use original OLED panels to ensure your screen retains its high brightness and colour accuracy. The replacement typically takes under 1 hour, and all screen repairs include a 90-day warranty.
Pro Tip: Avoid third-party aftermarket LCDs—they degrade camera quality and reduce battery life.
Our Solution:
We offer genuine battery replacements that maintain full compatibility with iOS and battery health reporting. Same-day service is available with no data loss.
⚡ USB-C Charging Port Repair
Apple’s switch to USB-C on the iPhone 15 Pro Max is a big change, but port damage can still occur.
Signs of Port Failure:
Phone not charging unless cable is adjusted
Accessory not supported error
Dirt or lint preventing full connection
Fix It at Sydney CBD Repair Centre:
We’ll diagnose whether it’s a port obstruction or a hardware fault. Our technicians safely clean or replace USB-C ports using ESD-safe tools and genuine parts.
📸 Camera & Face ID Repairs
Rear Camera Issues:
Blurry images or shaky videos
Camera app freezing
Unable to focus
Face ID Not Working?
This could be due to:
Drop damage
Screen replacement with incompatible parts
Flex cable damage
Our repairs maintain TrueDepth sensor functionality and original Face ID calibration—something only expert repair centres like us can guarantee.
💧 Water Damage Treatment
Despite being rated IP68, the iPhone 15 Pro Max isn’t fully waterproof. Water damage can lead to:
Motherboard corrosion
Display or speaker failure
Charging port oxidation
What We Do:
We perform professional ultrasonic cleaning and diagnostics to salvage your device and replace damaged components. Success rates are high if the device is brought in quickly.
🧠 Software & Logic Board Repairs
If your iPhone is stuck in a boot loop or showing error messages like “Unable to Activate”, this could indicate:
Software corruption
NAND storage issues
Logic board damage
Advanced Micro-Soldering Repairs:
We perform micro-soldering to repair faulty logic board connections or replace tiny IC chips—something most general repair shops can’t handle.
🕓 Turnaround Times
Repair Type
Average Time
Screen Replacement
30–60 minutes
Battery Replacement
30 minutes
Charging Port Repair
1–2 hours
Water Damage Diagnostics
24–48 hours
Camera & Face ID Repairs
1 hour
Board-Level Repair
1–3 days
🛡️ Why Choose Sydney CBD Repair Centre?
SydneyCBDrepairCentreTeam-854-553.jpg
✅ Same Day Express Repairs
✅ Genuine Apple-Compatible Parts
✅ 2000+ 5-Star Google Reviews
✅ Expert Technicians with 10+ Years Experience
✅ Located in the Heart of Sydney CBD
✅ Awarded 6 Times for Best Phone Repairs
We’re not your average repair shop. We offer transparency, speed, and reliability that’s hard to find elsewhere in Sydney.
🔎 FAQs
1. Do you use original Apple parts?
We use Apple-grade OEM components, which are functionally identical to the original. Your iPhone retains full performance and iOS compatibility.
2. Will my data be erased during the repair?
No! Most of our repairs, like screen and battery replacements, are non-invasive and keep your data intact.
3. How long does a screen replacement take?
Typically under 1 hour, depending on current queue and model availability.
4. Is your work covered by warranty?
Yes, all repairs come with a 90-day warranty covering parts and workmanship.
5. Can you fix water-damaged iPhones?
Yes! We have a very high success rate with water-damaged phones—especially if brought in within 24 hours.
6. Do I need an appointment?
Walk-ins are welcome! But you can also book online or call ahead for priority service.
🏁 Final Thoughts
The iPhone 15 Pro Max is a powerhouse, but when things go wrong, it’s crucial to trust your device with experts who understand its complexity.
Sydney CBD Repair Centre stands out with top-tier repairs, real Apple-grade parts, and thousands of satisfied customers. Whether it’s a simple screen swap or complex logic board fix, we’re ready to help.
📍 Visit Us Today!
Sydney CBD Repair Centre – Where Quality Meets Reliability
📞 Call: +61280114119
🌐 Website: https://SydneyCBD.repair/locate-us
📍 Address: Shop 2, 661 George St, Haymarket NSW 2000
🕘 Open Mon–Sat, 10AM–6PM
Thank you for using
Themify Popup
This is a sample pop up. Themify Builder or Builder Lite (free) plugin is recommended to design the pop up layouts.