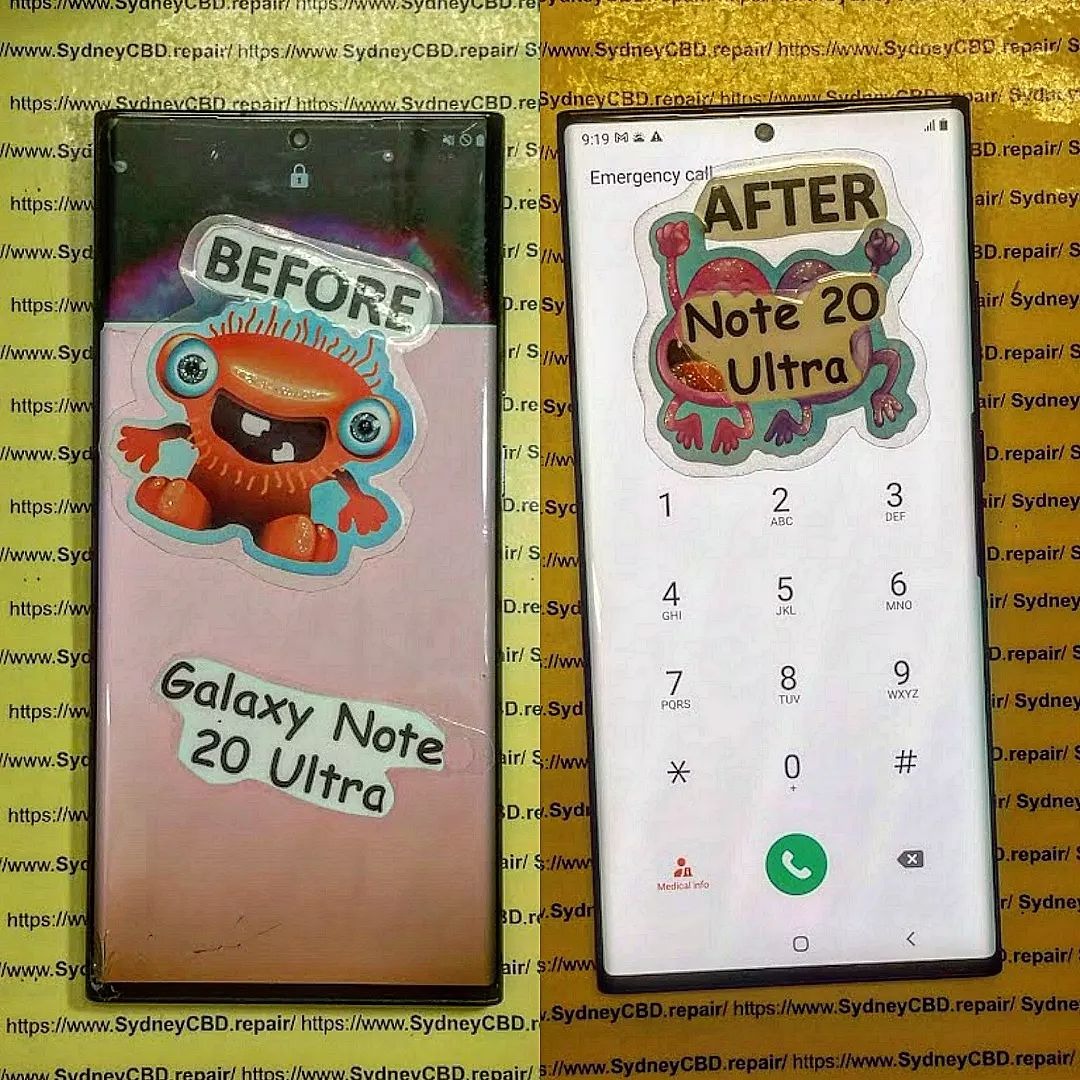
Is a Samsung Galaxy Note 20 Ultra Screen Repair Worth It in 2026?
![]()
Is a Samsung Galaxy Note 20 Ultra Screen Repair Worth It in 2026?Ultimate Guide with 7 Key Insights
Introduction: Why This Question Still Matters in 2026
The Samsung Galaxy Note 20 Ultra may have launched years ago, but it continues to hold a special place among power users, professionals, and loyal Samsung fans. In 2026, many owners are asking the same practical question: is a Note 20 Ultra screen repair worth it, or is it finally time to move on?
Smartphones aren’t cheap. Even in 2026, flagship devices command premium prices, and not everyone is eager to upgrade every two years. A cracked or unresponsive display doesn’t necessarily mean the end of the road. In fact, a well-executed Note 20 Ultra screen repair can breathe new life into a device that still performs admirably.
This guide takes a clear, honest, and expert-driven look at costs, value, performance, and real-world usage. We’ll weigh the pros and cons, factor in market trends, and help you make a confident decision without the guesswork.
Understanding the Samsung Galaxy Note 20 Ultra in Today’s Market
Original Features That Still Hold Value
When Samsung released the Note 20 Ultra, it was packed with top-tier technology. Even by 2026 standards, many of these features remain impressive. The 6.9-inch Dynamic AMOLED 2X display is still one of the phone’s biggest selling points. It delivers rich colours, deep blacks, and smooth scrolling that cheaper modern phones struggle to match.
The S Pen is another standout. For professionals, creatives, and students, it’s more than a gimmick. Note-taking, sketching, document signing, and precise navigation still feel natural and productive. That alone gives the device ongoing relevance.
From a hardware perspective, the premium build quality means most units age gracefully. If the internals are sound, a Note 20 Ultra screen repair can restore the phone to near-original condition.
Performance and Software Support in 2026
Performance is often a concern with older phones. However, the Note 20 Ultra’s processor and RAM configuration still handle everyday tasks smoothly in 2026. Browsing, streaming, productivity apps, and even light gaming remain comfortable experiences.
While official software updates may be limited, security patches and optimized apps keep the device usable. For users who don’t chase the latest features, performance alone is a strong argument in favour of a Note 20 Ultra screen repair rather than a full replacement.
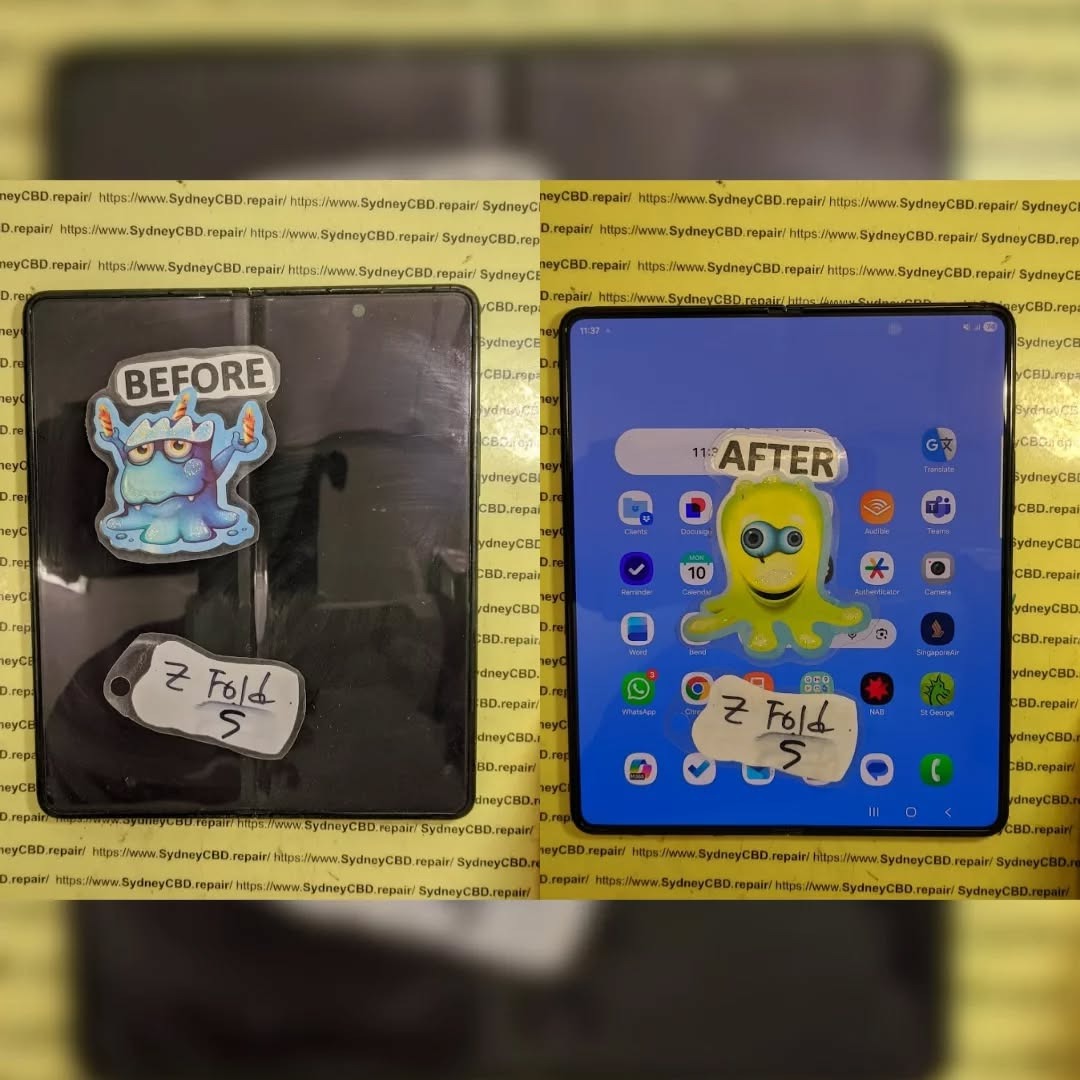
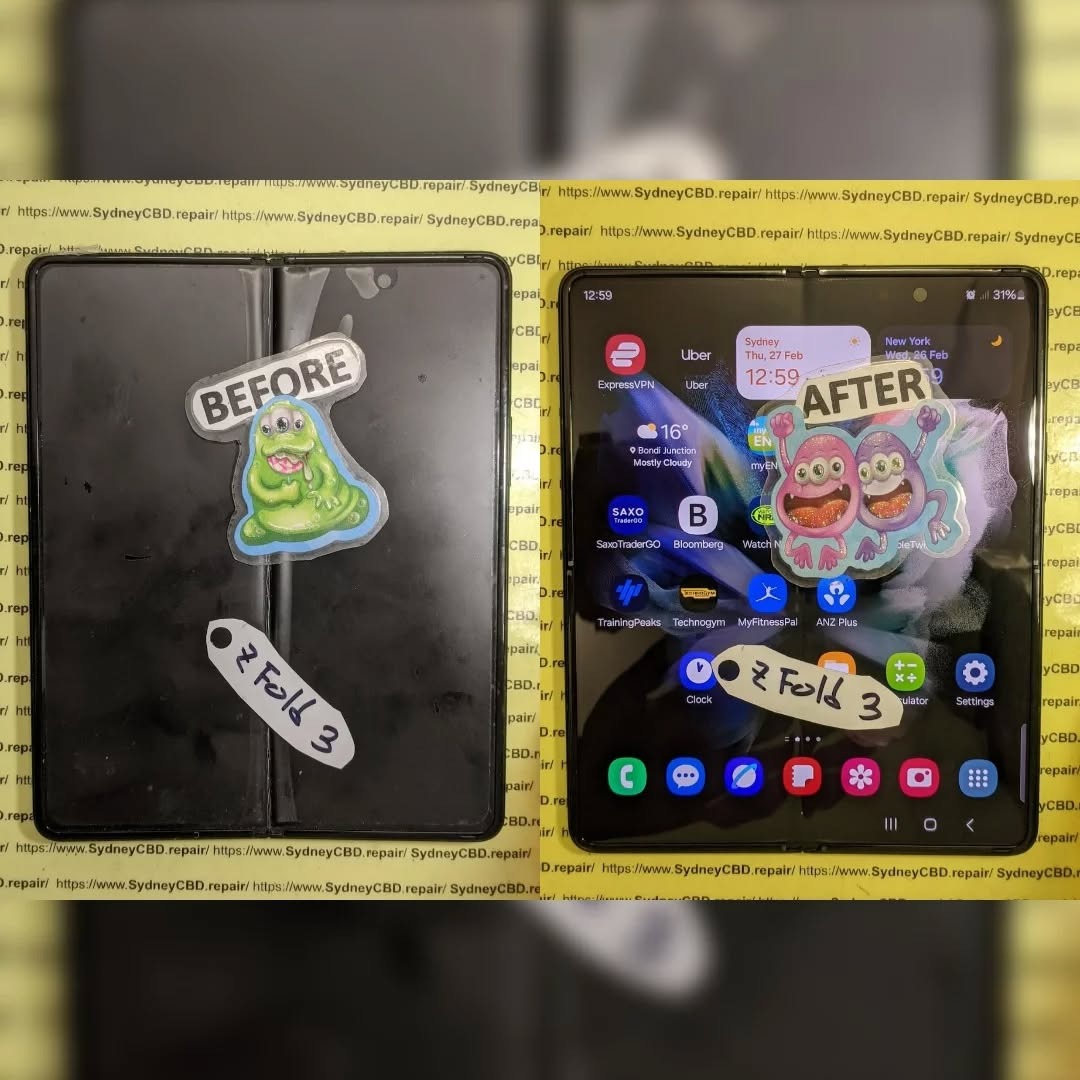
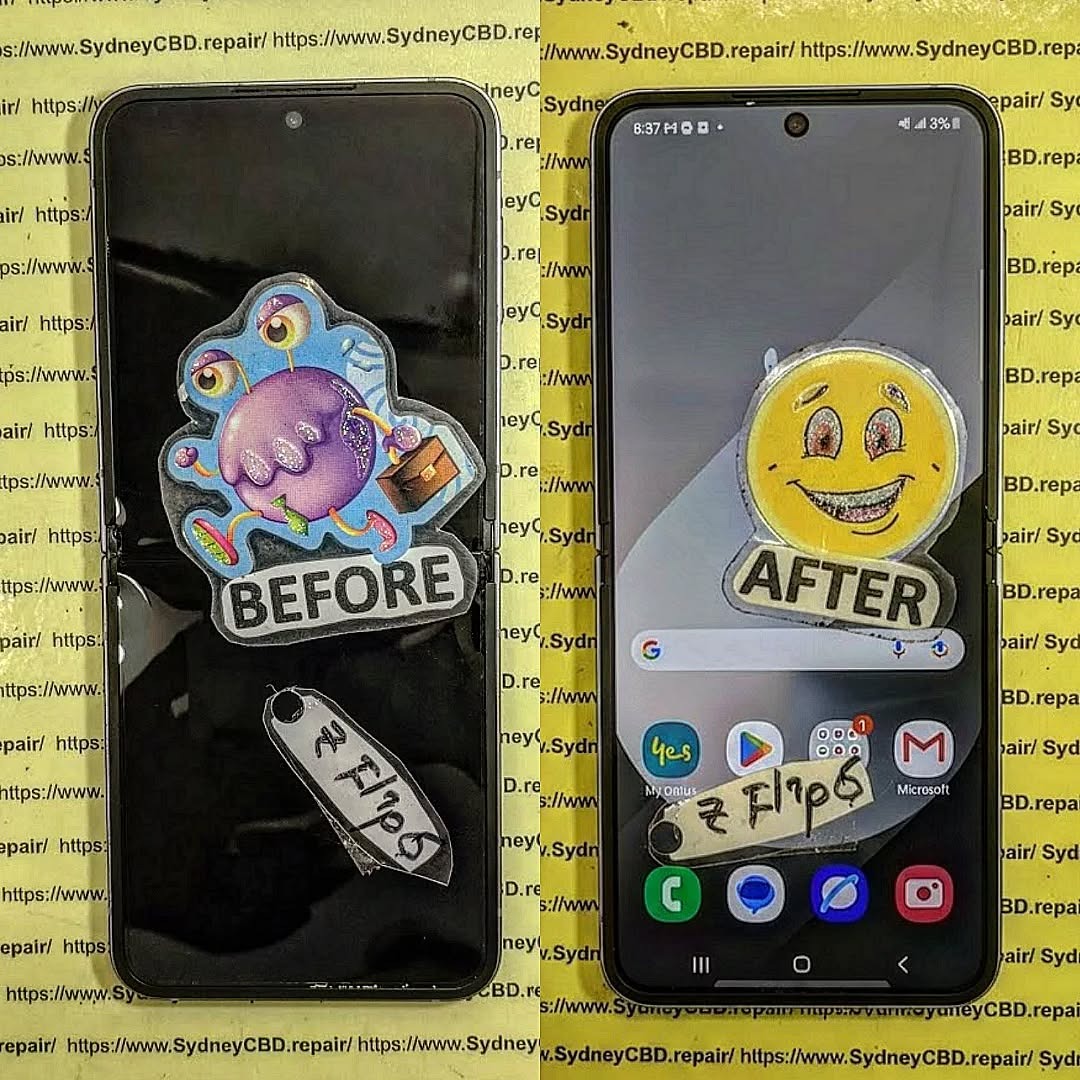
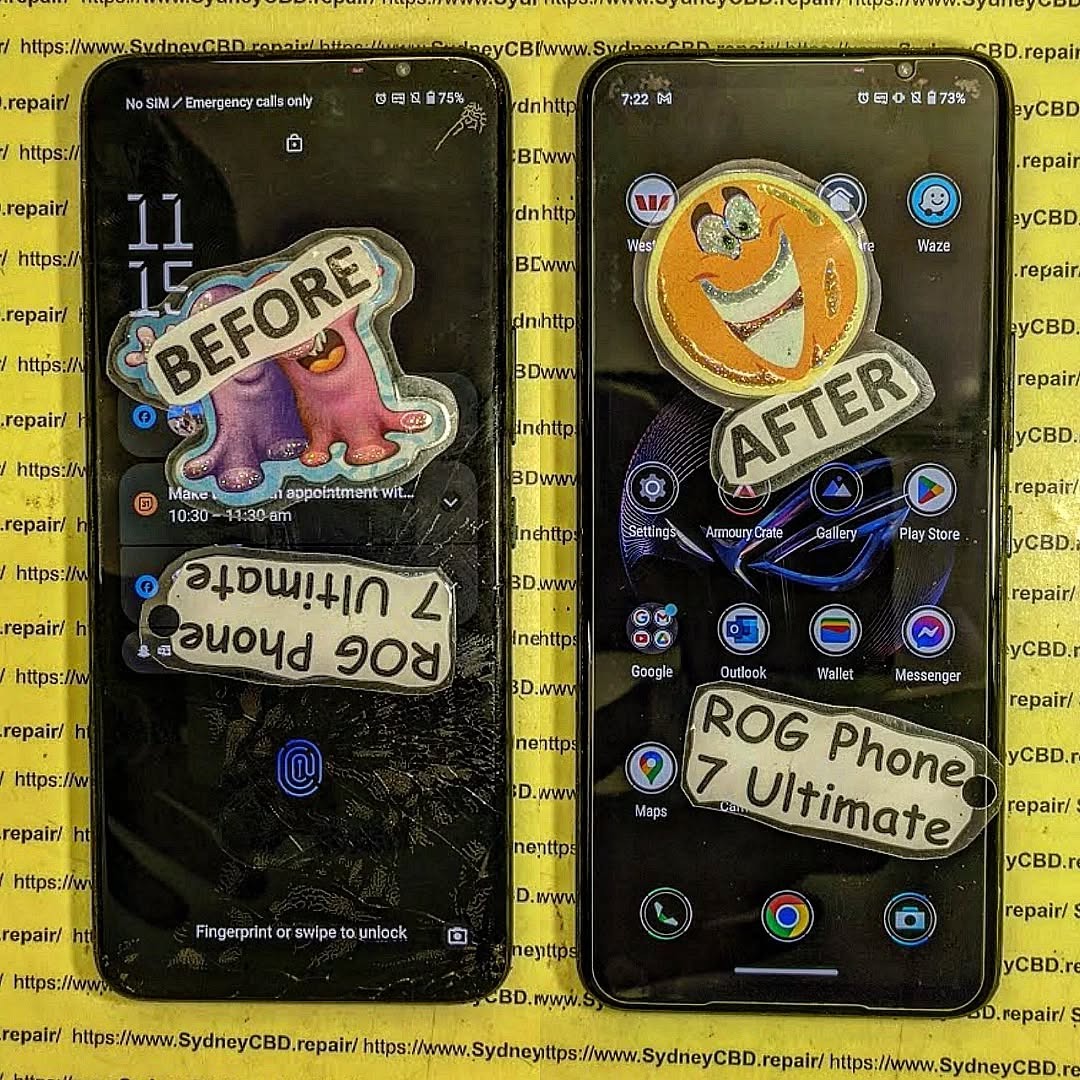
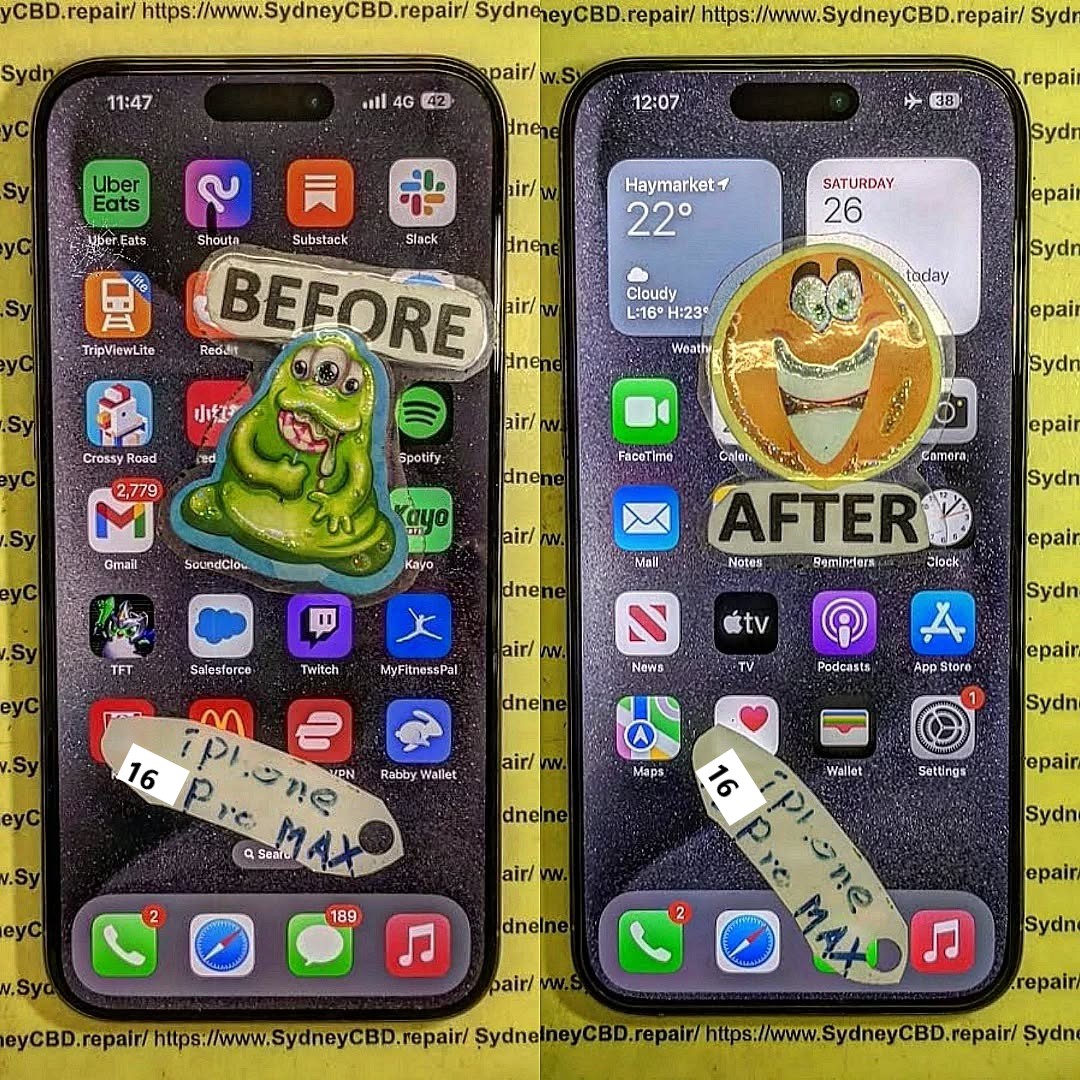
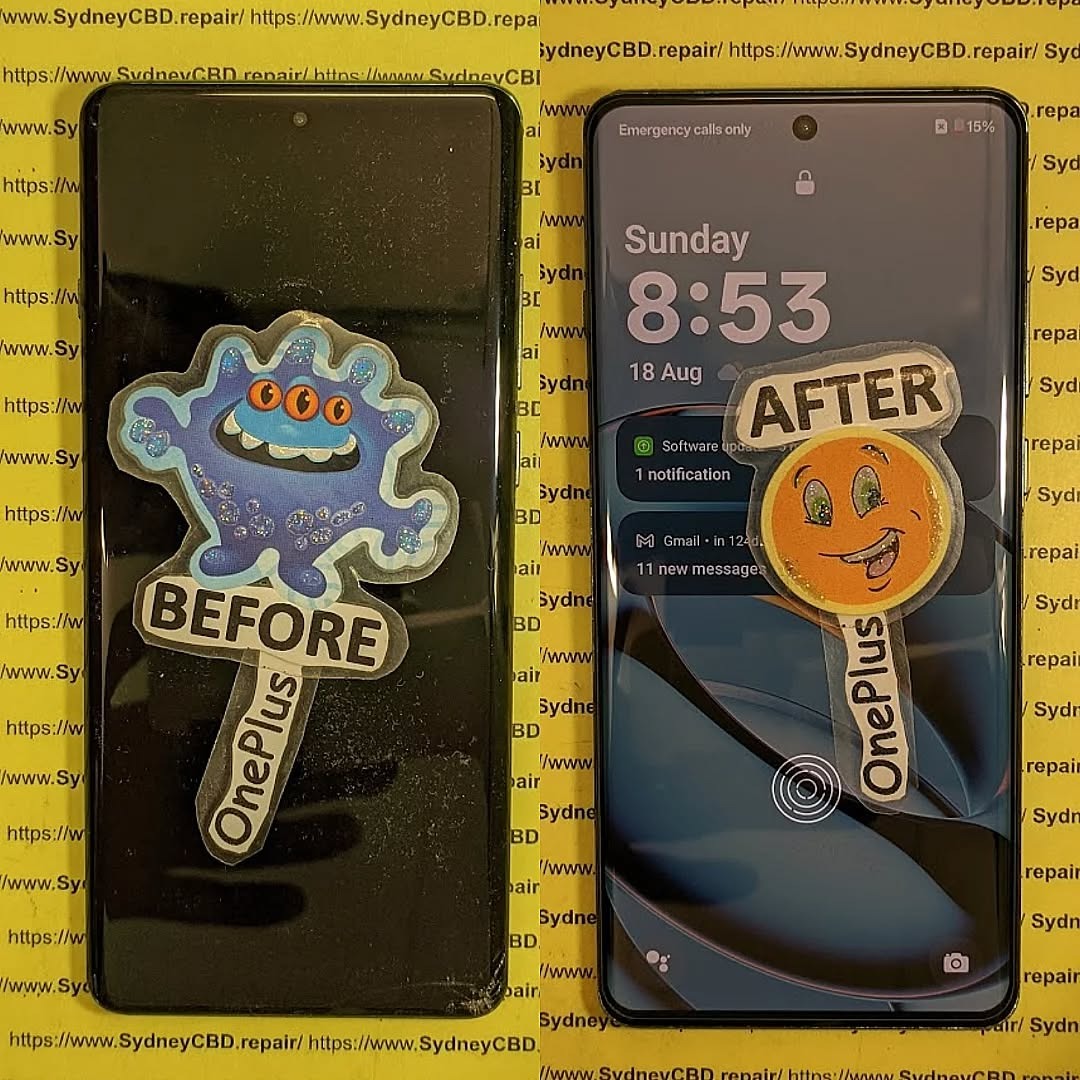
What a Note 20 Ultra Screen Repair Involves
AMOLED Technology Explained
The Note 20 Ultra uses an advanced AMOLED display, which integrates touch sensors, display layers, and fingerprint recognition into a single unit. This means a screen replacement isn’t just swapping glass. A proper Note 20 Ultra screen repair requires precision, expertise, and the right tools.
Genuine AMOLED panels preserve colour accuracy, brightness, and responsiveness. Cheaper alternatives may function, but they often compromise display quality and longevity.
Common Types of Screen Damage
Not all screen damage is the same. The most common issues include:
- Cracked or shattered glass
- Dead pixels or lines
- Touch responsiveness failure
- Display flickering or black screens
In many cases, internal components remain unaffected. That’s good news, because it means a screen replacement alone can fully restore functionality.
Cost Breakdown of Note 20 Ultra Screen Repair in 2026

Genuine vs Aftermarket Screens
In 2026, the cost of a Note 20 Ultra screen repair largely depends on the type of replacement screen used. Genuine Samsung displays cost more, but they deliver the original look and feel. Aftermarket screens are cheaper, yet they may suffer from lower brightness, colour inconsistency, or reduced durability.
Choosing genuine parts often makes sense if you plan to keep the phone for another year or two. It protects usability and resale value.
Labour and Time Considerations
Professional repair centres typically complete a Note 20 Ultra screen repair within a few hours. Same-day service is common, which minimises downtime. Labour costs reflect the skill required to safely remove and replace such a complex display.
While DIY kits seem tempting, mistakes can lead to higher costs later. We’ll cover that in more detail shortly.
Repair vs Replacement: Financial and Practical Comparison
Depreciation and Resale Value
Smartphones depreciate quickly. By 2026, the Note 20 Ultra has already absorbed most of its value loss. Investing in a screen repair can actually stabilise its resale price. A cracked screen significantly reduces market value, while a repaired device is far more attractive to buyers.
From a purely financial standpoint, a Note 20 Ultra screen repair is often cheaper than buying a new mid-range phone with similar capabilities.
Environmental Impact
There’s also the environmental angle. Repairing instead of replacing reduces electronic waste and the demand for raw materials. Many users appreciate that a Note 20 Ultra screen repair aligns with more sustainable technology habits. It’s a small choice that makes a meaningful difference.
Professional Repair vs DIY Screen Replacement
Risks of DIY Repairs
DIY repairs promise savings, but they come with real risks. AMOLED displays are fragile, and one wrong move can damage internal components. Lost waterproofing, broken fingerprint sensors, and loose connectors are common DIY mistakes.
In the end, failed DIY attempts often lead to professional repairs anyway, increasing overall cost.
Benefits of Certified Repair Centres
Certified technicians use proper tools, controlled environments, and tested parts. A professional Note 20 Ultra screen repair usually includes a warranty, giving peace of mind. You’re not just paying for the part, but for experience, reliability, and accountability.
When a Note 20 Ultra Screen Repair Is Worth It
Ideal User Scenarios
A Note 20 Ultra screen repair is absolutely worth it if:
- The phone meets your performance needs
- Battery health is still good
- You rely on the S Pen
- The rest of the device is in solid condition
For business users, students, or anyone who values productivity, repairing the screen keeps a familiar and capable tool in service.
When It’s Time to Upgrade Instead
Signs Repair Is No Longer Cost-Effective
There are cases where repair doesn’t make sense. If your device has multiple issues—battery failure, motherboard problems, or severe water damage—costs add up quickly. In such situations, upgrading may be the smarter long-term choice.
If you crave new camera technology, extended software support, or 5G improvements, a newer device might better suit your needs.
Frequently Asked Questions
1. Is a Note 20 Ultra screen repair cheaper in 2026 than before?
Yes. As parts become more available, prices have generally stabilised, making repairs more affordable than at launch.
2. Does a repaired screen affect performance?
No. A quality Note 20 Ultra screen repair restores full visual and touch performance when done correctly.
3. Are aftermarket screens worth considering?
They can be, but quality varies. Genuine screens are recommended for long-term use.
4. How long does a professional repair take?
Most repairs are completed the same day, often within a few hours.
5. Will repairing the screen improve resale value?
Absolutely. A repaired screen significantly increases buyer interest and value.
6. Where can I learn more about Samsung display technology?
You can explore Samsung’s official display innovations at the Samsung website: https://www.samsung.com
Conclusion: Final Verdict for 2026

So, is a Note 20 Ultra screen repair worth it in 2026? For many users, the answer is a confident yes. The device still offers premium features, solid performance, and unique productivity tools that remain relevant today. When the rest of the phone is in good shape, repairing the screen is a cost-effective, practical, and environmentally responsible choice.
That said, every situation is different. Weigh the repair cost against your usage needs and future plans. If the Note 20 Ultra still fits your lifestyle, a professional screen repair can give it a strong second life in 2026 and beyond.
David from Sydney CBD Repair Centre – The Best place to fix mobile phones as 7 Years In A Row! Top Mobile Phone Repair In Sydney. More than 2000 Positive Reviews on Google and Same Day Repairs.
We take pride in delivering exceptional repair services for all major phone brands including Apple, Samsung, Google, and more. Our expert technicians use only genuine parts and offer 90days warranty on repairs. Located in the heart of Sydney CBD, we’re your one-stop solution for all mobile device repairs.
Our commitment to excellence has earned us the trust of thousands of satisfied customers. Whether it’s a cracked screen, battery replacement, or water damage repair, we handle it all with professional care and expertise. Walk in today and experience why we’re Sydney’s #1 choice for mobile phone repairs.
Visit us for:
✓ Same Day Express Repairs
✓ Genuine Parts Guarantee
✓ Professional Technicians
✓ Competitive Pricing
✓ 2000+ 5-Star Google Reviews
✓ 7-Time Award Winner for Best Phone Repairs
Sydney CBD Repair Centre – Where Quality Meets Reliability.
Call : +61280114119
Website: https://SydneyCBD.repair/locate-us