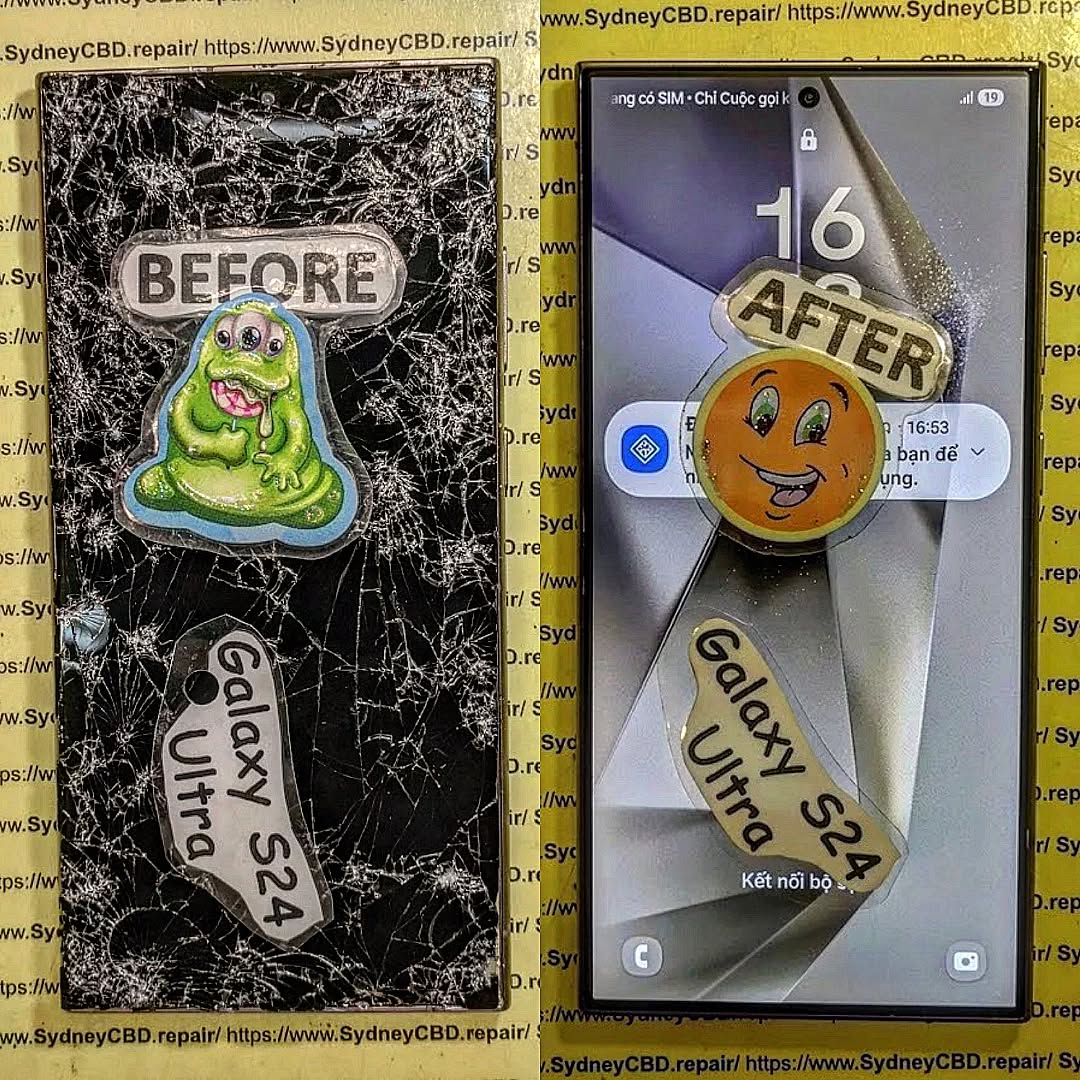
Testing Every Function: Does Fingerprint Scanning Still Work After Samsung Screen Repair?
![]()
Testing Every Function: Does Fingerprint Scanning Still Work After Samsung Screen Repair? 9 Powerful Facts You Need to Know
Introduction
Replacing a Samsung display isn’t just about restoring a beautiful screen. Modern Samsung smartphones integrate fingerprint authentication directly into the display, making every screen replacement a delicate technical procedure. This guide explains why fingerprint scanning may or may not work after a repair, what professional technicians do differently, and how you can ensure your phone performs exactly as Samsung intended.
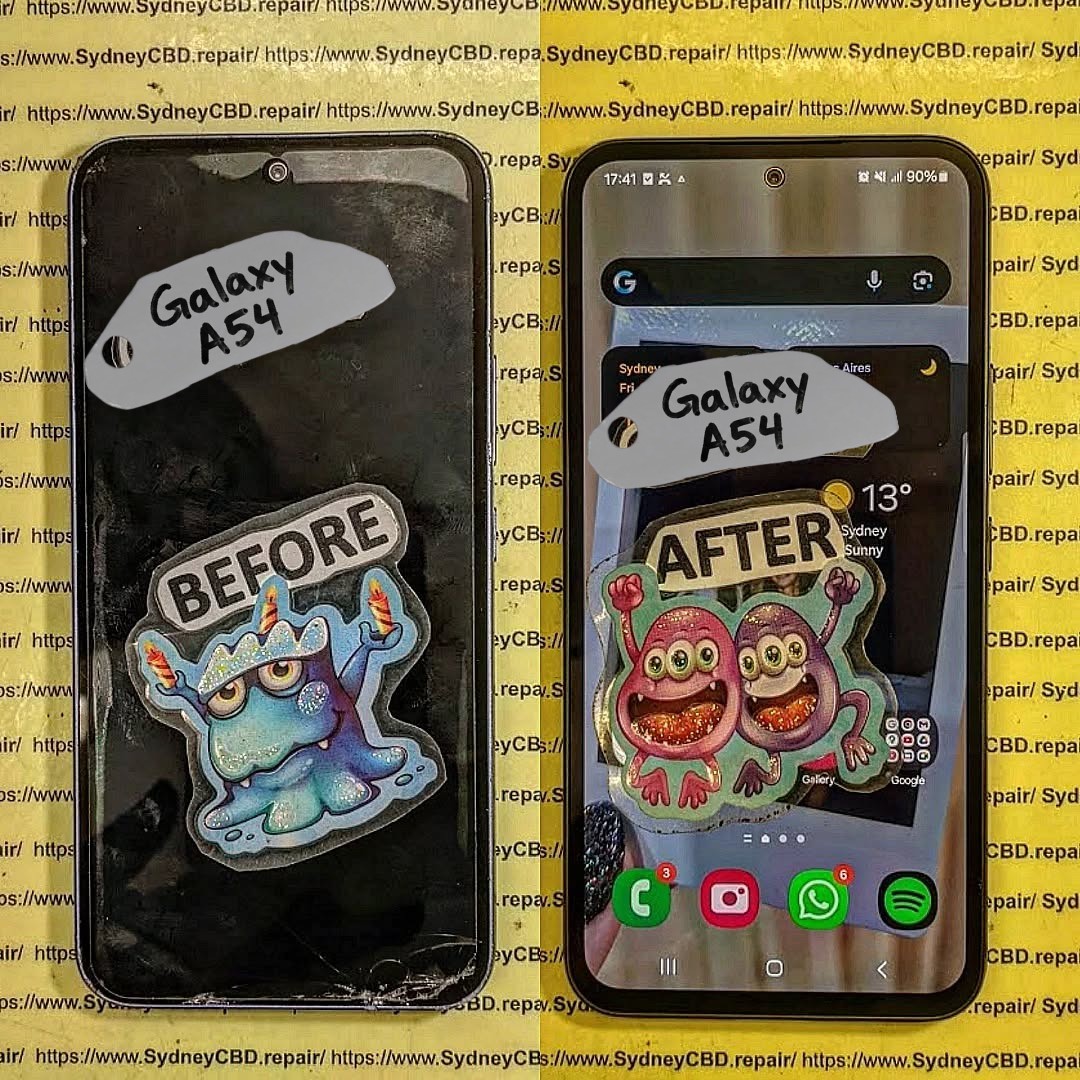
Samsung smartphones have become increasingly advanced over the years. Models like the Galaxy S21, S22, S23, S24, and S25 series feature sophisticated under-display fingerprint scanners that offer fast and secure authentication without needing a physical home button.
When your screen breaks, replacing the display isn’t simply about fitting a new piece of glass. A quality Samsung screen repair should restore every feature—including fingerprint recognition, touch sensitivity, brightness, color accuracy, refresh rate, proximity sensors, facial recognition support, and waterproof sealing where applicable.
Many people worry that replacing the screen means losing fingerprint functionality forever. Fortunately, that’s usually not the case when repairs are performed correctly by experienced technicians using high-quality replacement parts.
This guide explains everything you need to know about Samsung fingerprint scanning after a screen replacement and why professional testing is so important.
Understanding Samsung’s Under-Display Fingerprint Technology
Samsung uses two different fingerprint technologies depending on the device.
Optical Fingerprint Sensors
Optical sensors capture an image of your fingerprint using light beneath the display.
These are commonly found in Samsung’s A Series devices.
Advantages include:
- Affordable manufacturing
- Reliable performance
- Simple design
However, screen quality greatly affects optical fingerprint accuracy.
Ultrasonic Fingerprint Sensors
Premium Galaxy S and Galaxy Z models use Qualcomm ultrasonic fingerprint technology.
Instead of taking a picture, ultrasonic sensors send sound waves through the display to build a detailed 3D image of your fingerprint.
Benefits include:
- Better security
- Works with slightly wet fingers
- Faster recognition
- Higher resistance to fake fingerprints
Because ultrasonic waves travel through the display, replacing the screen requires extremely precise component matching.
Why Screen Quality Matters
Not every replacement screen allows ultrasonic waves to travel correctly.
Poor-quality screens may:
- Block ultrasonic signals
- Reduce sensor accuracy
- Cause fingerprint registration failure
- Slow unlocking speed
- Produce inconsistent results
Professional repair centres understand these compatibility issues before installing replacement displays.
What Happens During Samsung Screen Repair
A Samsung screen replacement involves much more than removing broken glass.
Professional technicians carefully disassemble the phone while protecting internal components including:
- Battery
- Cameras
- Charging port
- Motherboard
- Display flex cables
- Wireless charging coil
- Fingerprint sensor connections
After removing the damaged display, every component must be inspected before installing the replacement.
Genuine vs Aftermarket Screens
The replacement display significantly influences fingerprint performance.
Genuine Samsung Displays
Advantages:
- Original brightness
- Accurate colours
- Full refresh rate
- Excellent fingerprint compatibility
- Longer lifespan
Premium Aftermarket Displays
High-quality aftermarket displays may still perform very well when sourced from reputable manufacturers.
However, quality varies considerably.
Cheap displays often introduce problems such as:
- Dead zones
- Dim brightness
- Incorrect colour balance
- Fingerprint failures
- Higher battery consumption
Sensor Transfer Process
Depending on the Samsung model, technicians may need to preserve or carefully reconnect fingerprint-related components.
This process demands:
- Precision tools
- Controlled heat
- Static protection
- Manufacturer repair procedures
Even tiny mistakes can affect authentication performance.
Why Fingerprint Scanning Sometimes Stops Working

Not every fingerprint issue is caused by the screen itself.
Several factors may interfere with sensor operation.
Poor Display Quality
Low-grade displays may interfere with ultrasonic wave transmission.
Symptoms include:
- “Fingerprint not recognised”
- Registration fails
- Slow unlocking
- Random authentication failures
Incorrect Installation
Improper installation may result in:
- Loose display connectors
- Pressure points
- Sensor misalignment
- Internal cable damage
Professional repair technicians inspect every connector before sealing the device.
Software Issues
Sometimes hardware works perfectly but software requires attention.
Solutions include:
- Removing old fingerprints
- Registering fingerprints again
- Updating Samsung software
- Clearing biometric cache
Many fingerprint issues disappear after re-enrollment.
Dirty Screen Protectors
Some thick tempered glass protectors interfere with ultrasonic sensors.
Samsung-certified fingerprint-compatible protectors usually solve this issue.
Professional Testing After Screen Replacement
Professional repair centres don’t simply install a display and hand the phone back.
They perform comprehensive testing.
Display Tests
Technicians inspect:
- Brightness
- Uniformity
- Dead pixels
- Colour accuracy
- Refresh rate
- Auto brightness
Touch Tests
Every section of the screen is checked for:
- Multi-touch
- Swipe accuracy
- Gesture navigation
- Edge response
Fingerprint Tests
Several authentication attempts verify:
- Registration success
- Unlock speed
- Consistency
- Multiple finger recognition
- Screen-on unlocking
This confirms the repair meets expected standards.
Camera Tests
The repair process may also include checking:
- Front camera
- Rear camera
- Autofocus
- Flash
- Portrait mode
Sensor Tests
Professionals verify:
- Proximity sensor
- Ambient light sensor
- Accelerometer
- Gyroscope
- NFC
- Wireless charging
- Face recognition
Testing everything prevents unpleasant surprises later.
How Professionals Restore Fingerprint Performance
Experienced repair centres follow systematic procedures.
Step 1
Install a compatible replacement display.
Step 2
Reconnect every internal cable carefully.
Step 3
Inspect for physical damage.
Step 4
Boot the device.
Step 5
Update firmware if necessary.
Step 6
Delete previous fingerprints.
Step 7
Register new fingerprints.
Step 8
Test repeated unlock attempts.
Step 9
Verify touch accuracy.
Step 10
Confirm customer satisfaction before device collection.
This thorough process dramatically increases repair success.
Common Myths About Samsung Fingerprint Sensors
Myth 1: Fingerprint scanning never works after screen replacement.
False.
Professional repairs regularly restore full functionality.
Myth 2: Every aftermarket screen is bad.
False.
Premium aftermarket displays can perform extremely well when sourced from trusted suppliers.
Myth 3: The fingerprint sensor is inside the display.
Not exactly.
The sensor works together with the display, making compatibility essential.
Myth 4: Software updates always fix fingerprint issues.
Not necessarily.
Hardware compatibility remains equally important.
Myth 5: DIY repairs save money.
Sometimes initially—but mistakes often lead to more expensive repairs later.
Tips for Customers Before and After Repair
To maximise fingerprint performance:
- Choose an experienced repair centre.
- Ask whether genuine or premium-quality parts are used.
- Re-register fingerprints after repair.
- Keep the display clean.
- Use fingerprint-compatible screen protectors.
- Update Samsung software regularly.
- Test every phone function before leaving the repair shop.
A trustworthy technician should encourage comprehensive testing rather than rushing the process.
Frequently Asked Questions
1. Will my Samsung fingerprint scanner always work after a screen replacement?
Yes, in most cases it will work normally when a compatible, high-quality display is installed correctly and the phone is properly tested.
2. Why does my fingerprint scanner fail after repair?
Common causes include incompatible screens, incorrect installation, software configuration, or screen protectors that interfere with the sensor.
3. Do genuine Samsung displays offer better fingerprint performance?
Generally, yes. Genuine displays are designed to work seamlessly with Samsung’s optical and ultrasonic fingerprint technologies.
4. Should I delete my fingerprints after a screen replacement?
Yes. Re-registering your fingerprints often improves speed and accuracy after a new display has been installed.
5. Can a screen protector affect fingerprint scanning?
Absolutely. Thick or low-quality protectors may reduce sensor performance. Fingerprint-compatible protectors are recommended.
6. How long should a professional Samsung screen repair take?
Many experienced repair centres can complete standard Samsung screen replacements on the same day, depending on the model and parts availability.
7. Is it safe to repair a Samsung phone instead of replacing it?
Yes. Professional repairs using quality components can restore your phone’s performance and extend its lifespan significantly while costing much less than buying a new device.
Conclusion

A Samsung screen replacement should restore much more than just the appearance of your phone. Modern Galaxy devices rely on sophisticated under-display fingerprint technology that demands precision, compatible components, and careful testing during every repair.
When a skilled technician uses high-quality replacement parts and performs thorough post-repair checks, fingerprint scanning typically works just as users expect. In many cases, any temporary recognition issues can be resolved by re-enrolling fingerprints, updating the device, or using a fingerprint-compatible screen protector.
Choosing a trusted repair centre is the best way to protect your investment. Rather than focusing only on replacing broken glass, experienced professionals verify every important feature—from display quality and touch responsiveness to biometric security and sensor performance. That attention to detail ensures your Samsung device remains secure, reliable, and ready for everyday use.
For additional information about Samsung’s biometric security technology, visit the official Samsung Knox security page: https://www.samsungknox.com/
David from Sydney CBD Repair Centre – The Best place to fix mobile phones as 7 Years In A Row! Top Mobile Phone Repair In Sydney. More than 2000 Positive Reviews on Google and Same Day Repairs.
We take pride in delivering exceptional repair services for all major phone brands including Apple, Samsung, Google, and more. Our expert technicians use only genuine parts and offer 90 days warranty on repairs. Located in the heart of Sydney CBD, we’re your one-stop solution for all mobile device repairs.
Our commitment to excellence has earned us the trust of thousands of satisfied customers. Whether it’s a cracked screen, battery replacement, or water damage repair, we handle it all with professional care and expertise. Walk in today and experience why we’re Sydney’s #1 choice for mobile phone repairs.
Visit us for:
- ✓ Same Day Express Repairs
- ✓ Genuine Parts Guarantee
- ✓ Professional Technicians
- ✓ Competitive Pricing
- ✓ 2000+ 5-Star Google Reviews
- ✓ 7-Time Award Winner for Best Phone Repairs
Sydney CBD Repair Centre – Where Quality Meets Reliability.
Call: +61 2 8011 4119
Website: https://SydneyCBD.repair/locate-us